

 Kewanee, IL
Hello All:
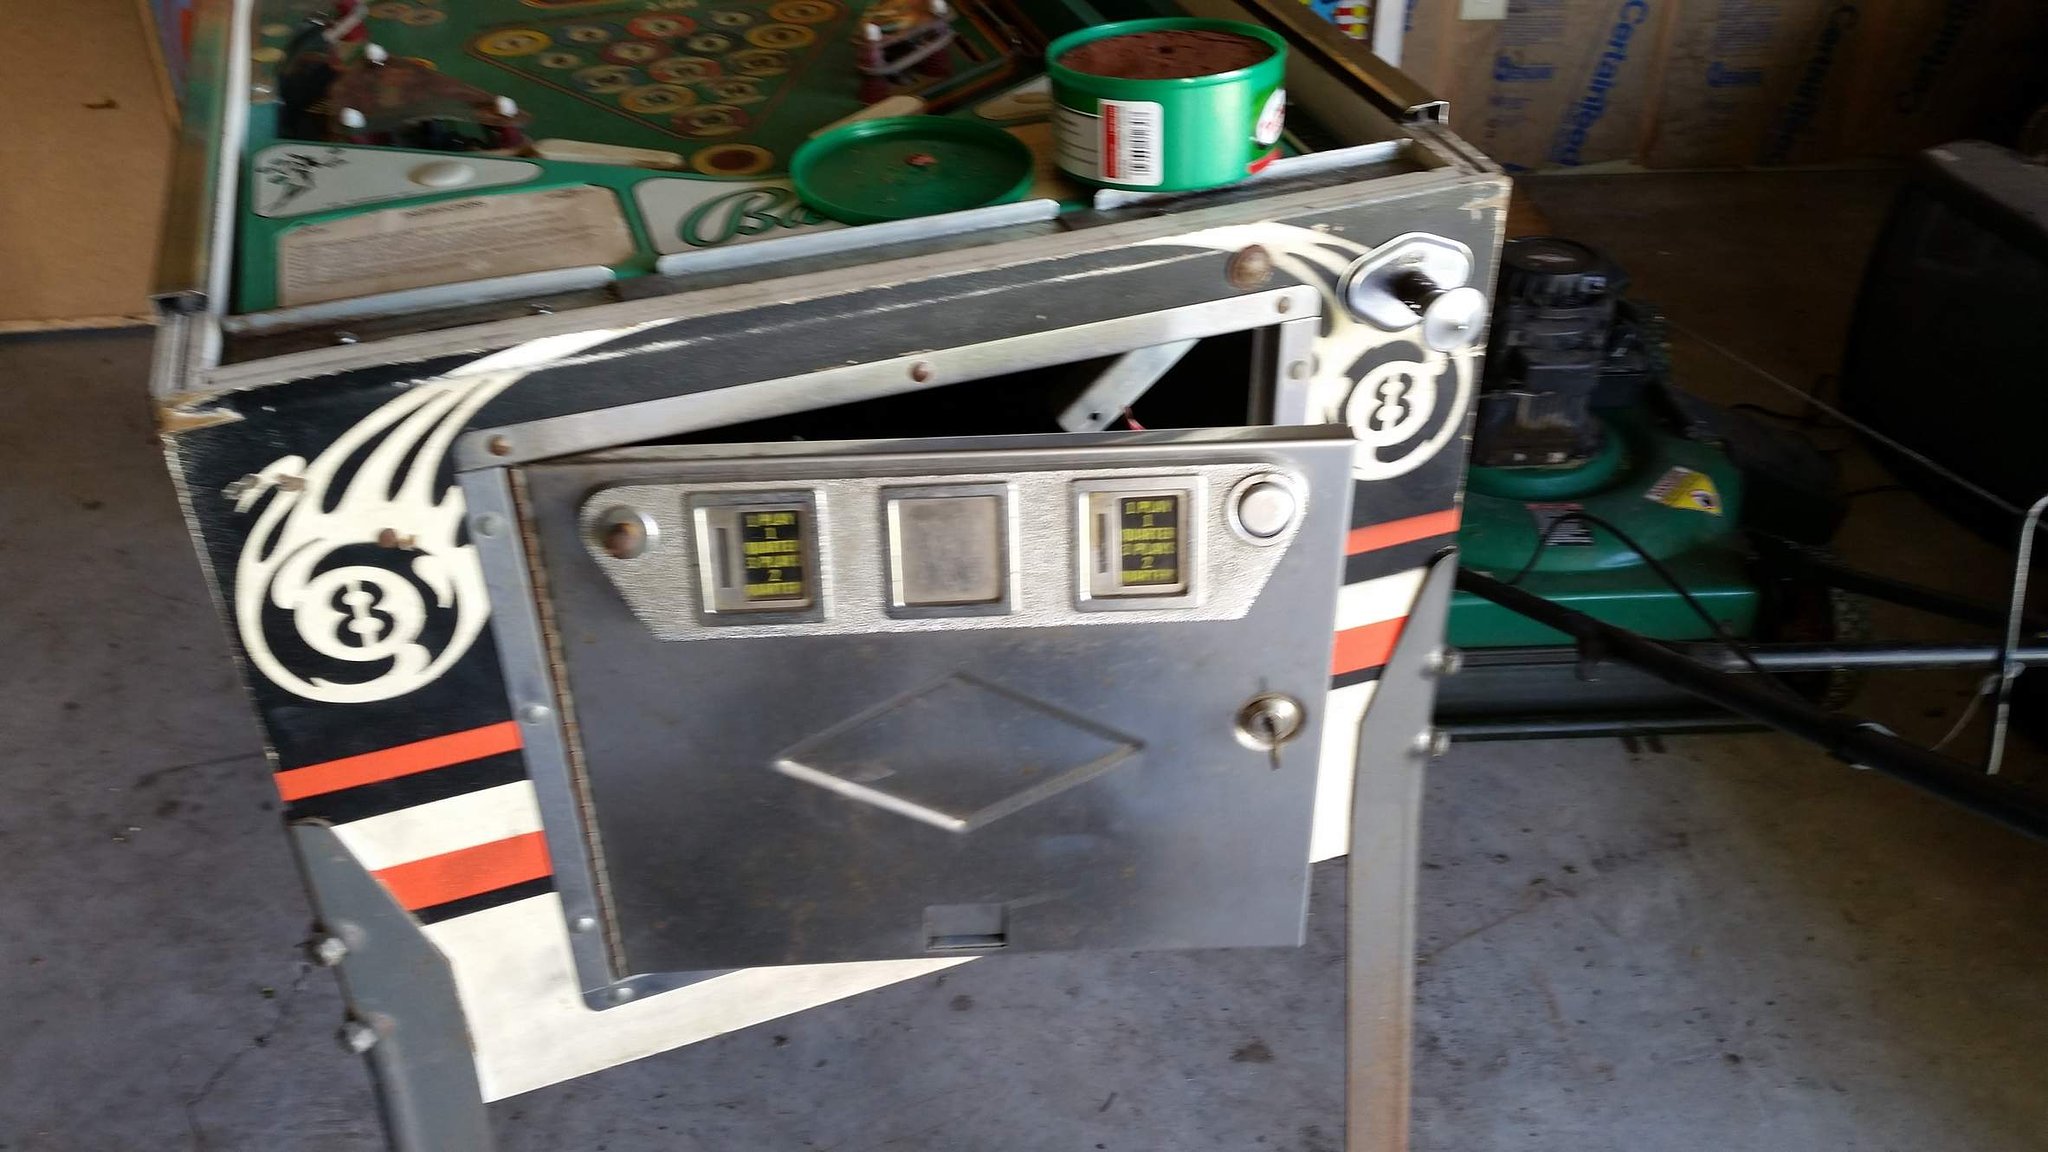
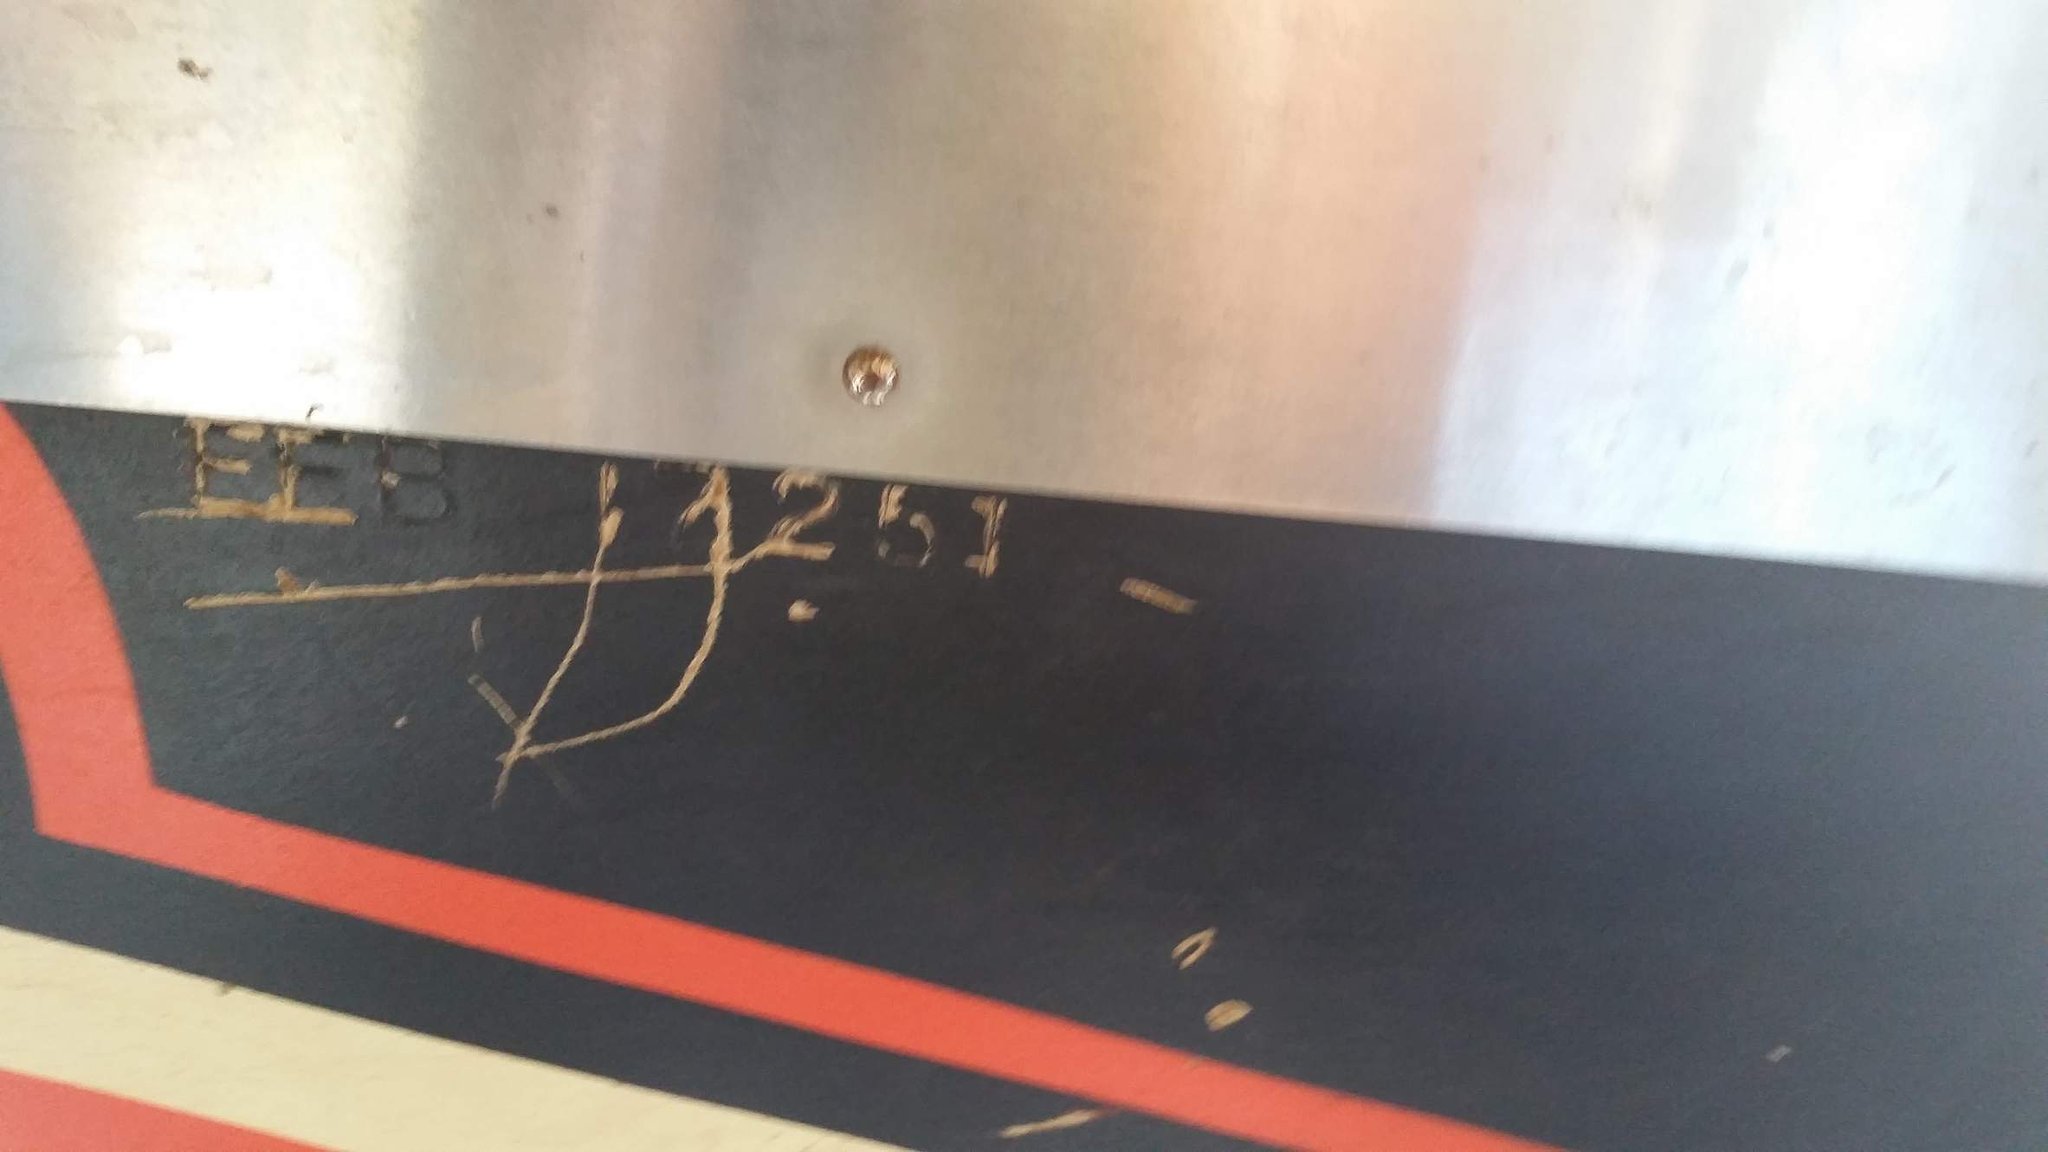
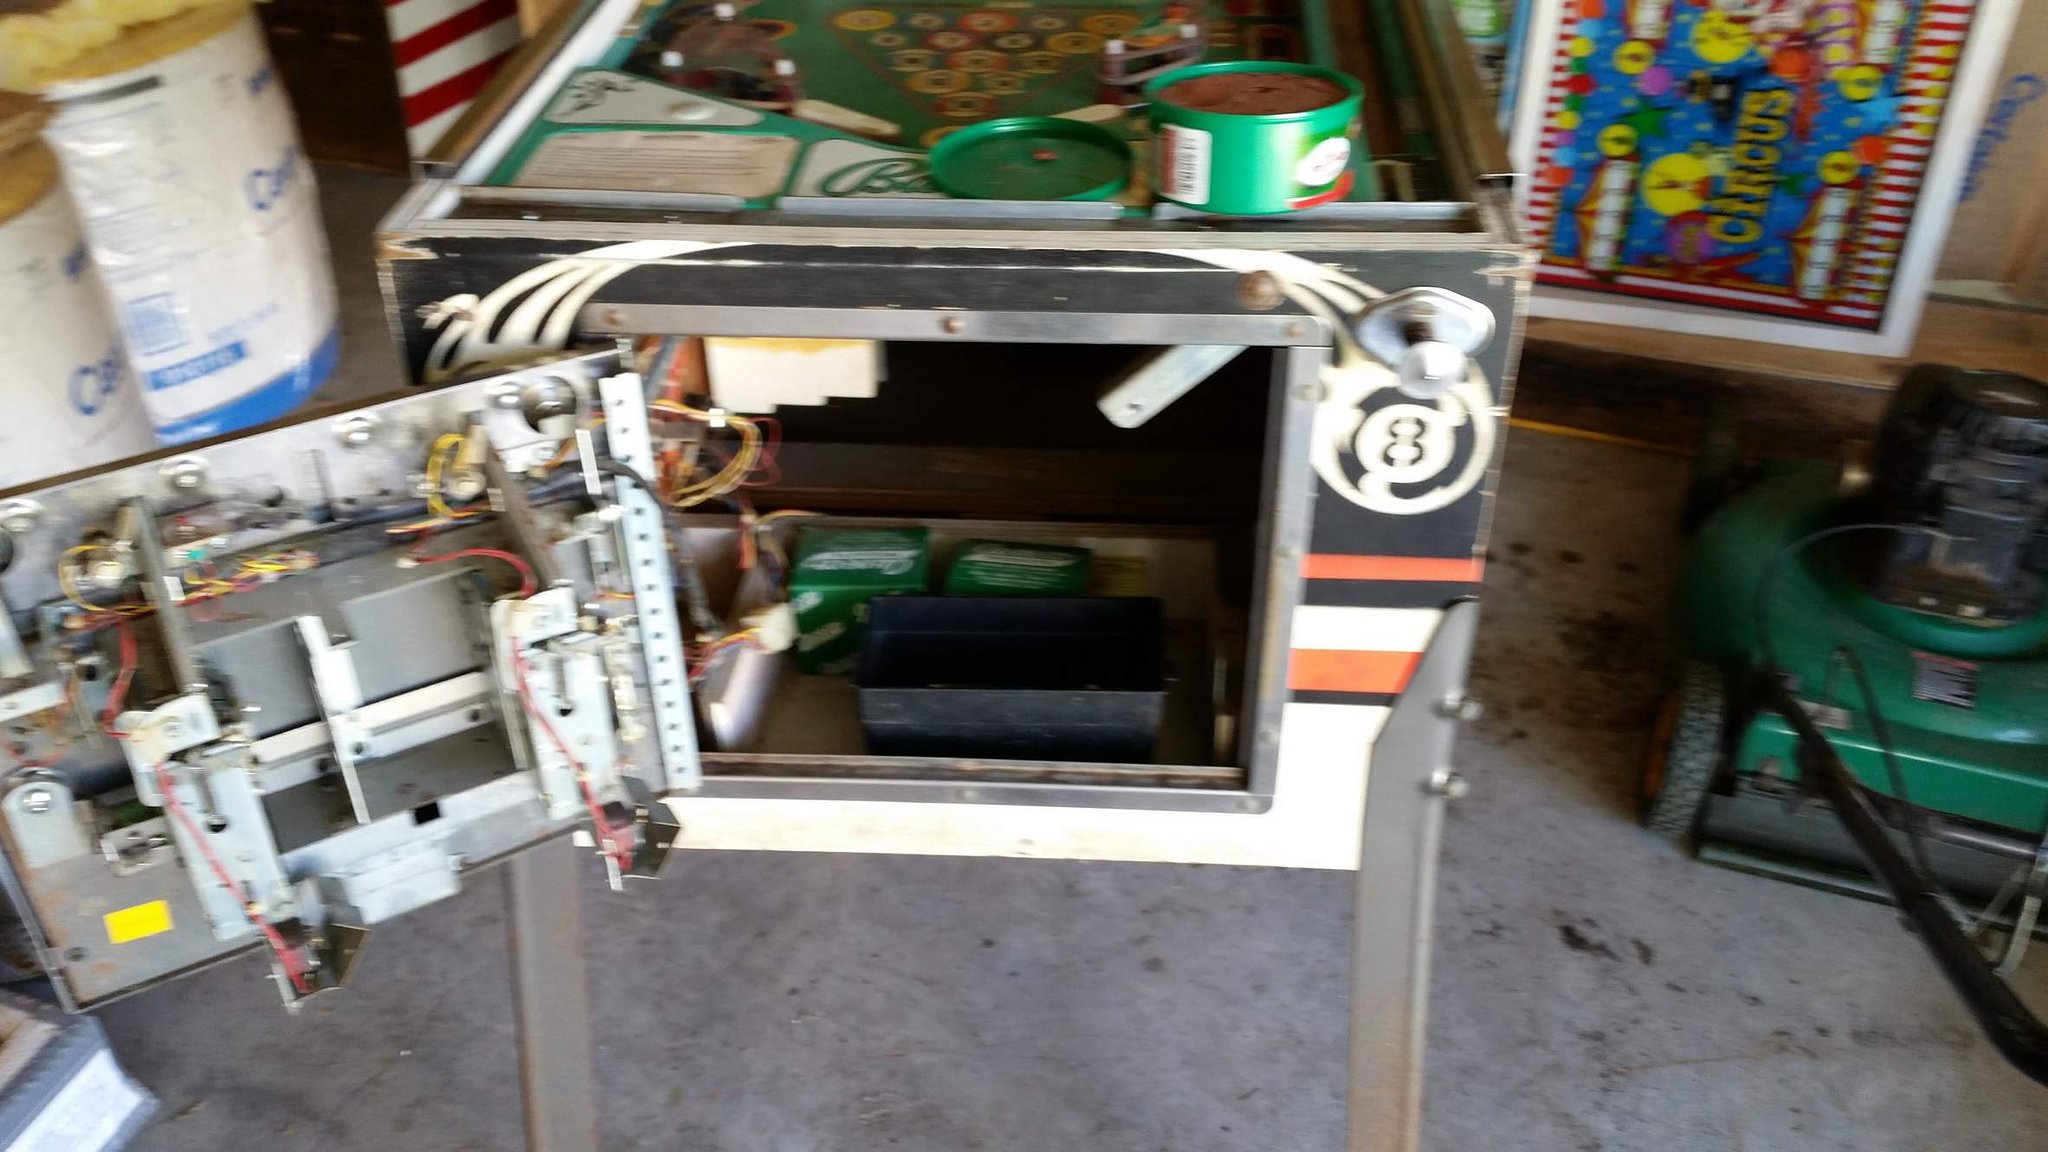
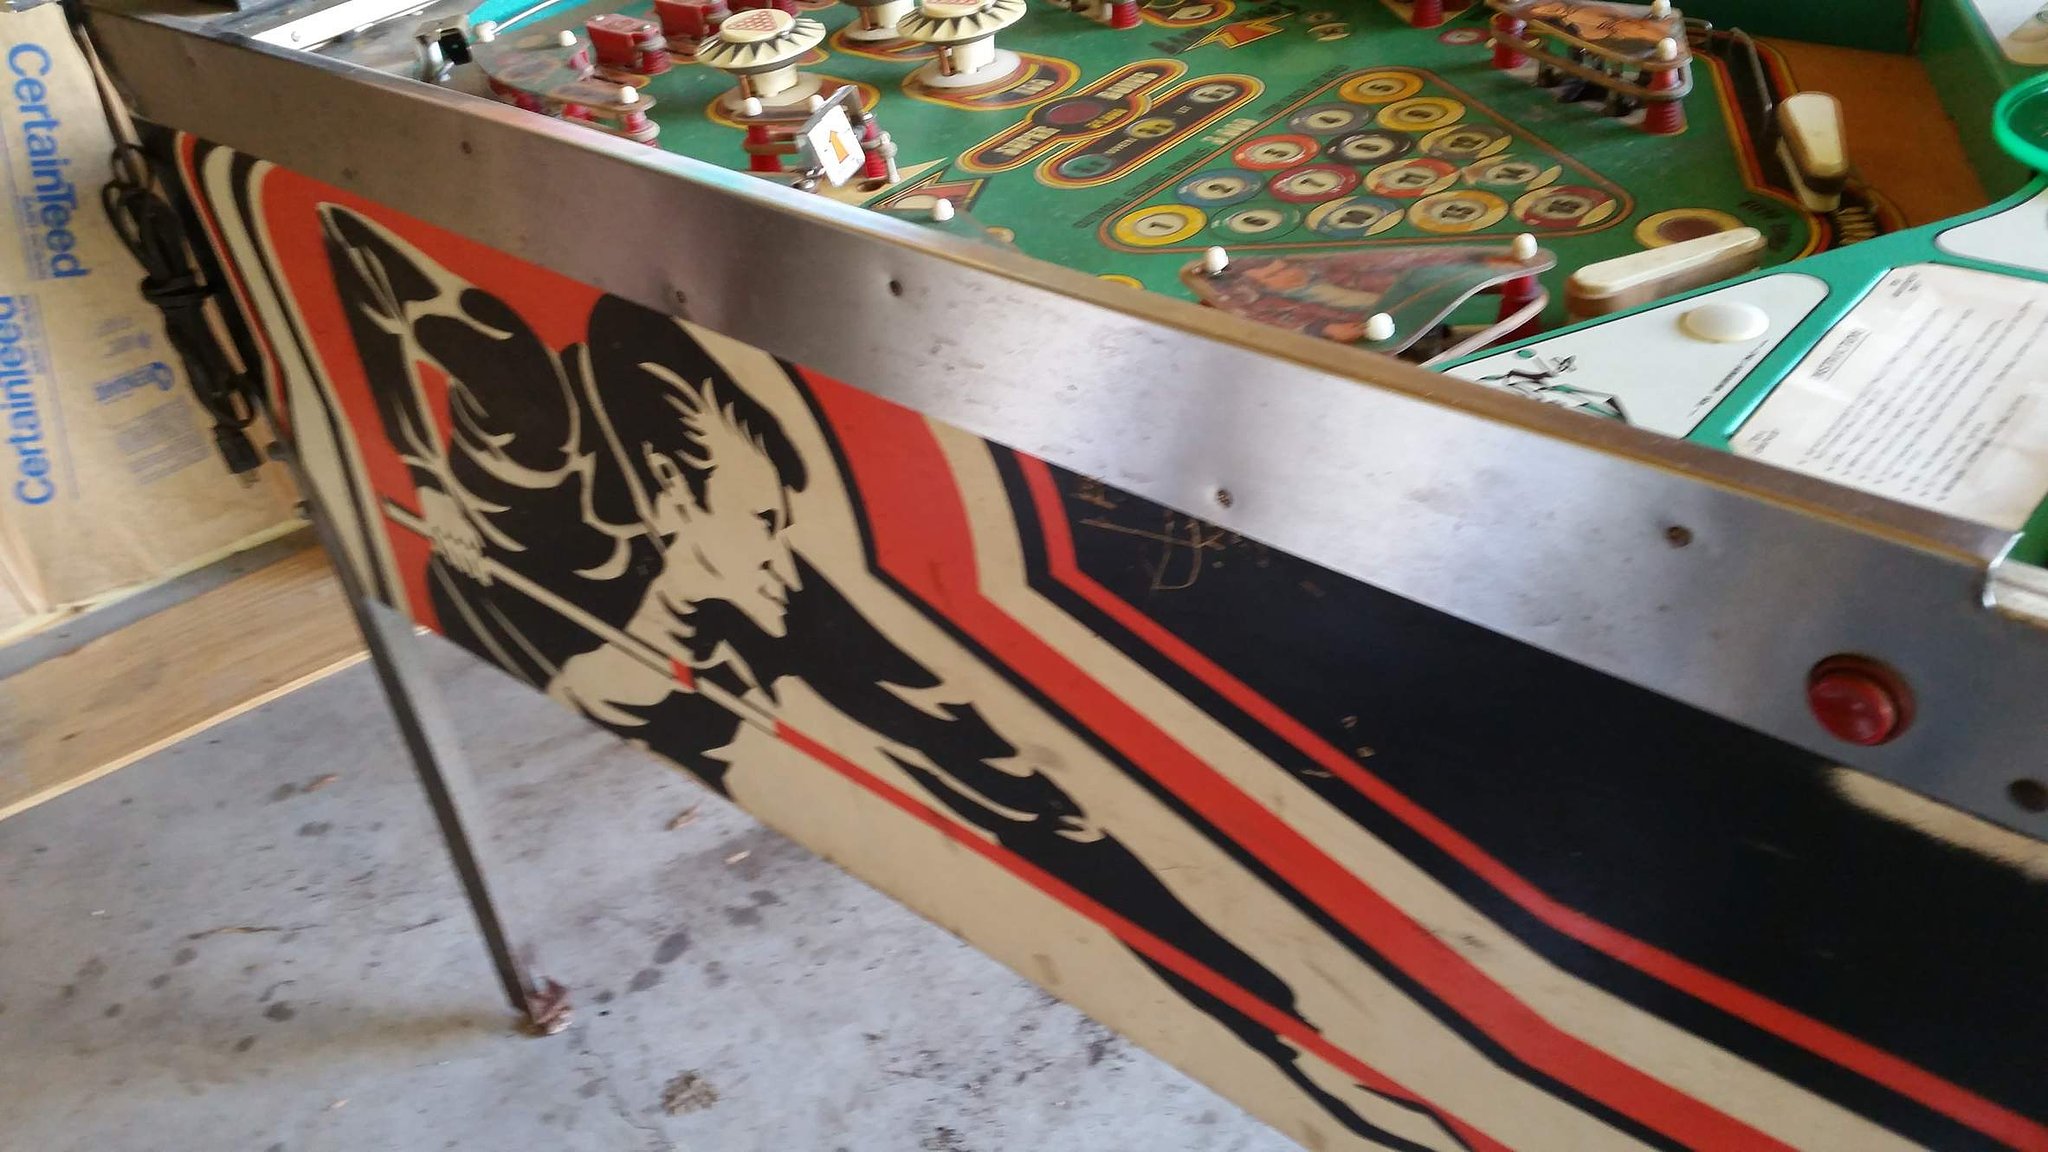
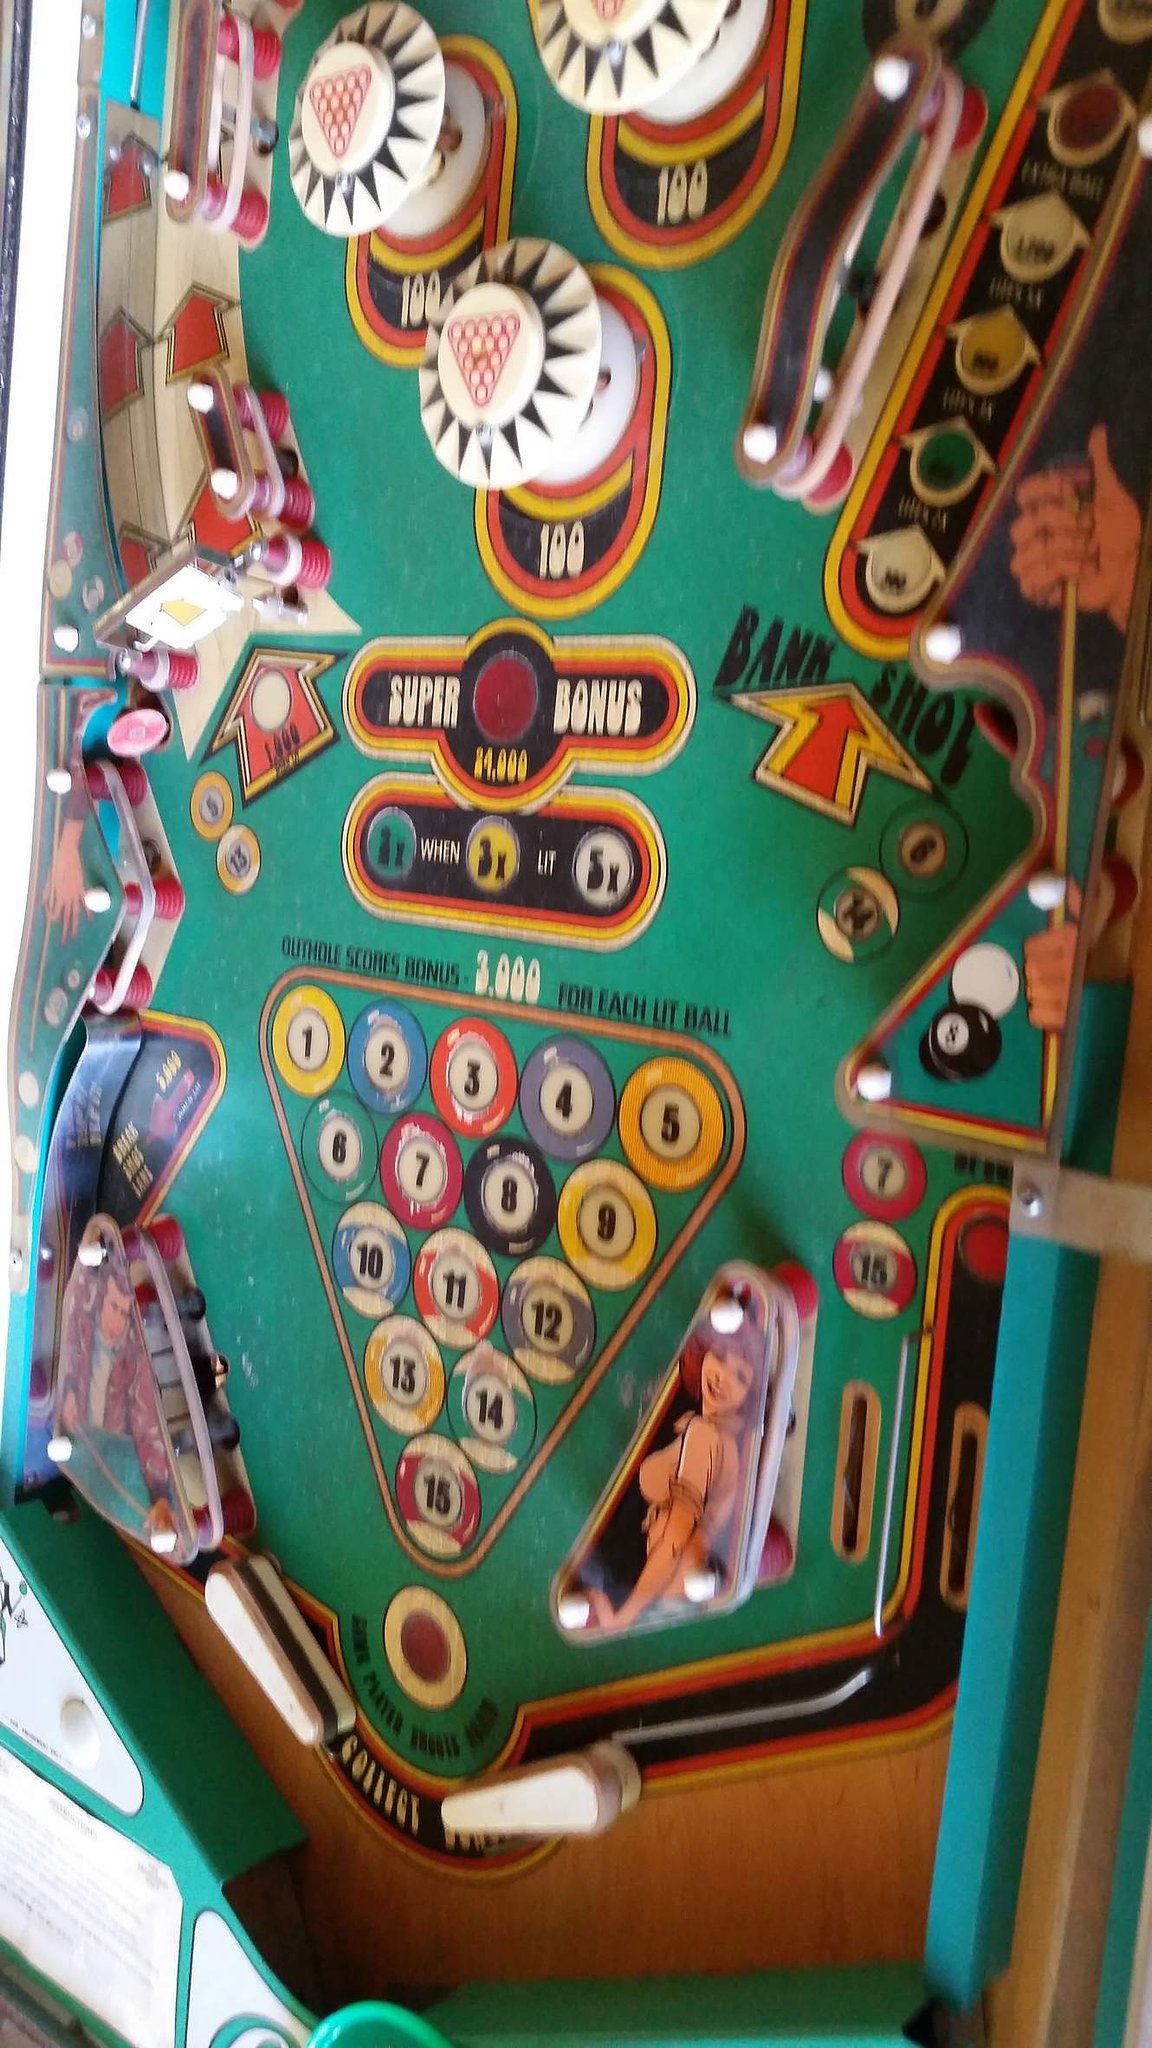
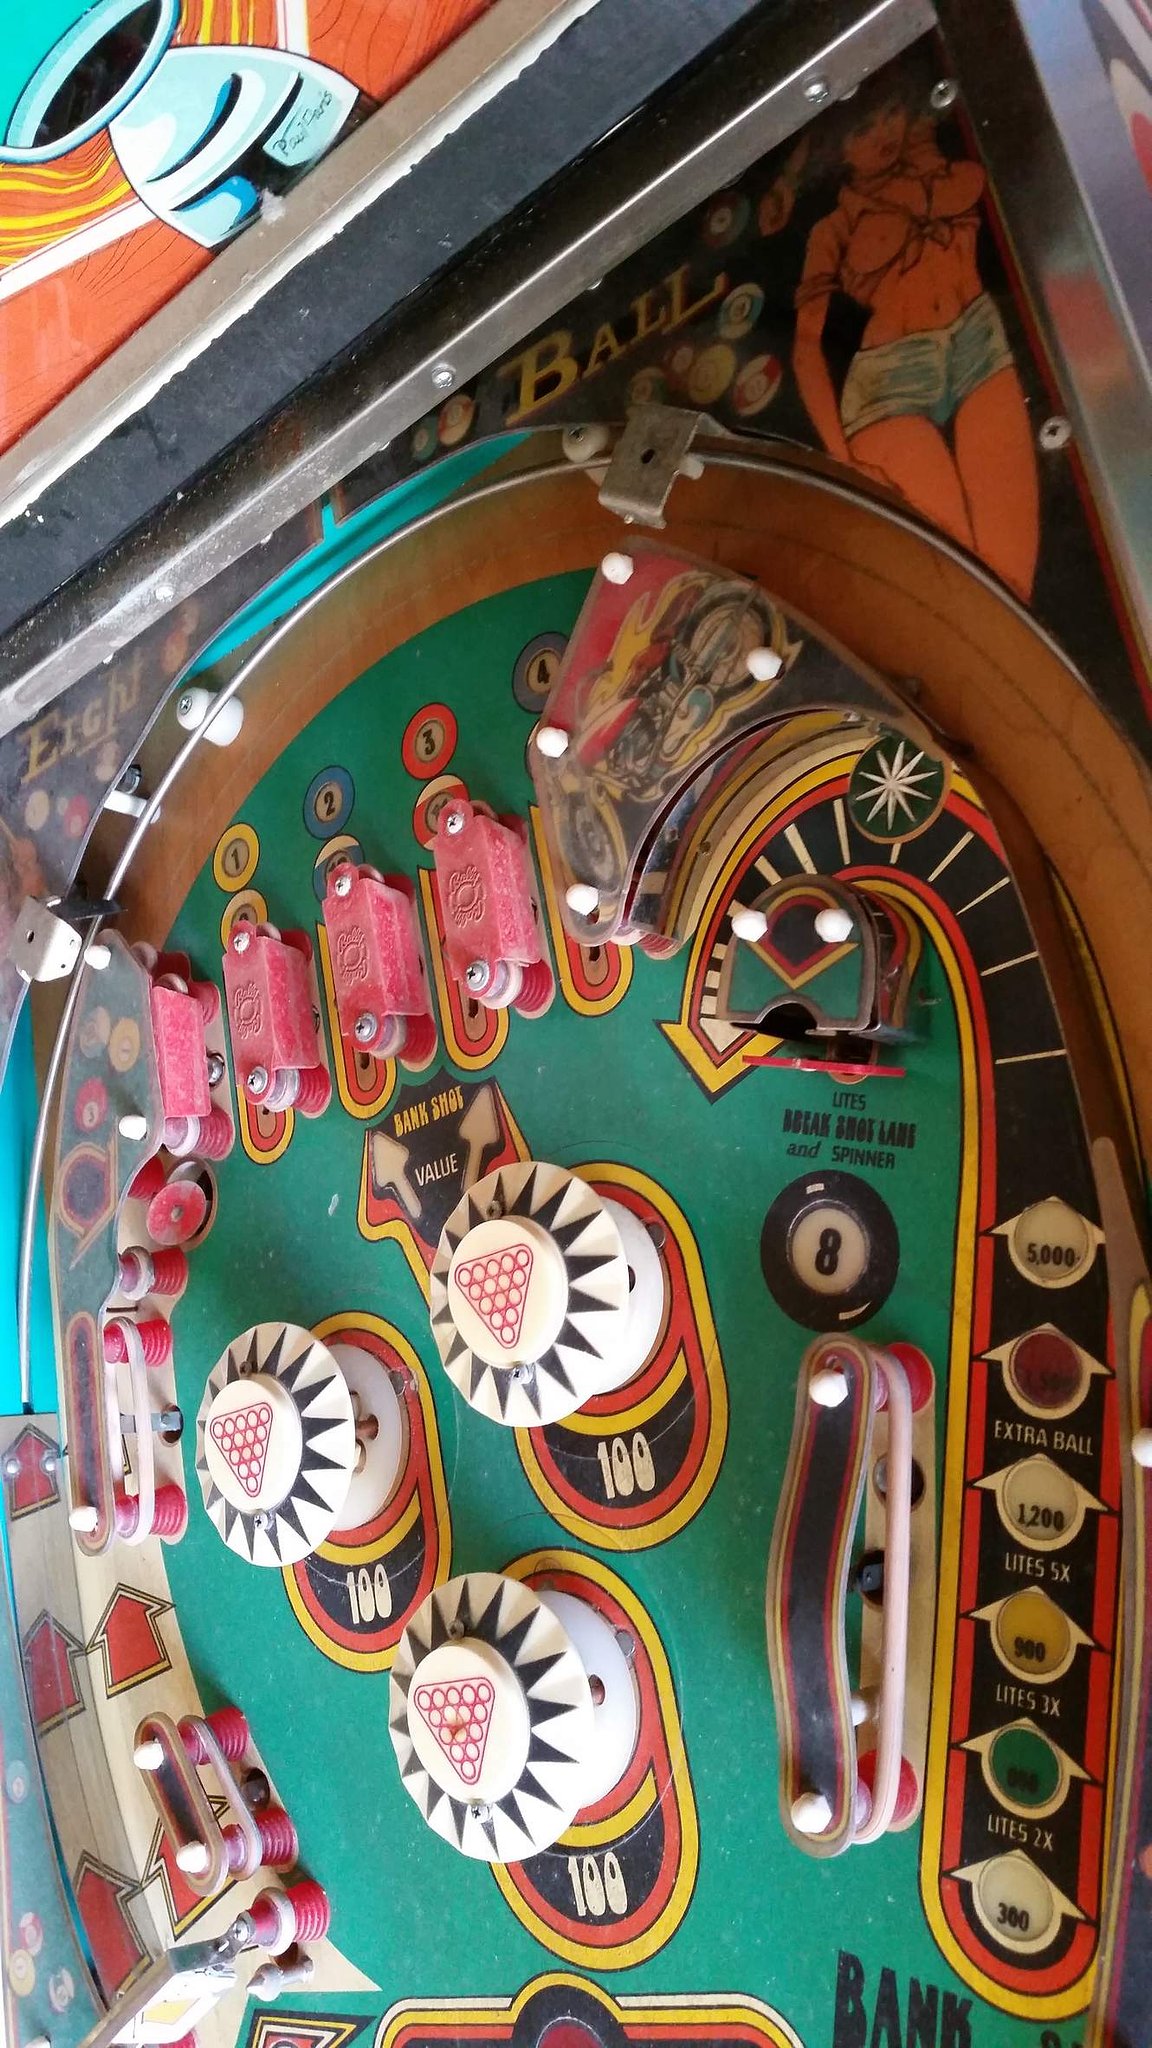
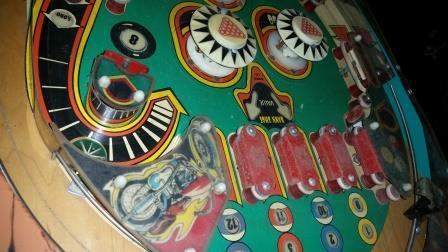
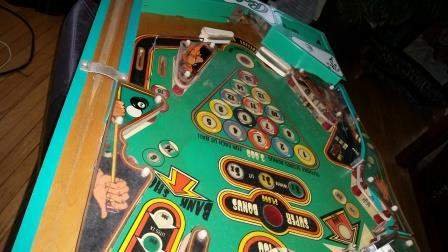
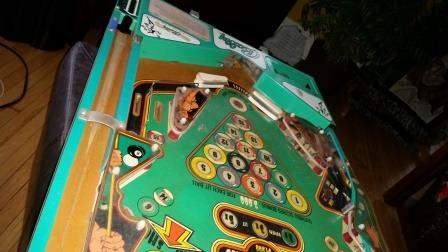
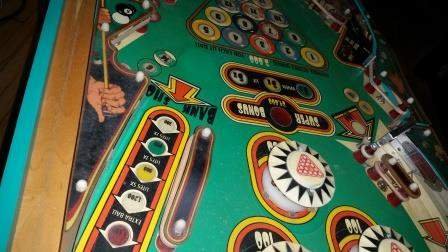
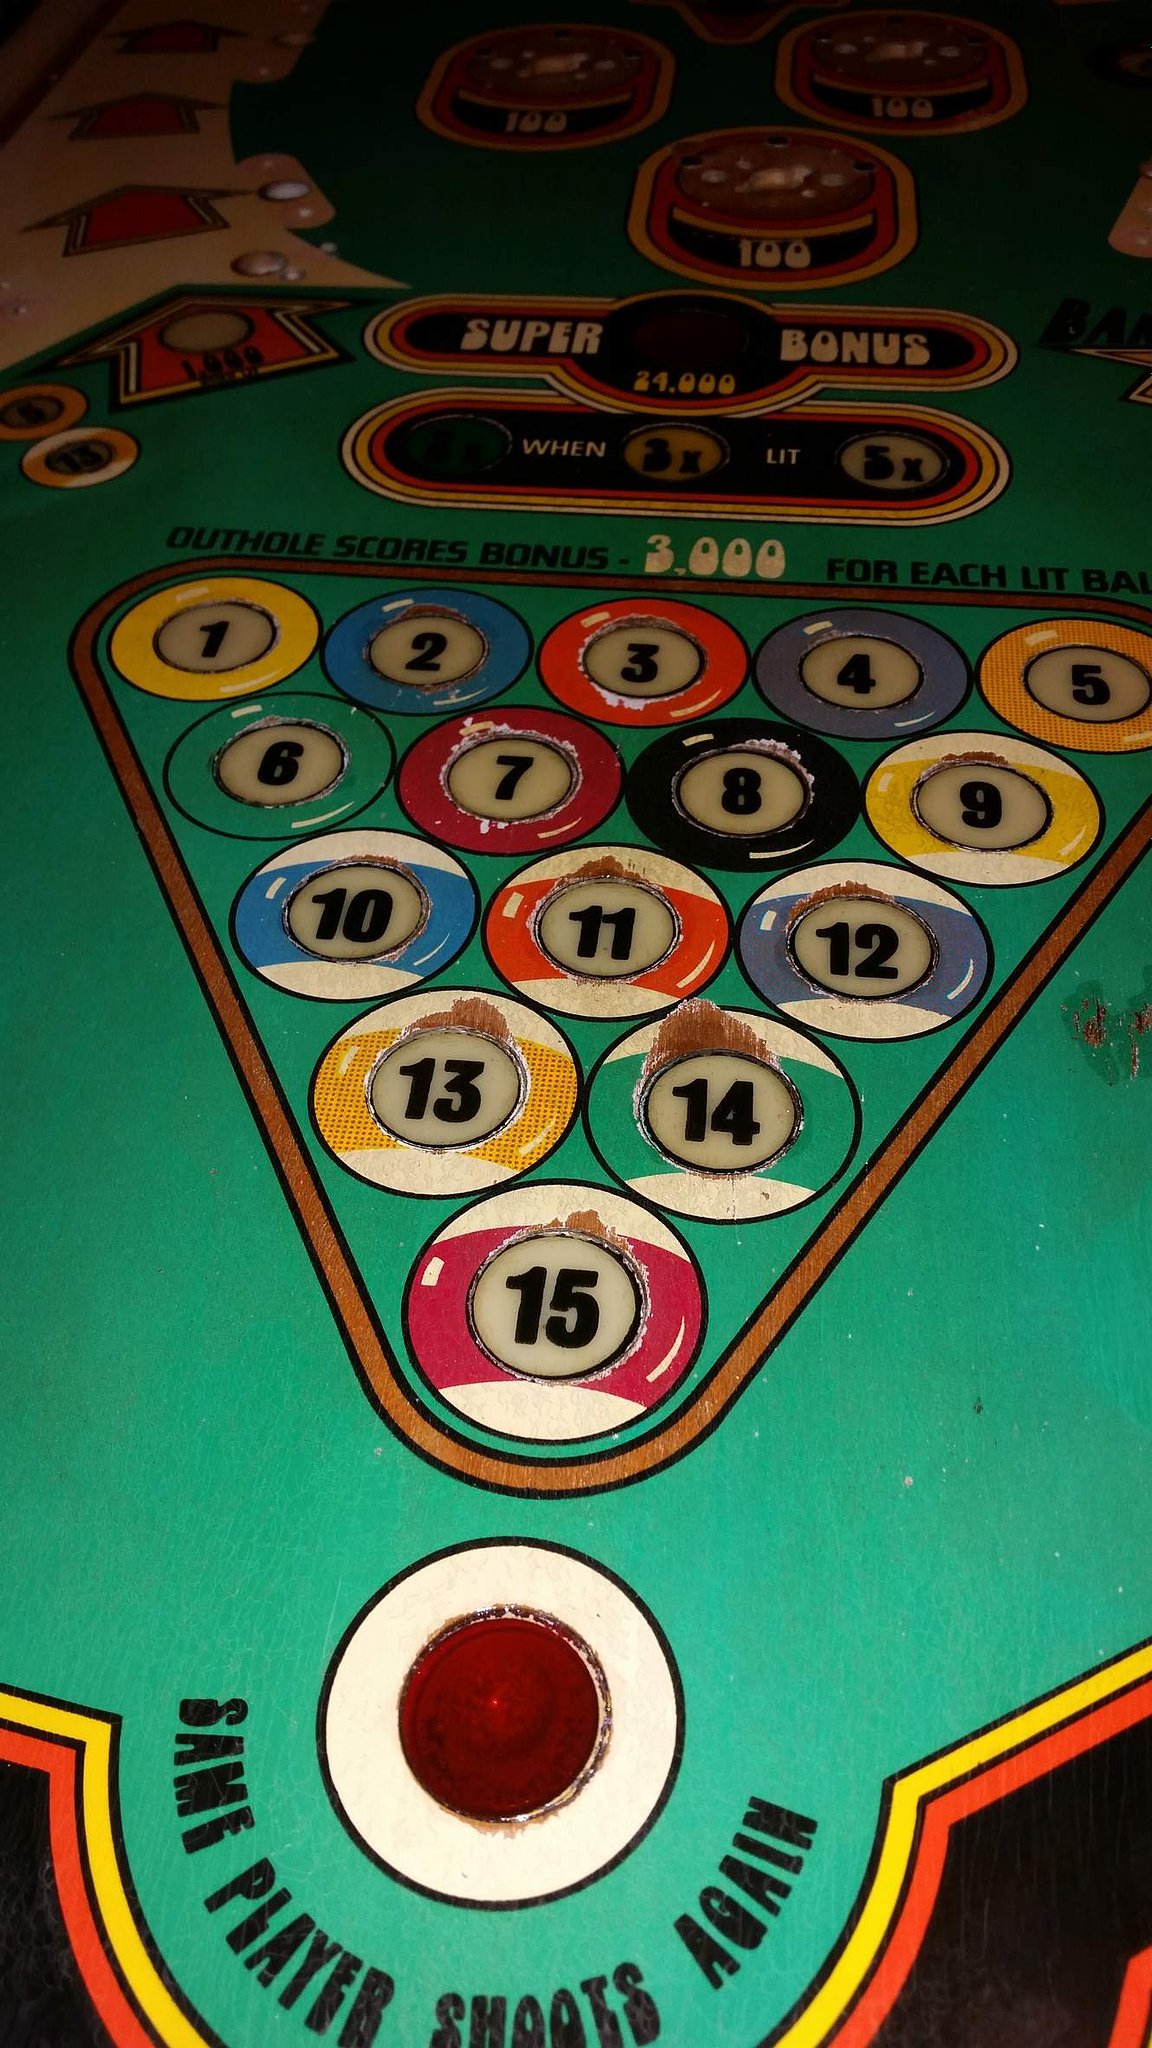
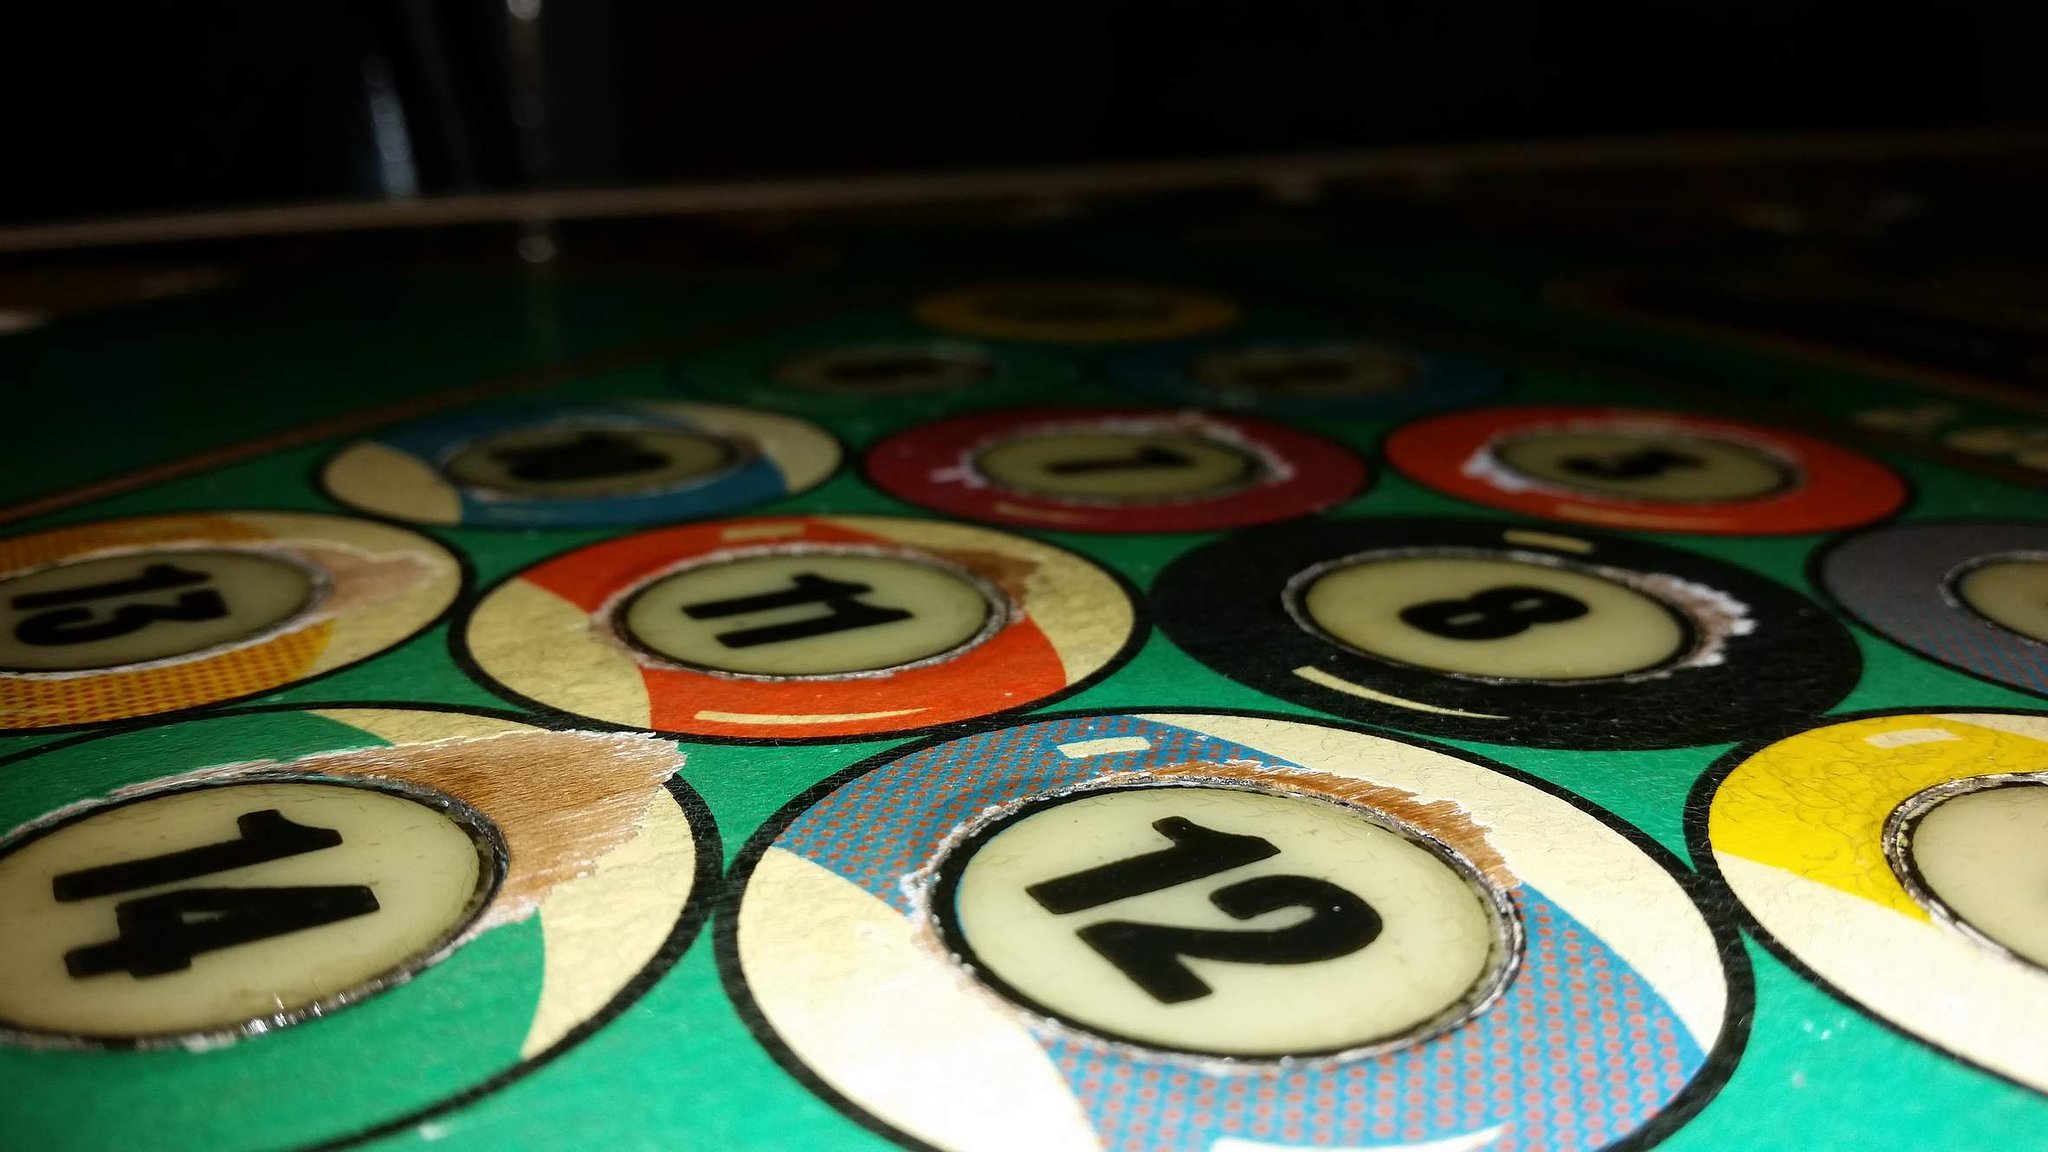
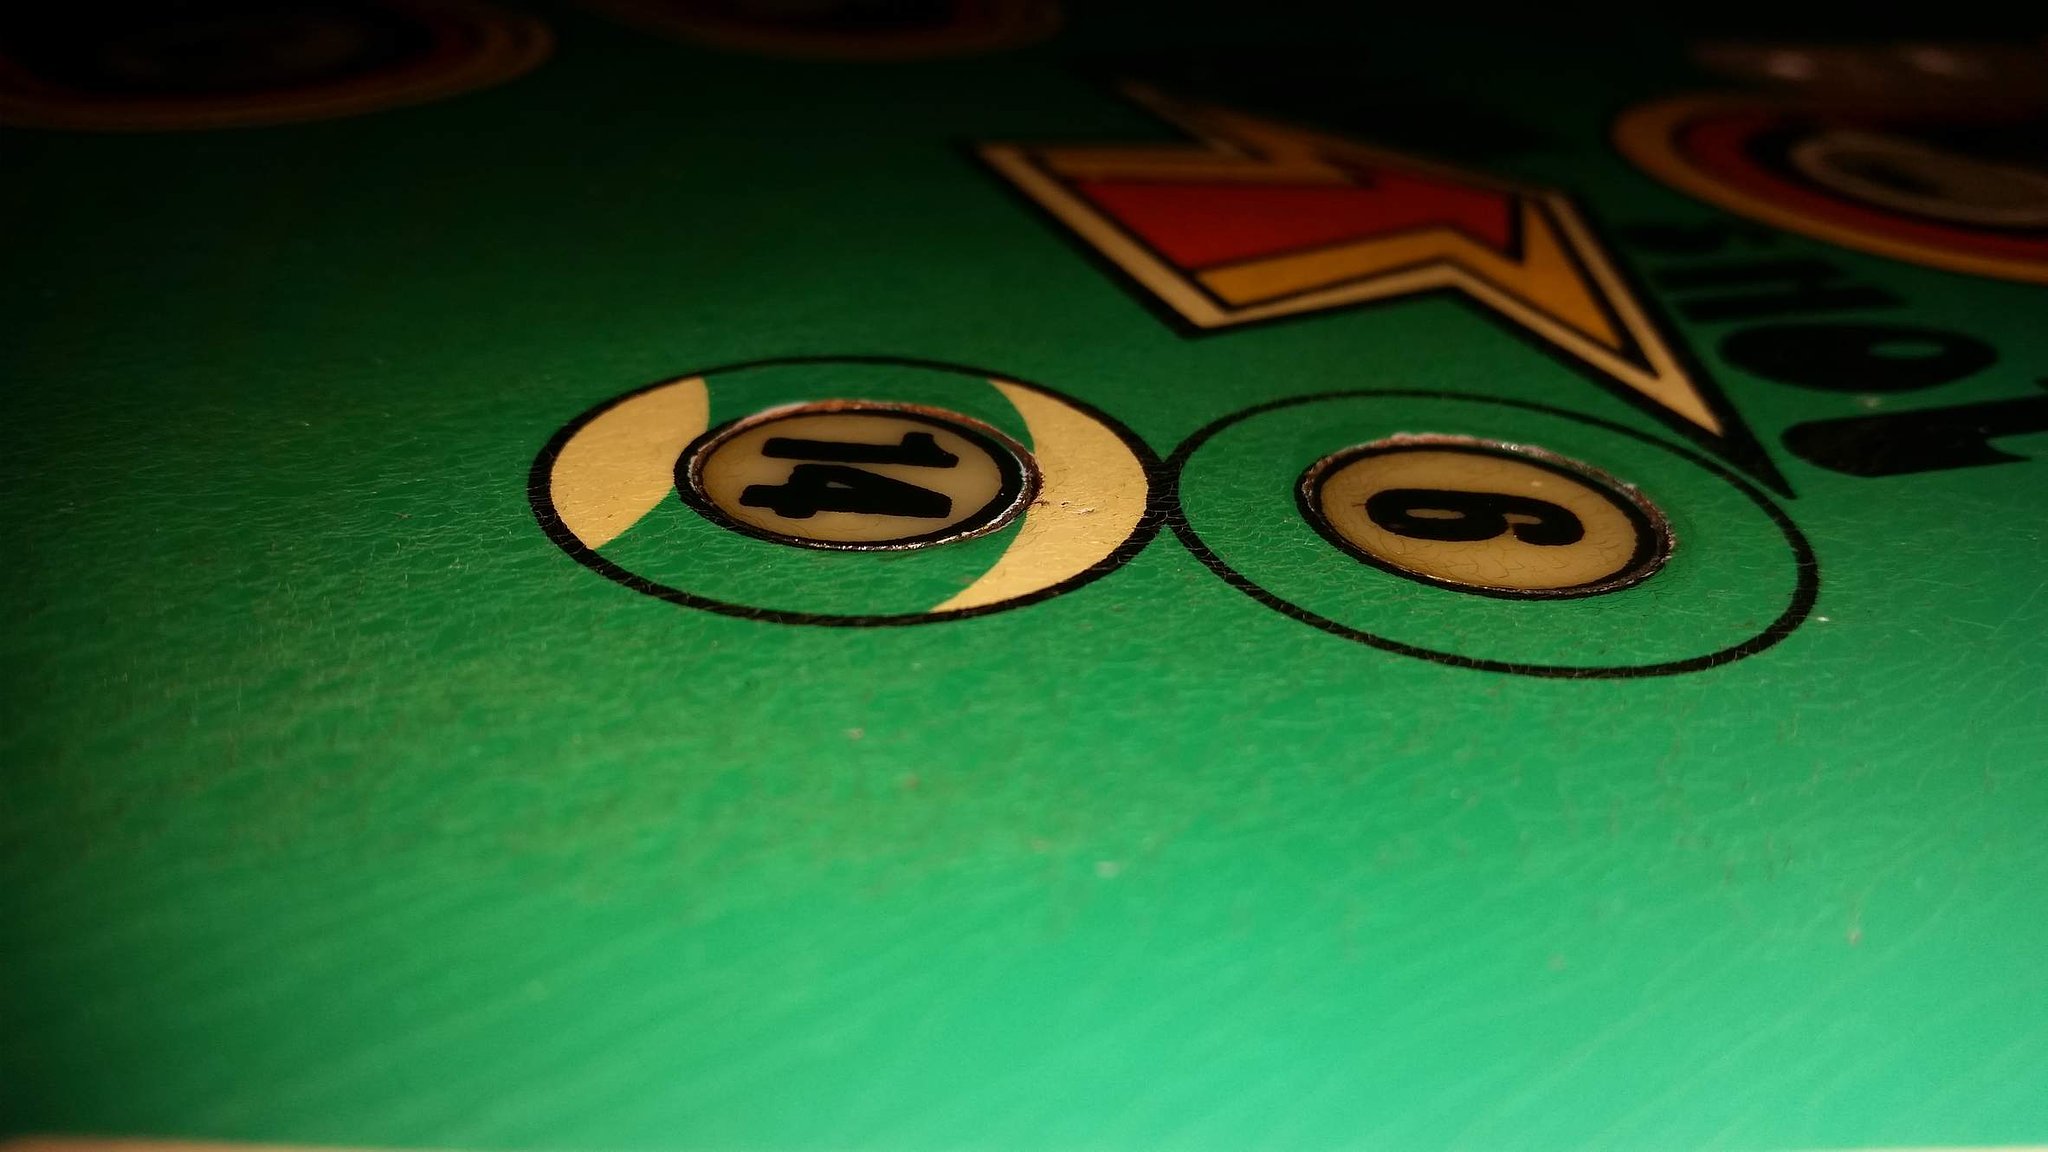
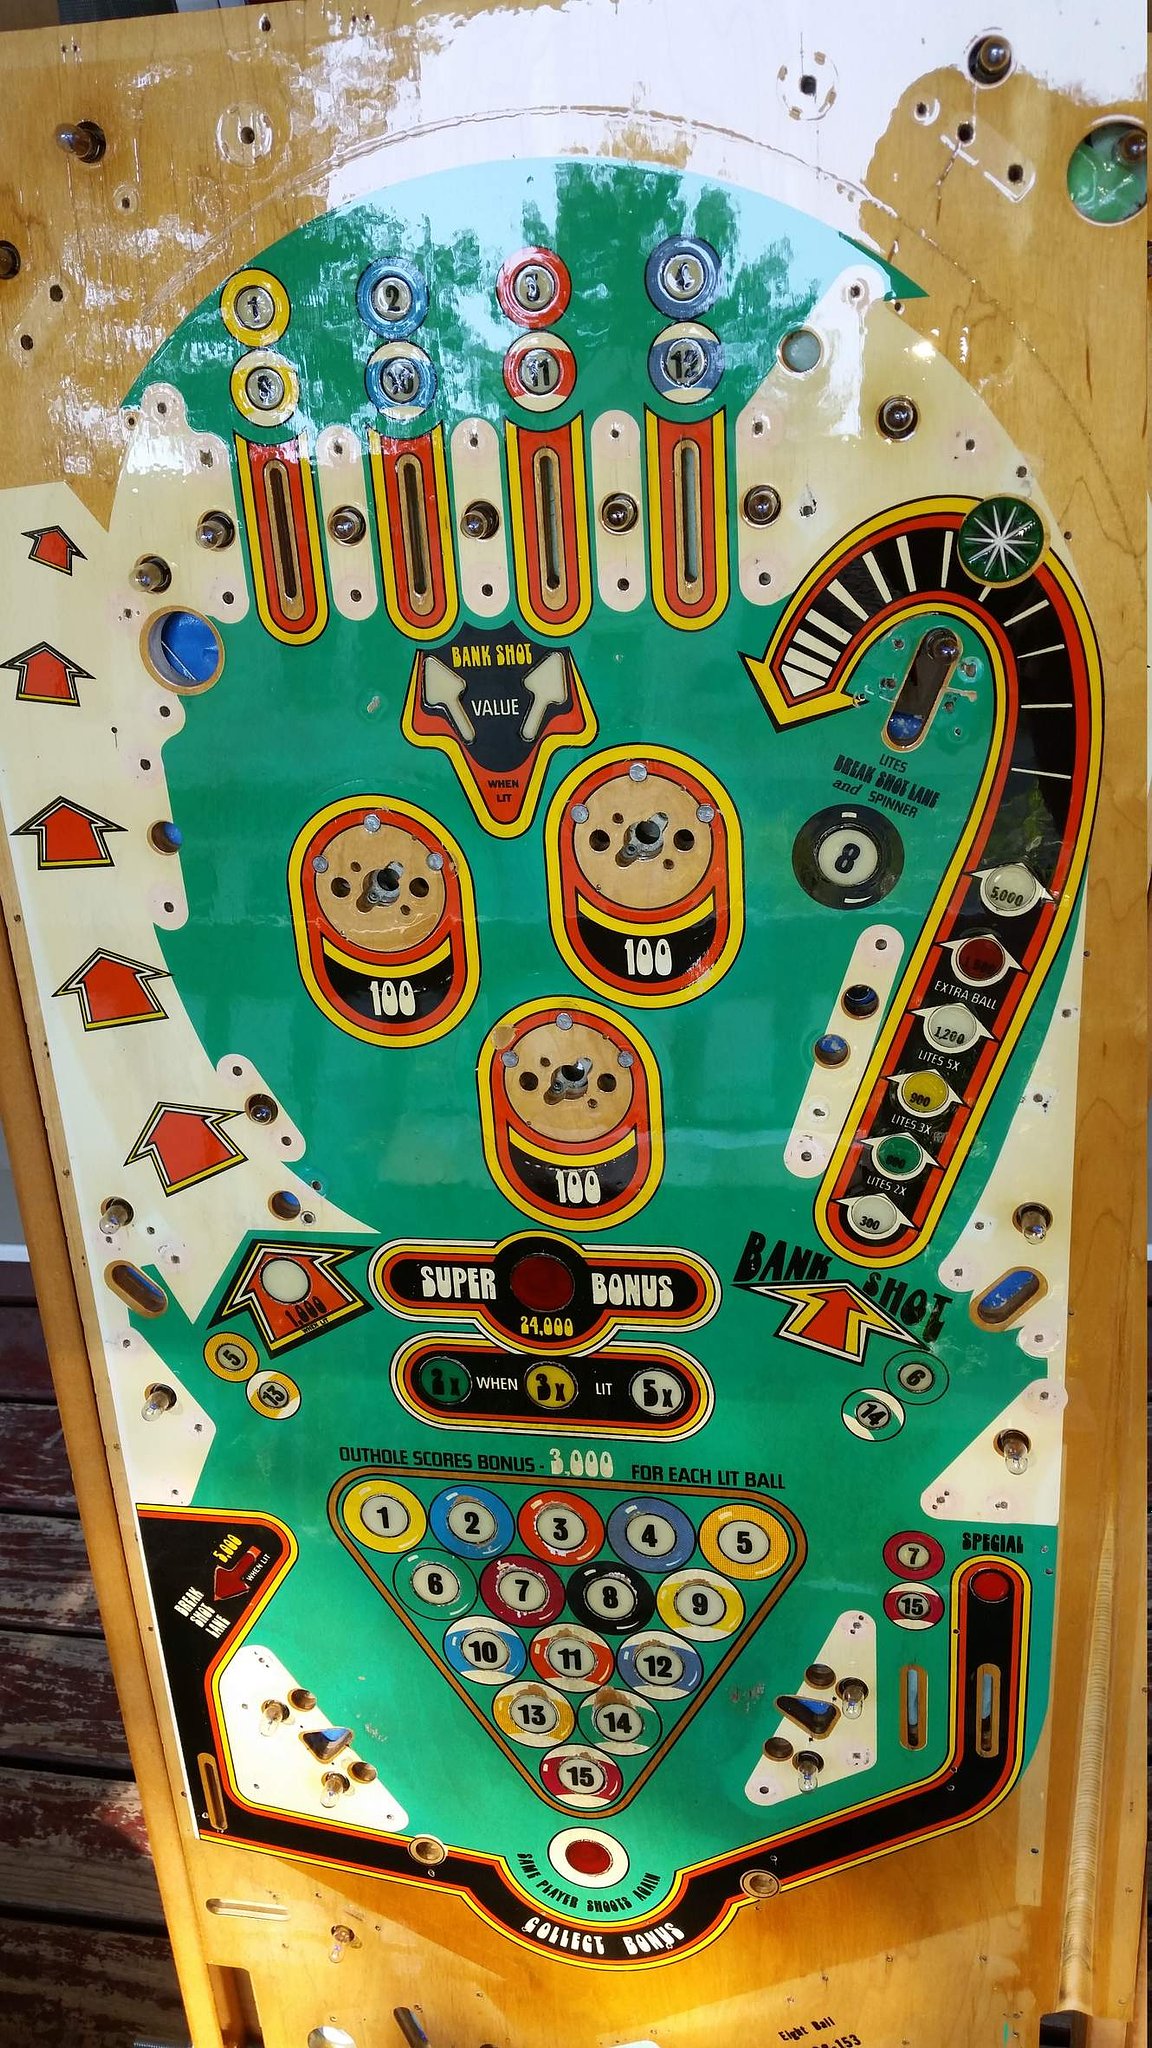
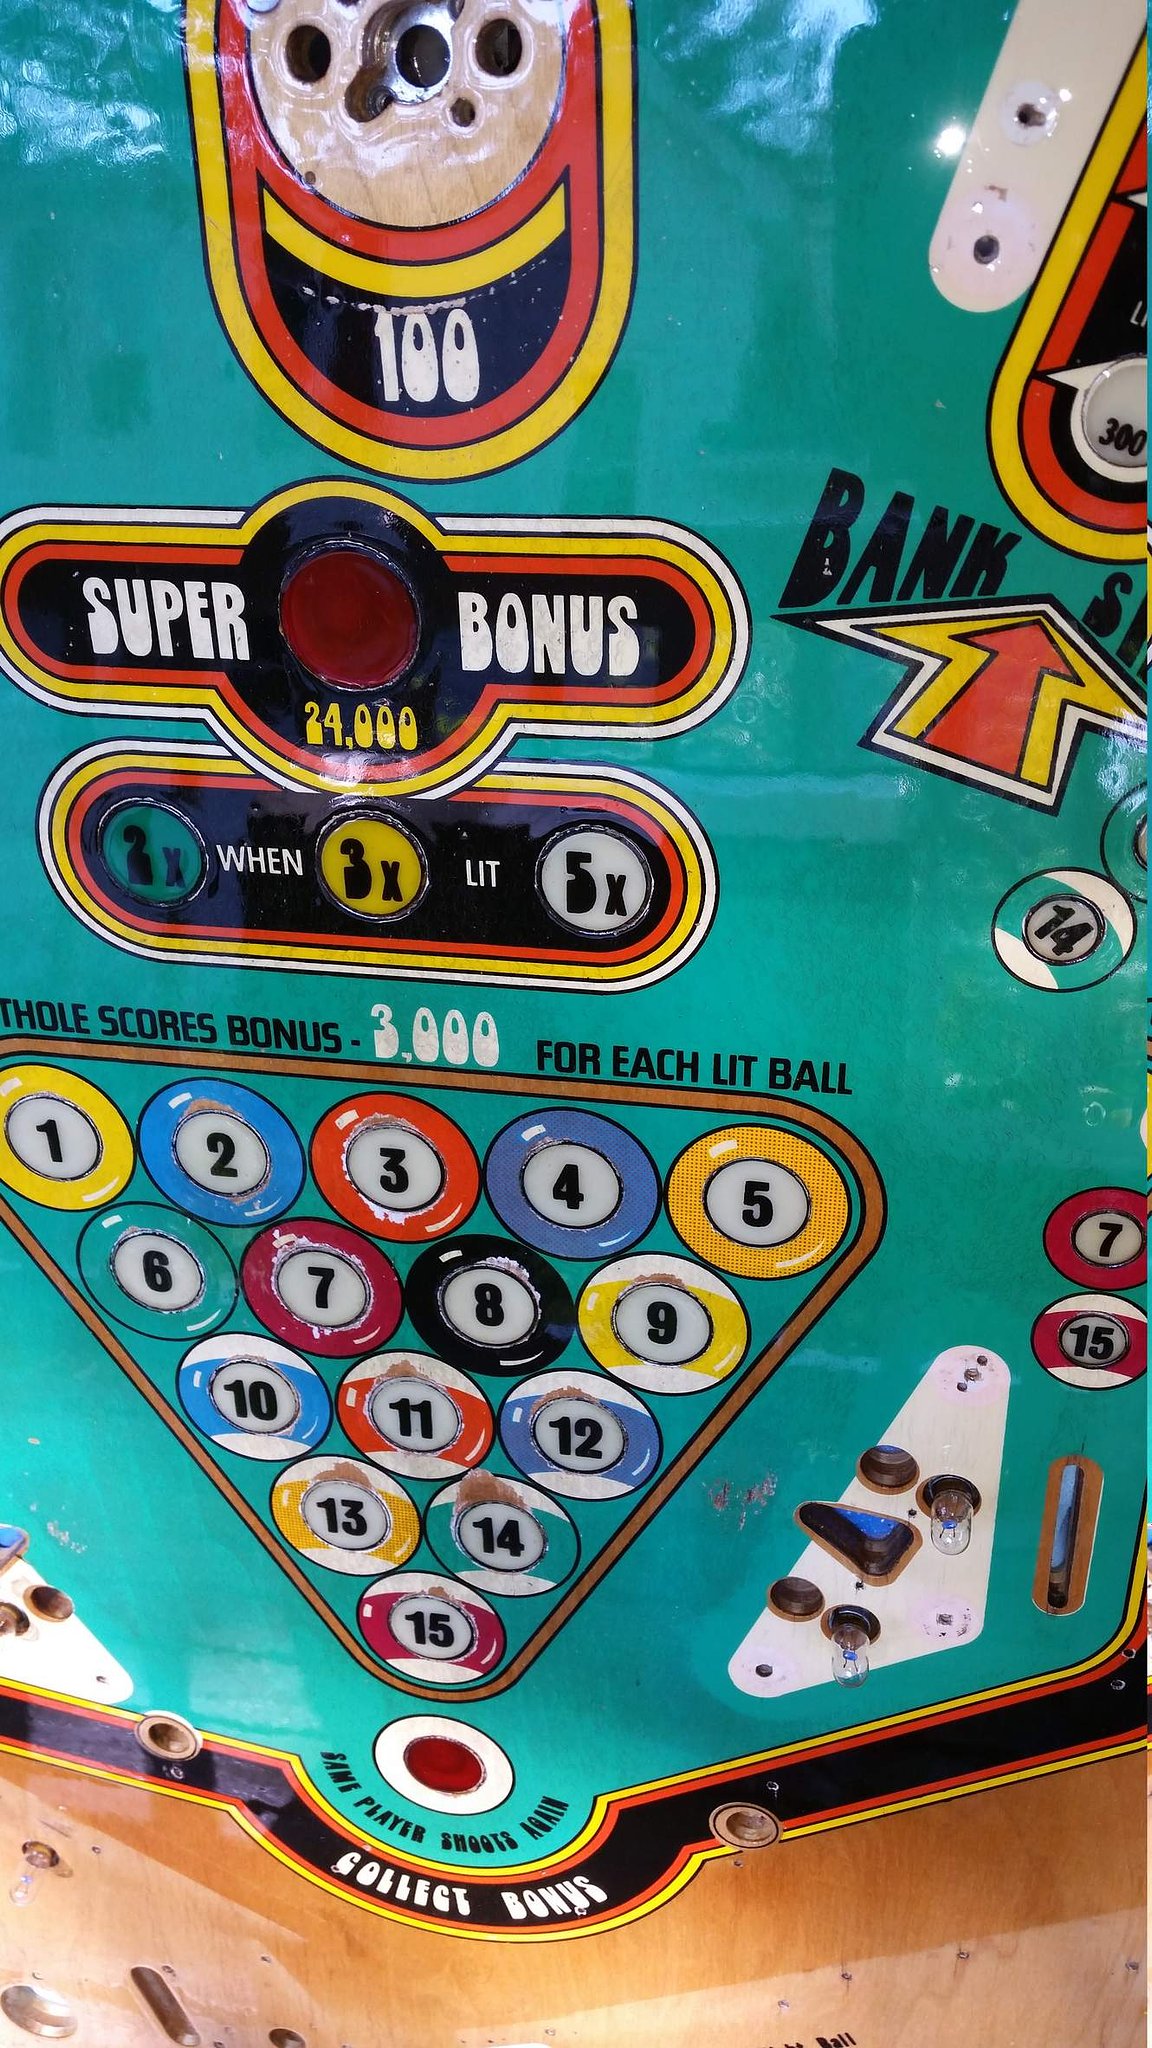
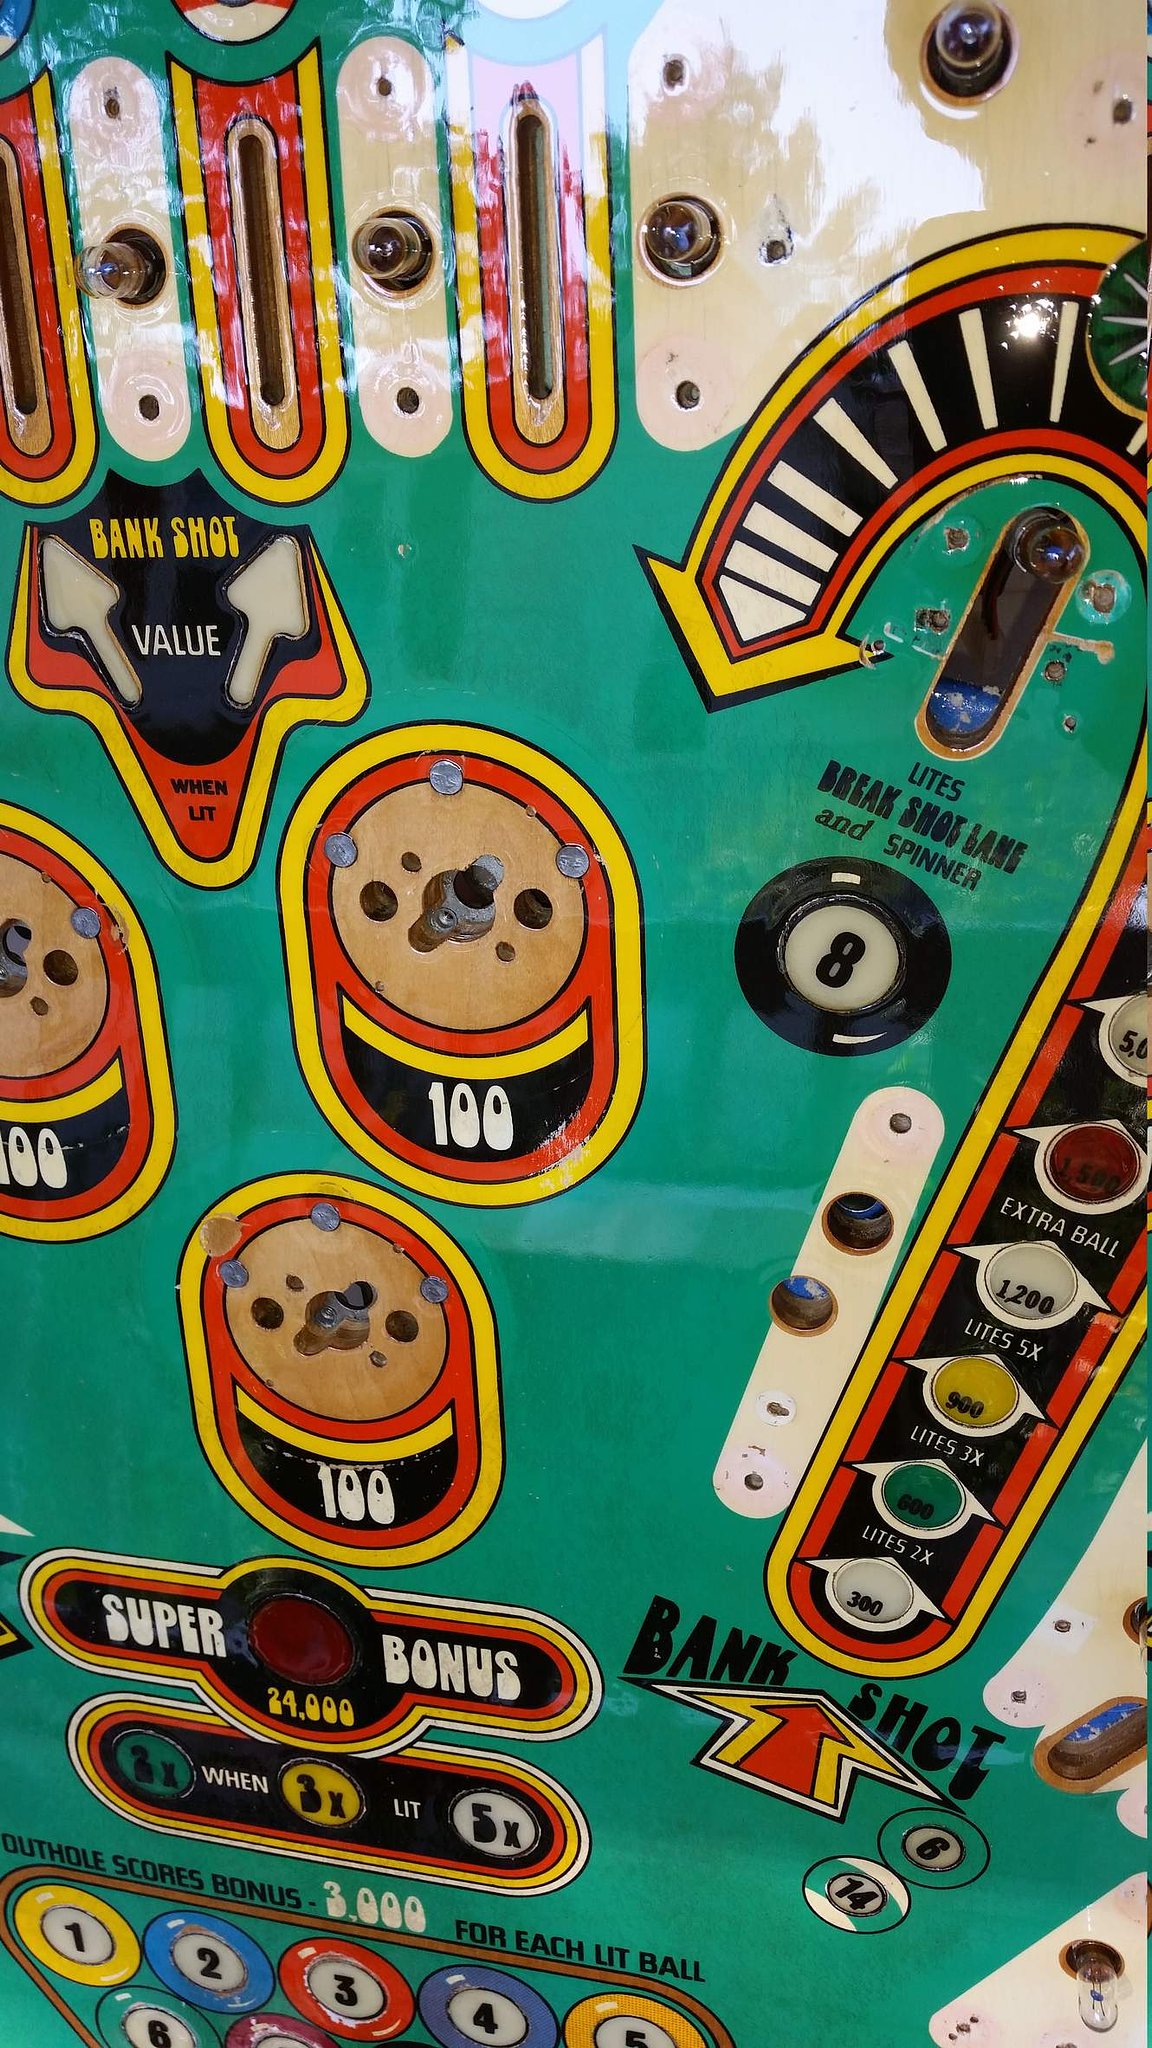
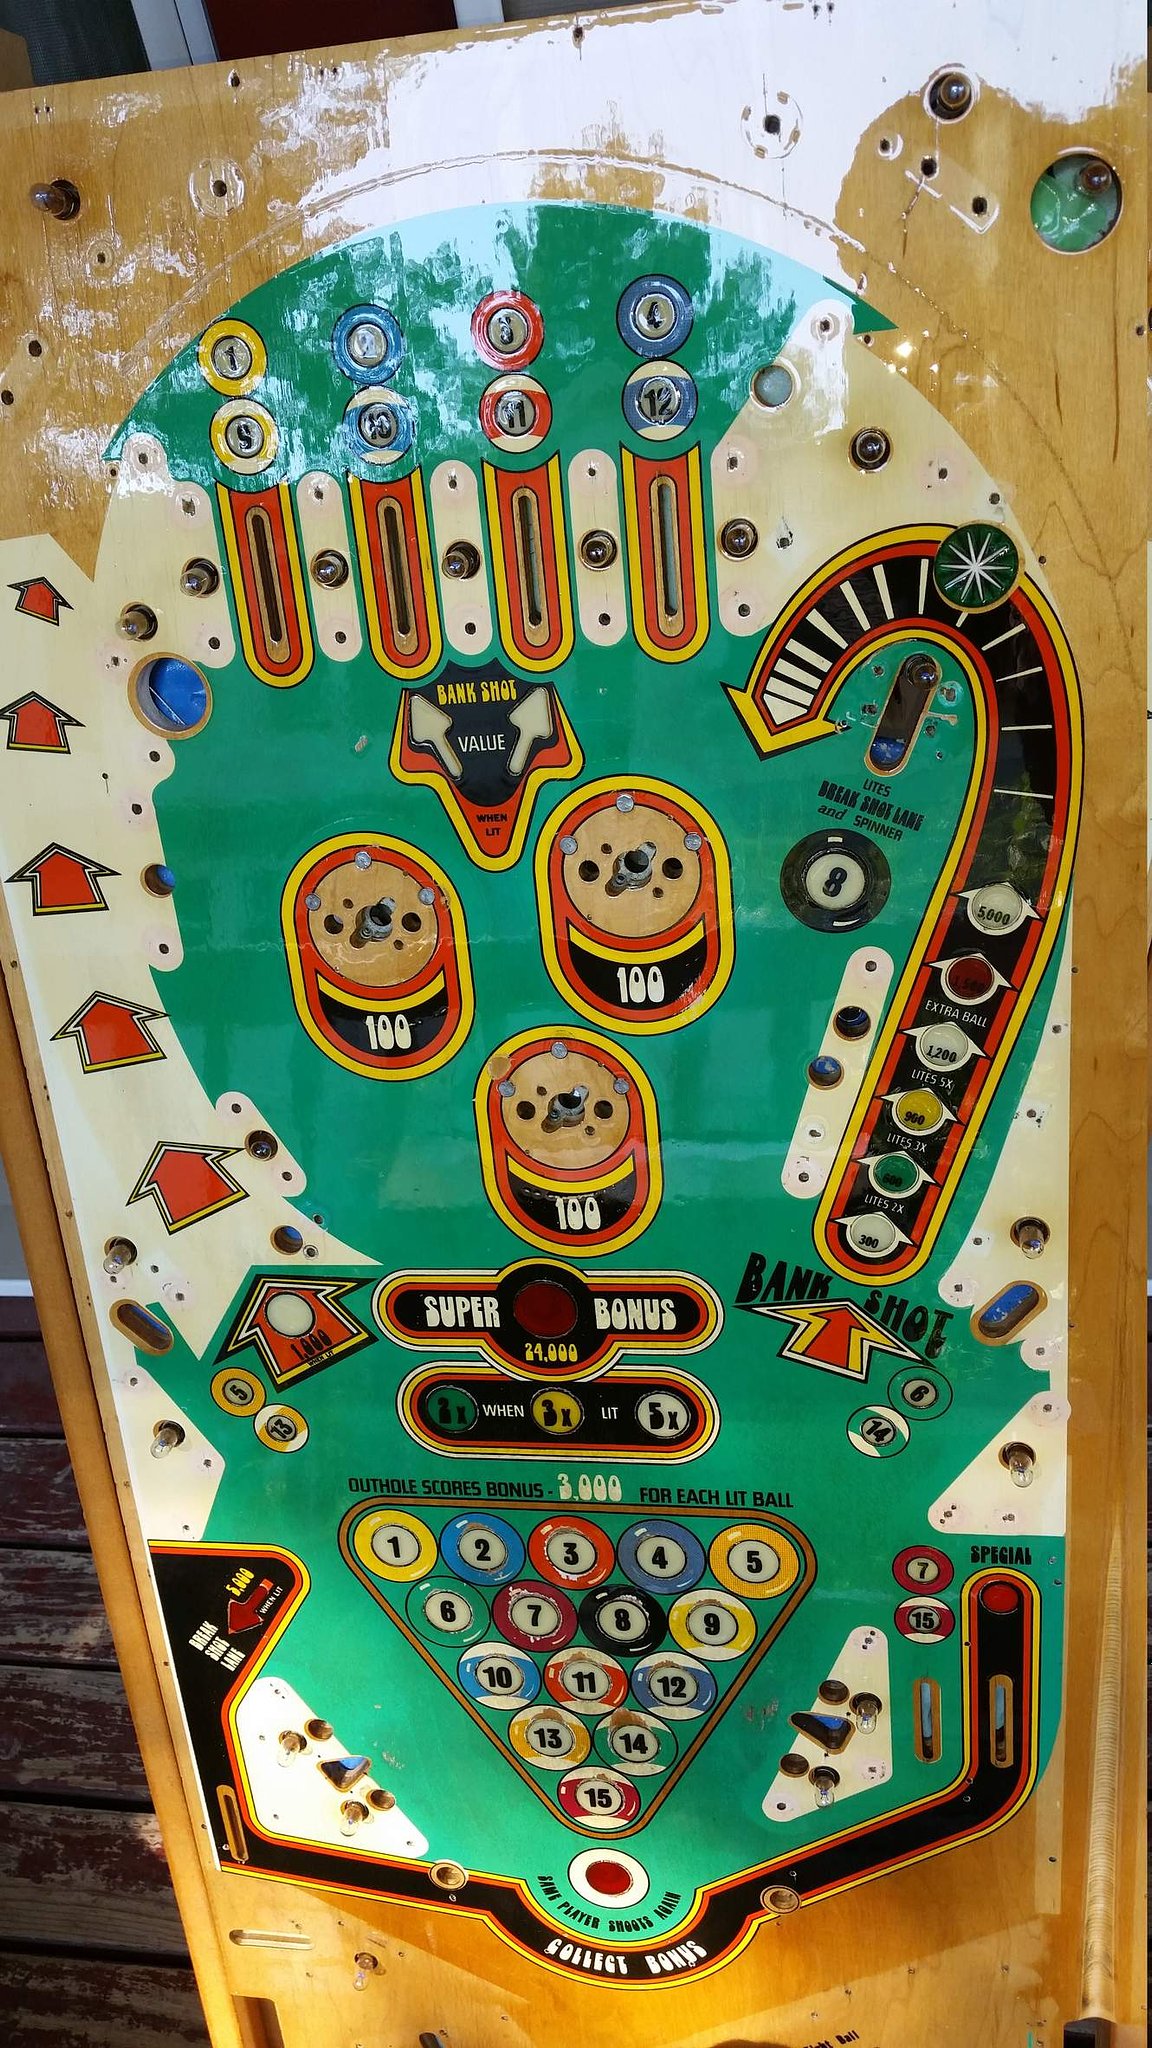
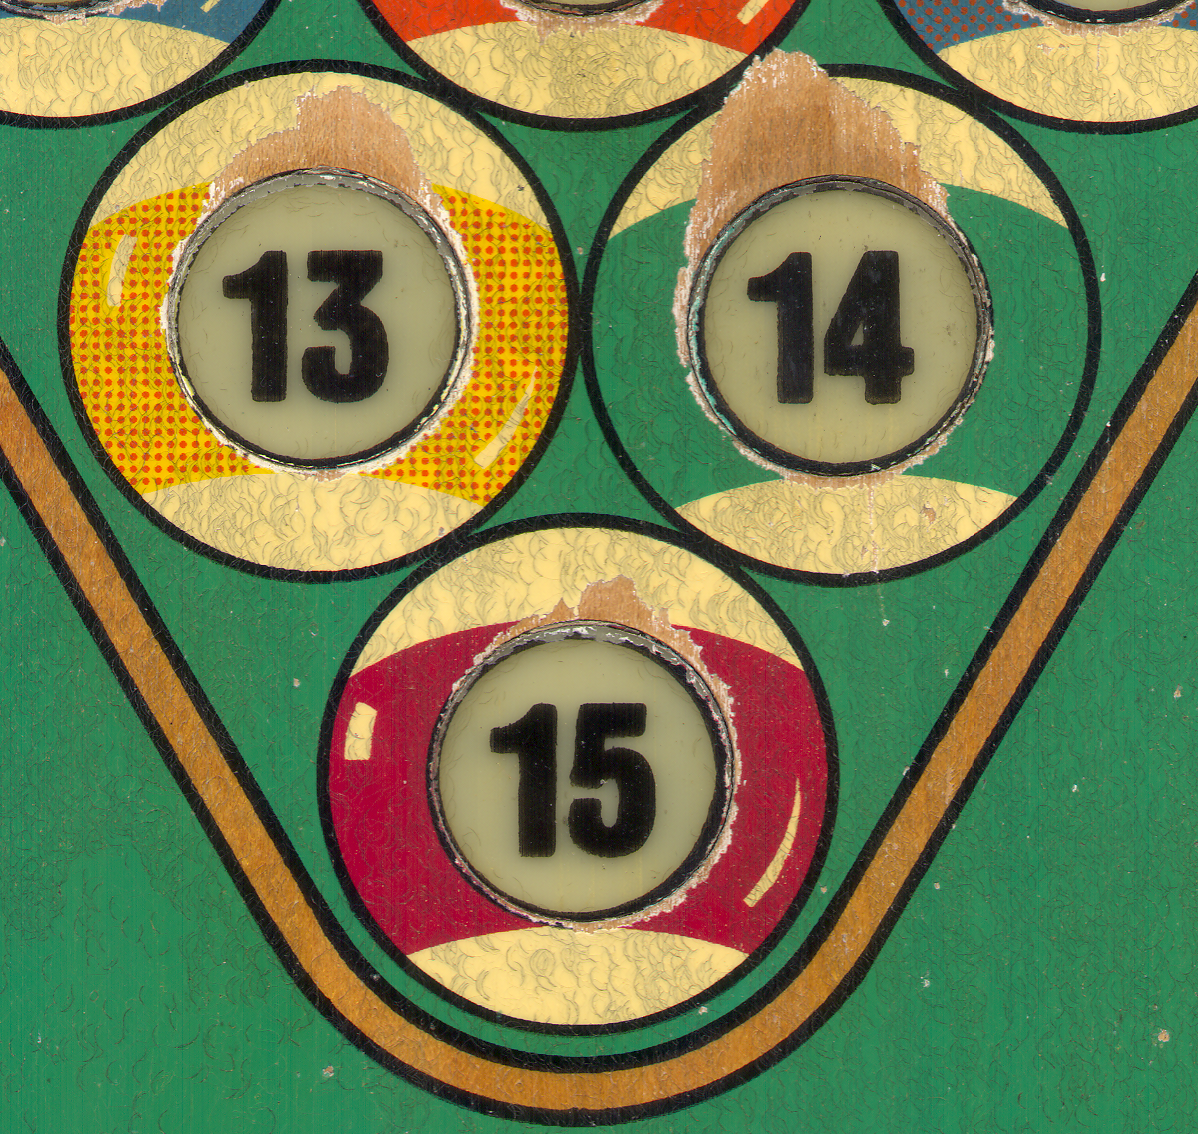
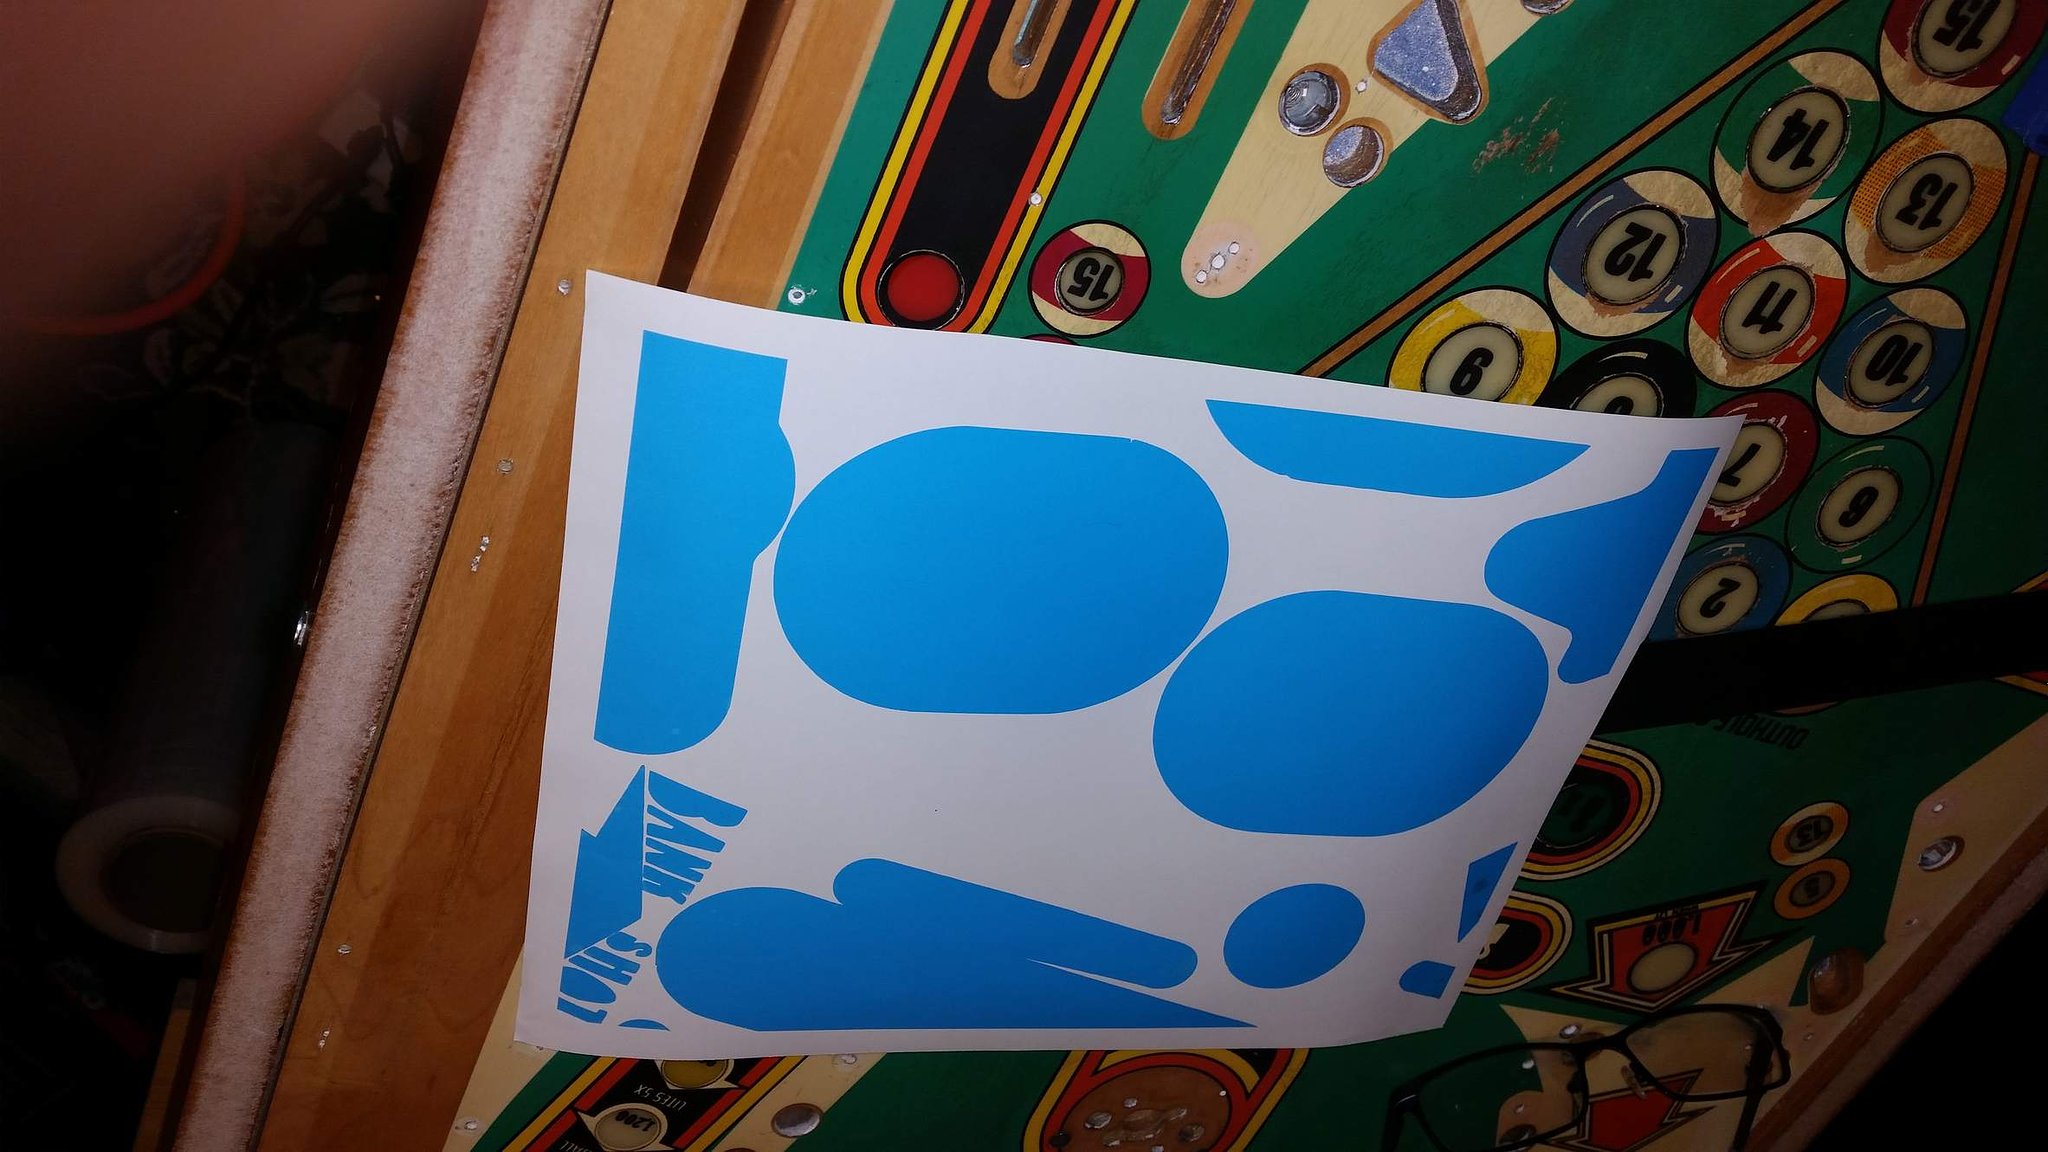
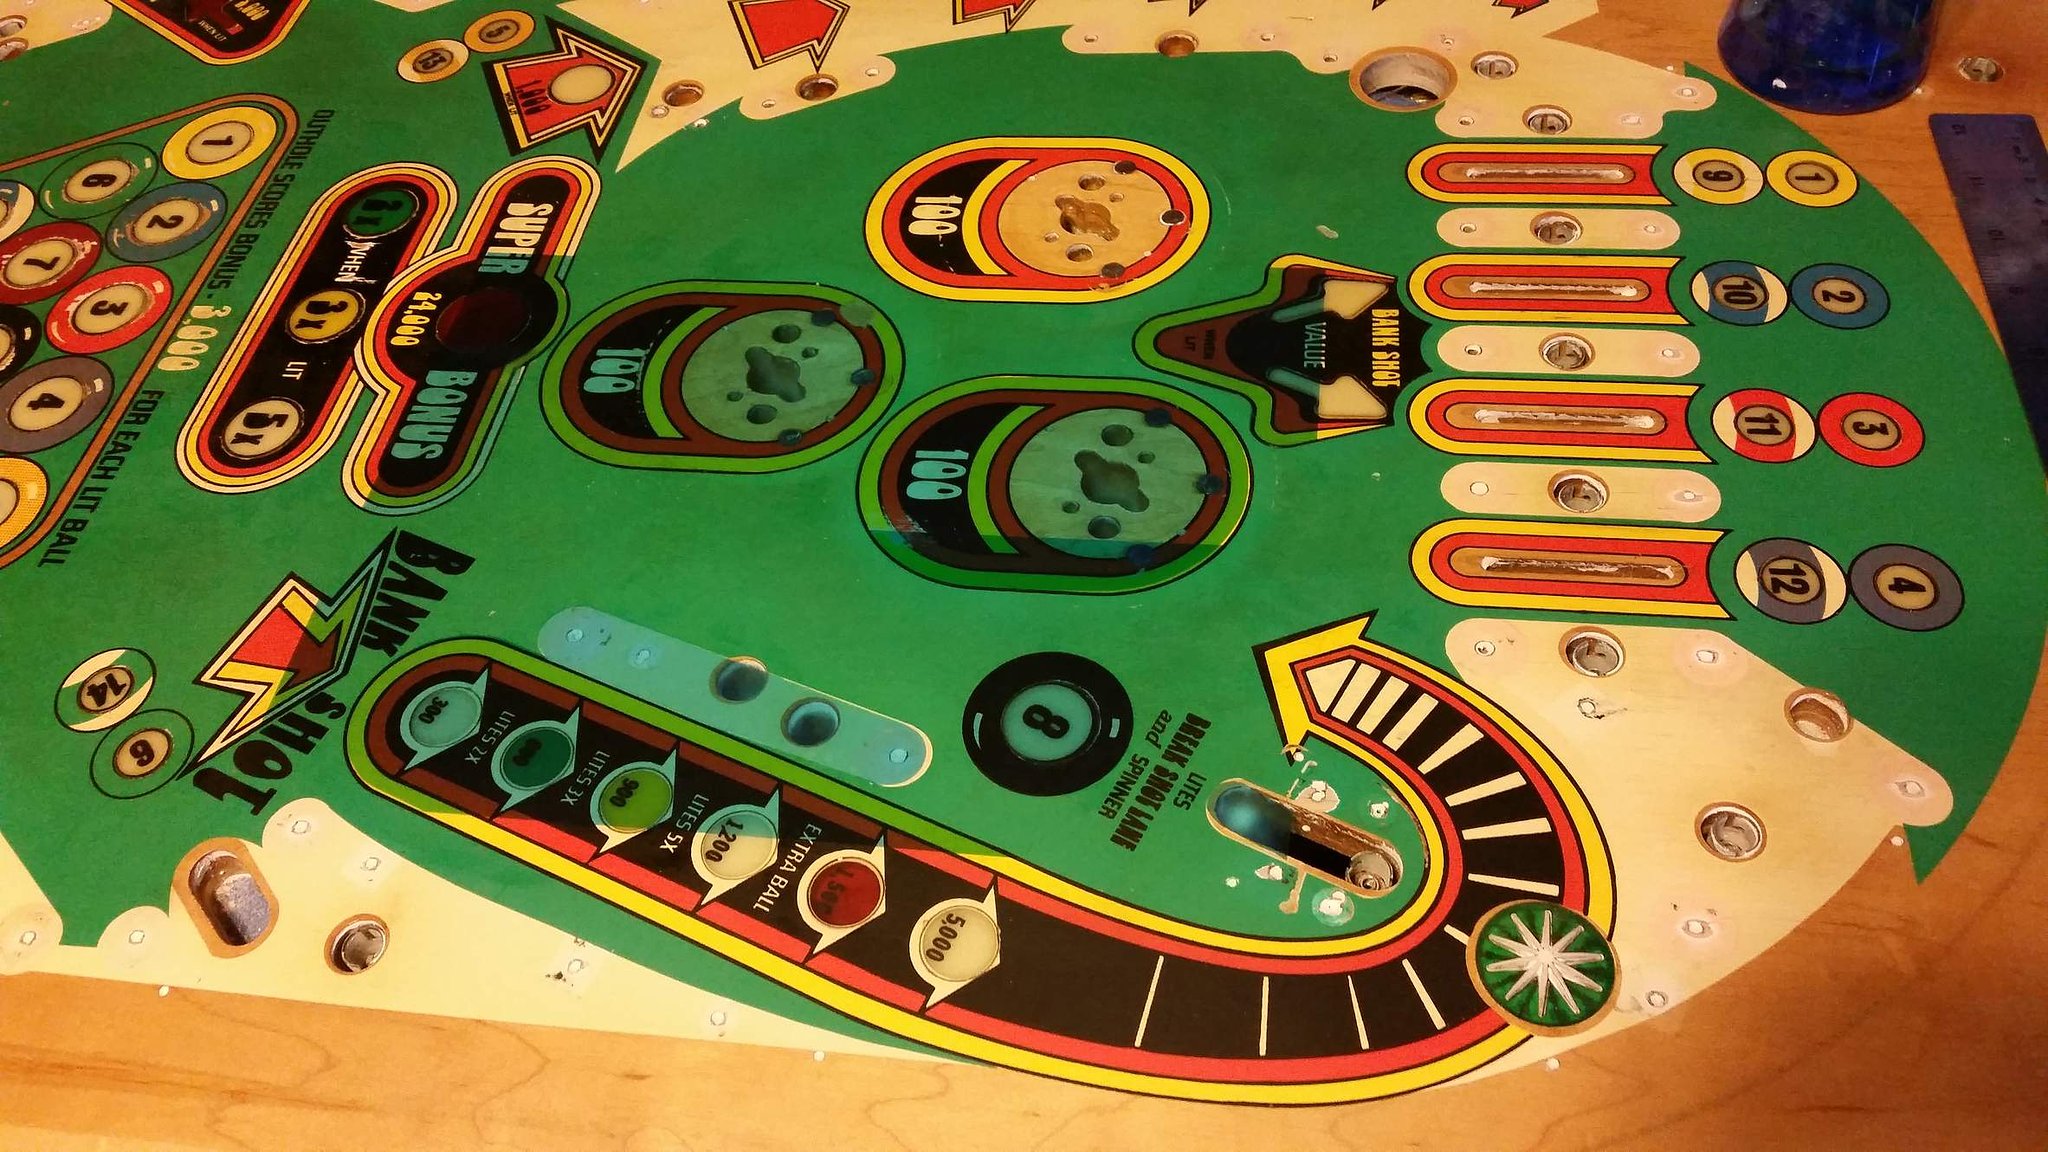
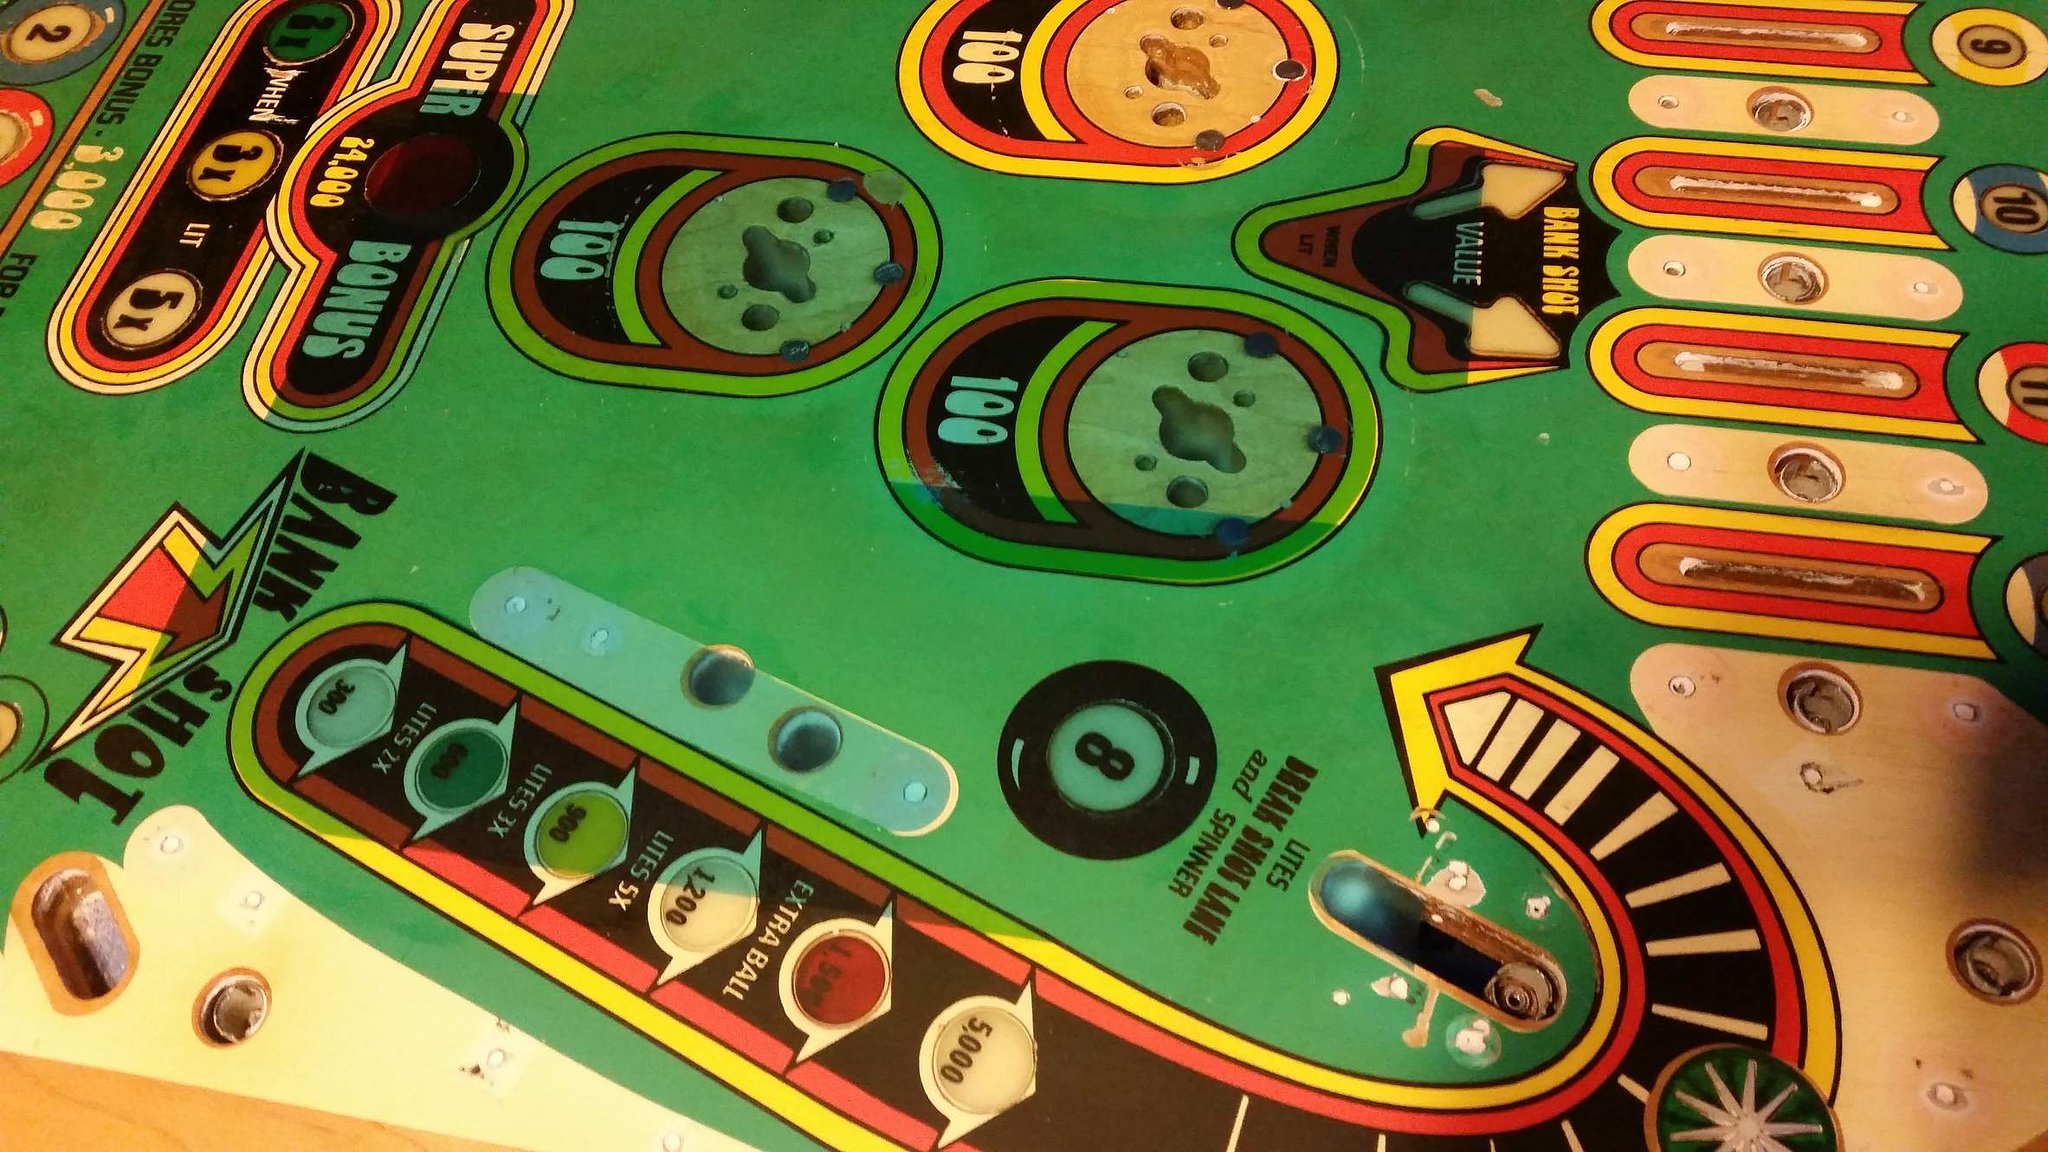
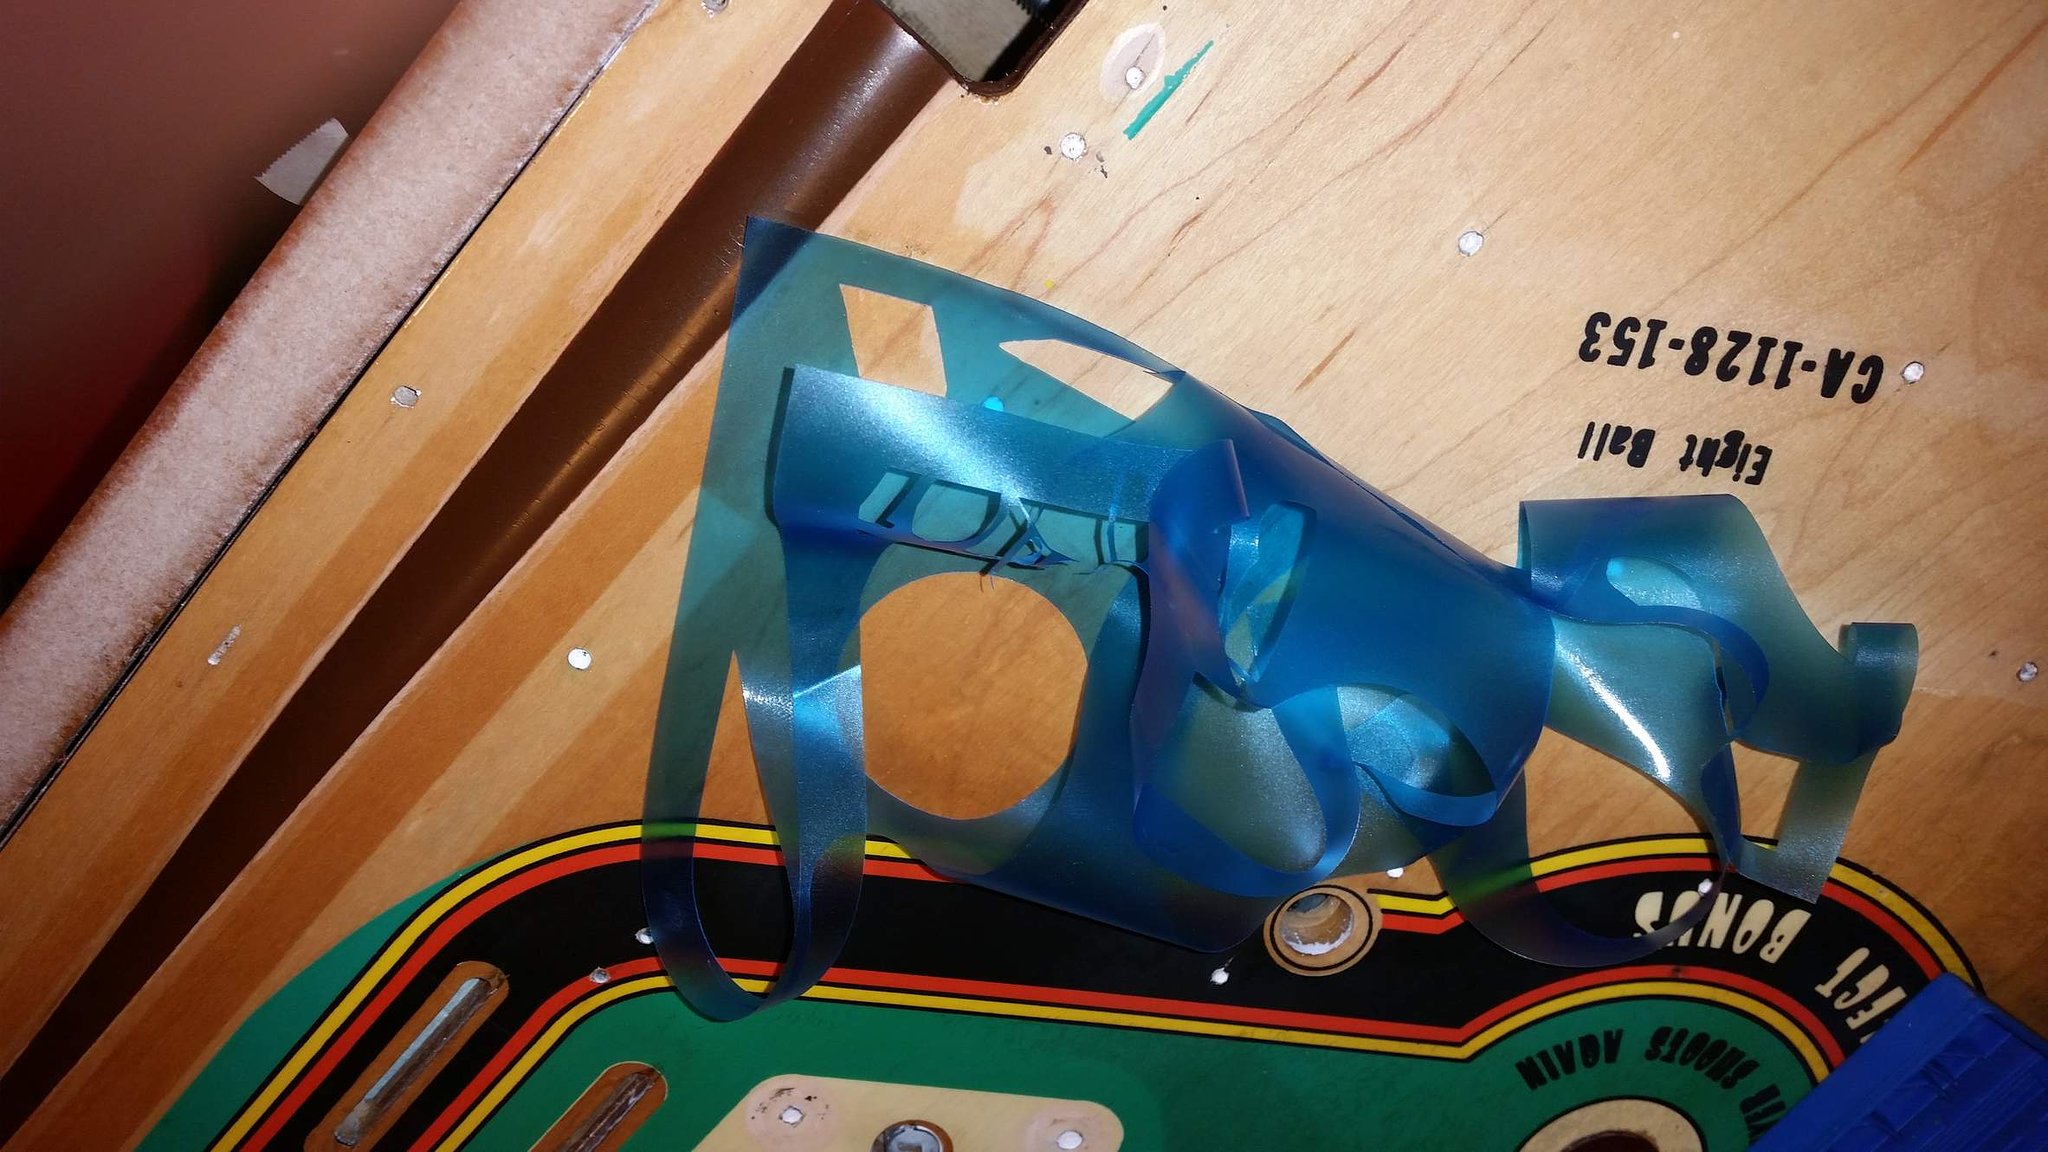
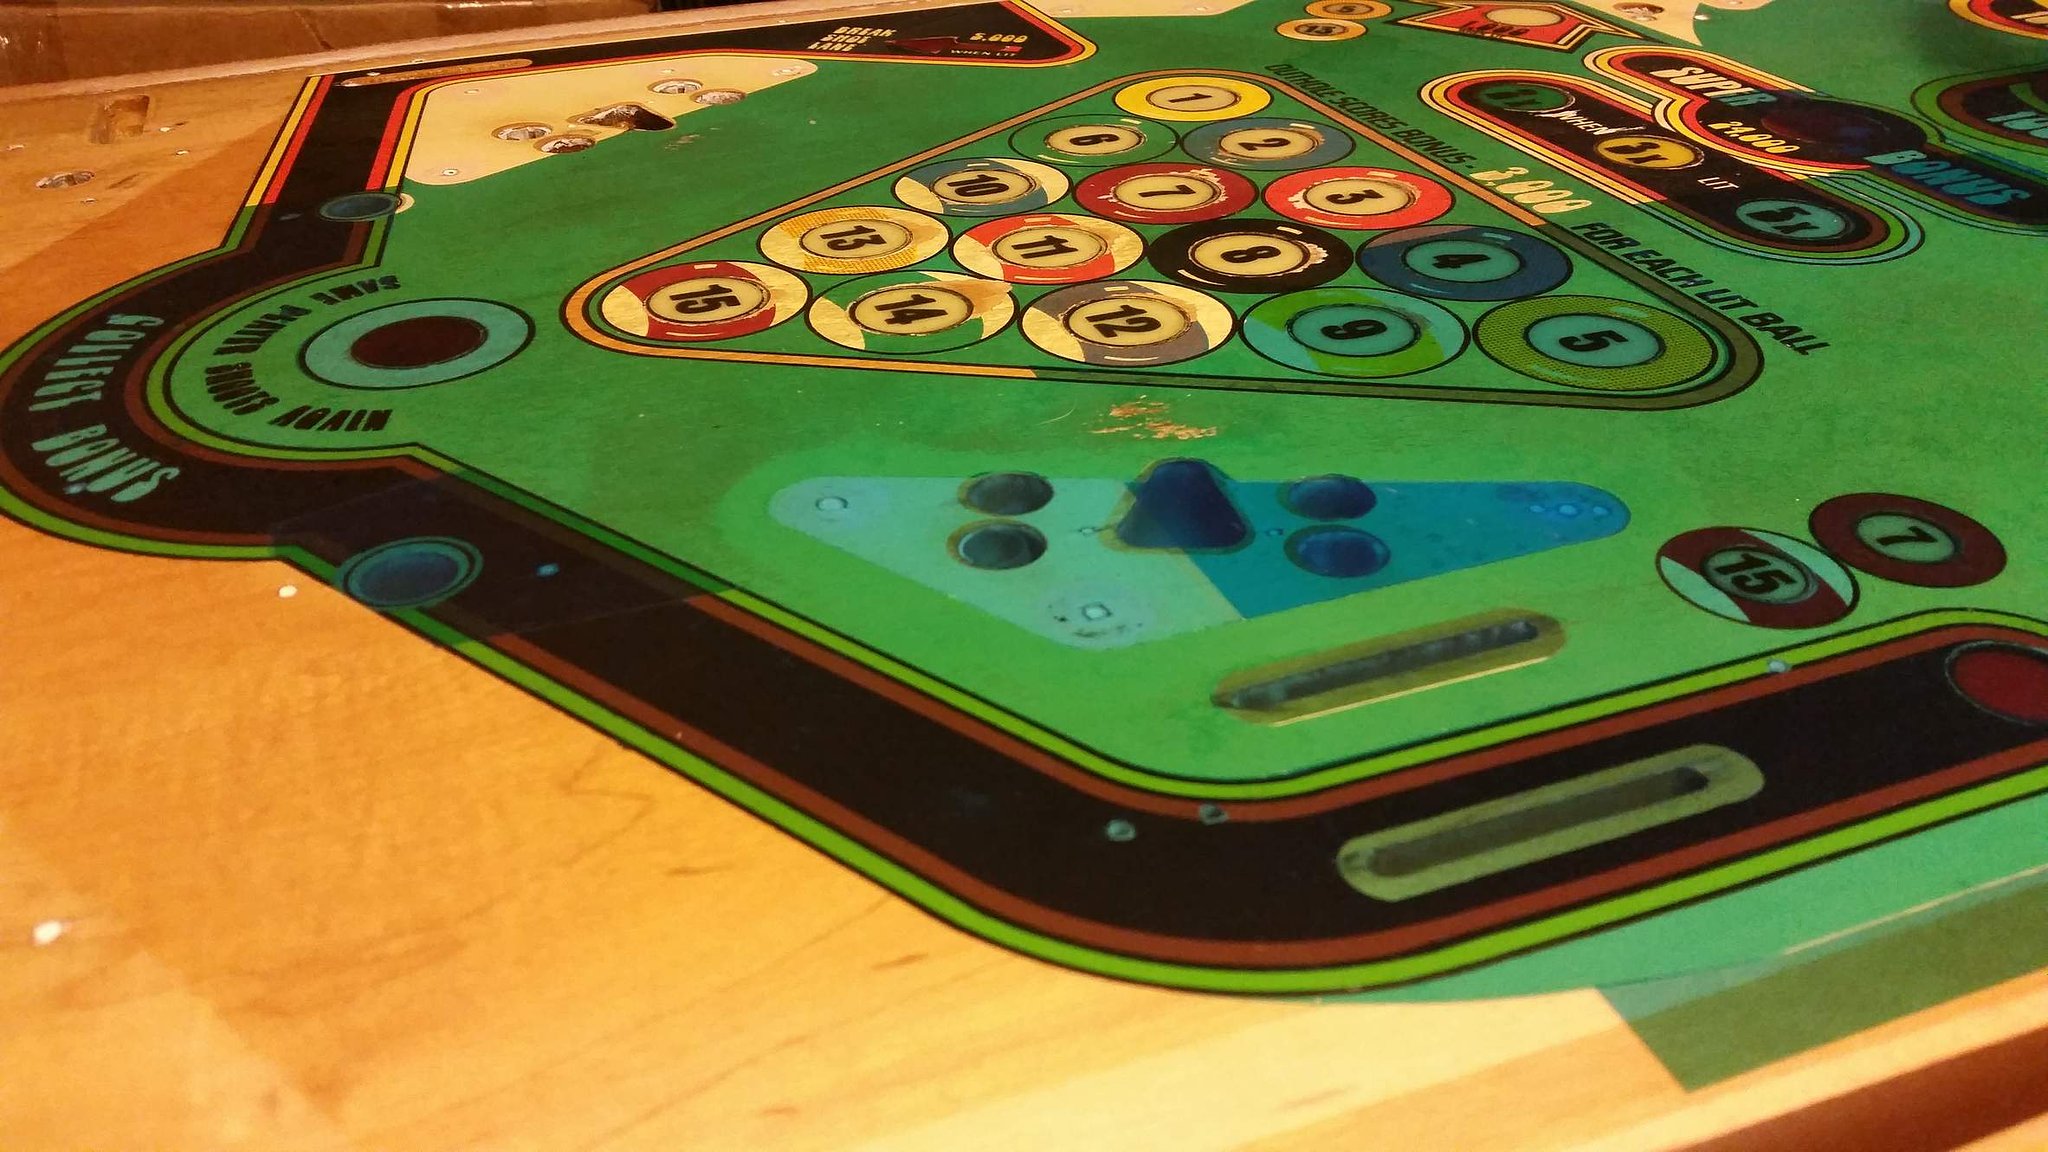
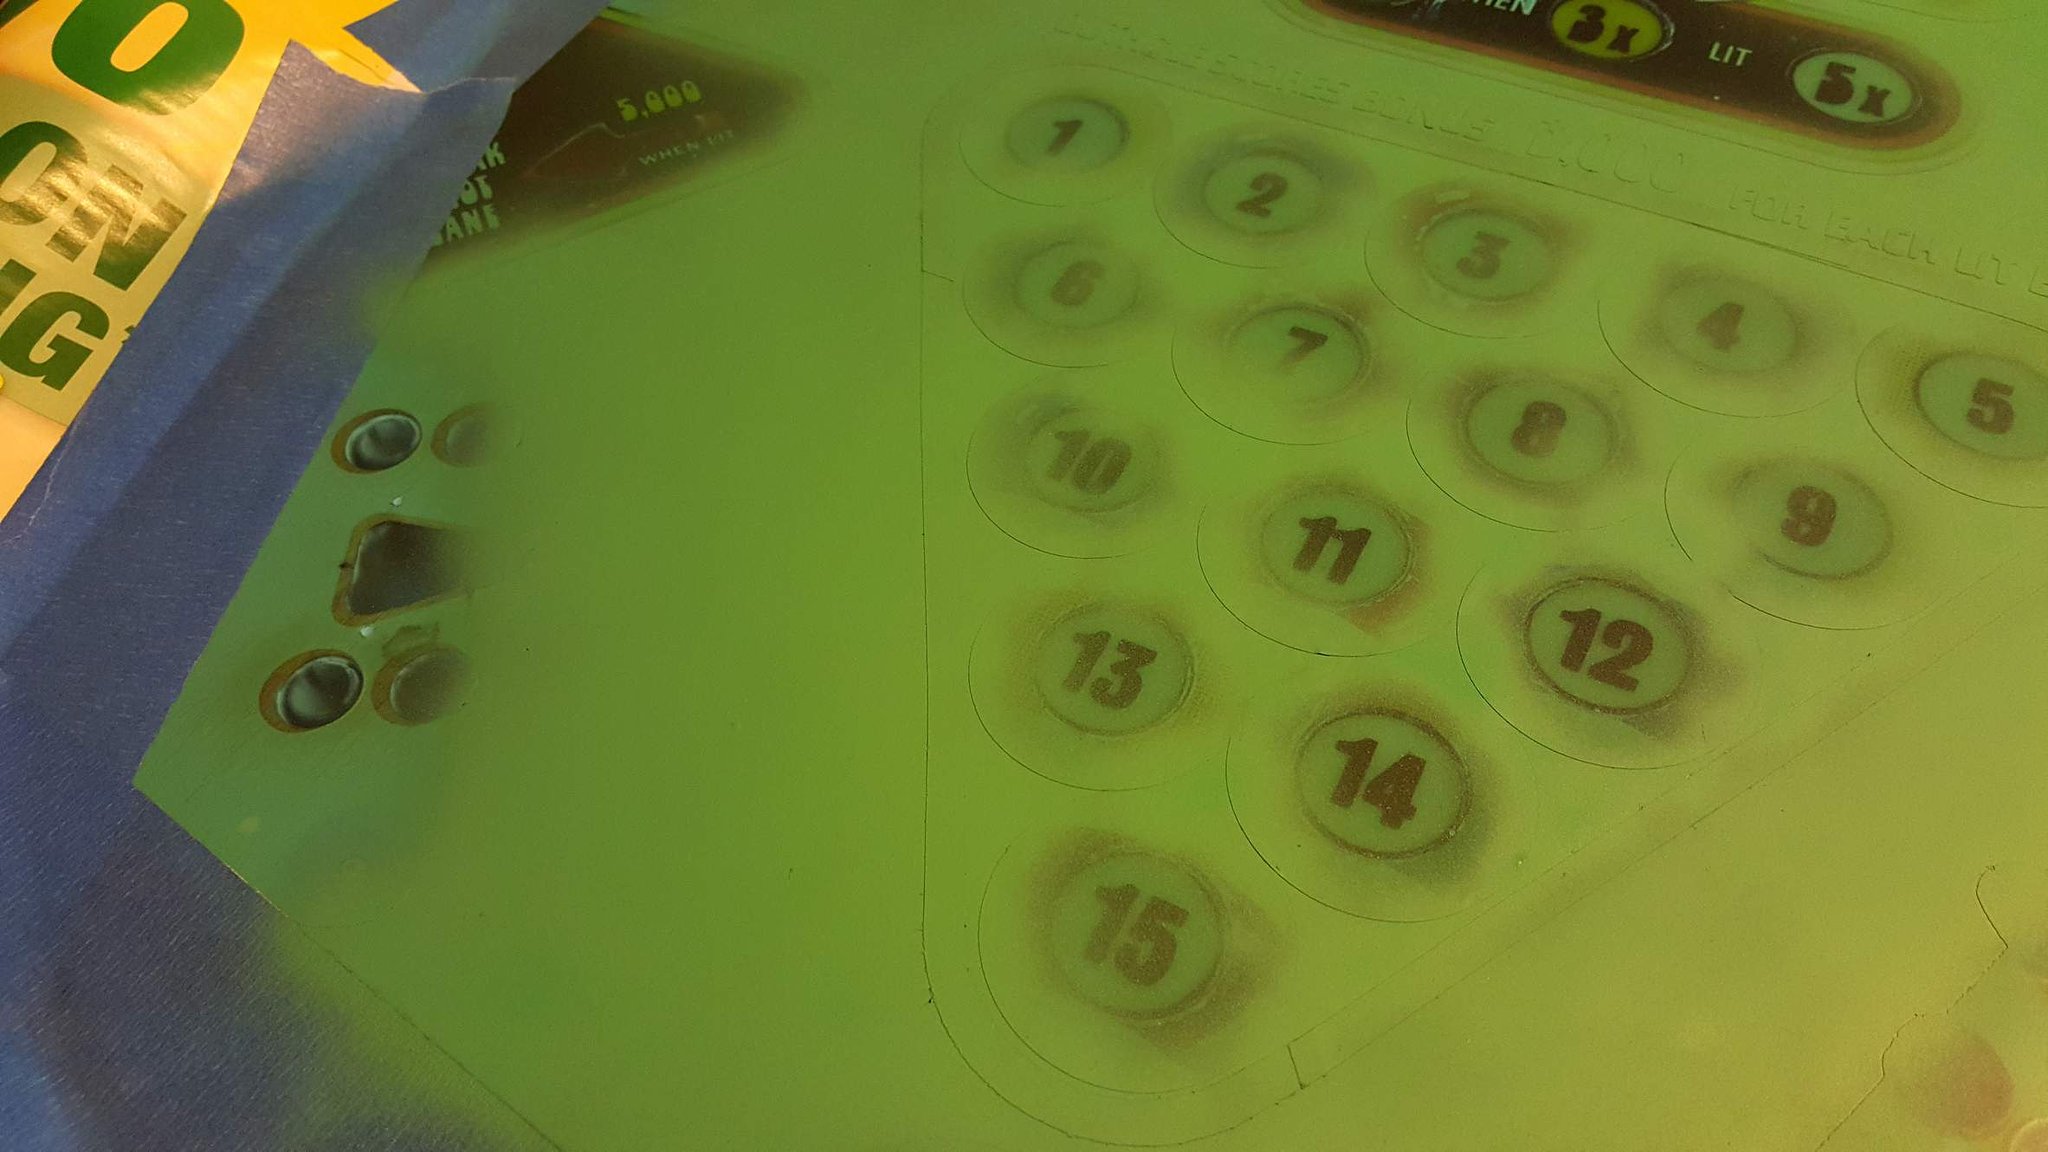
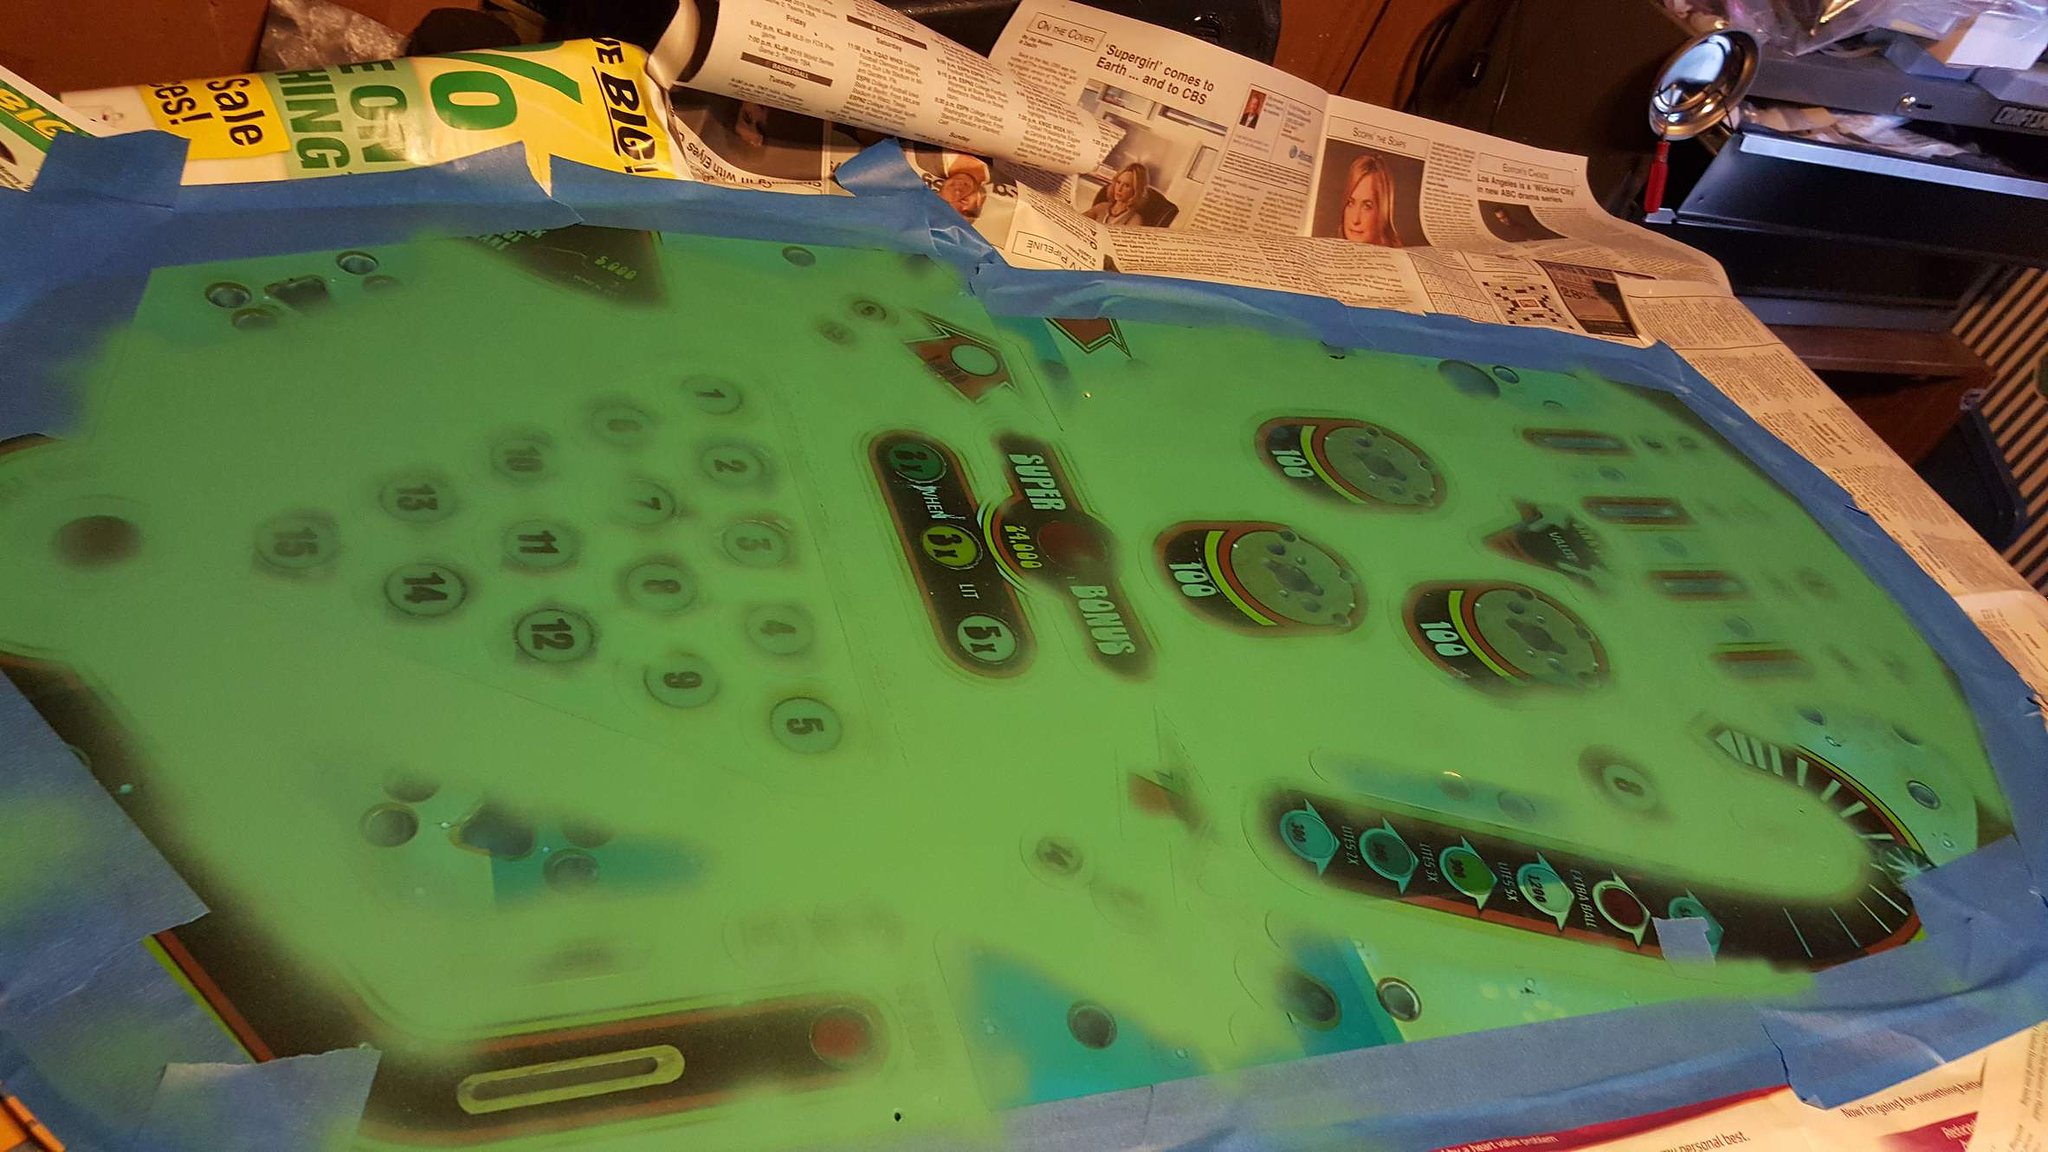
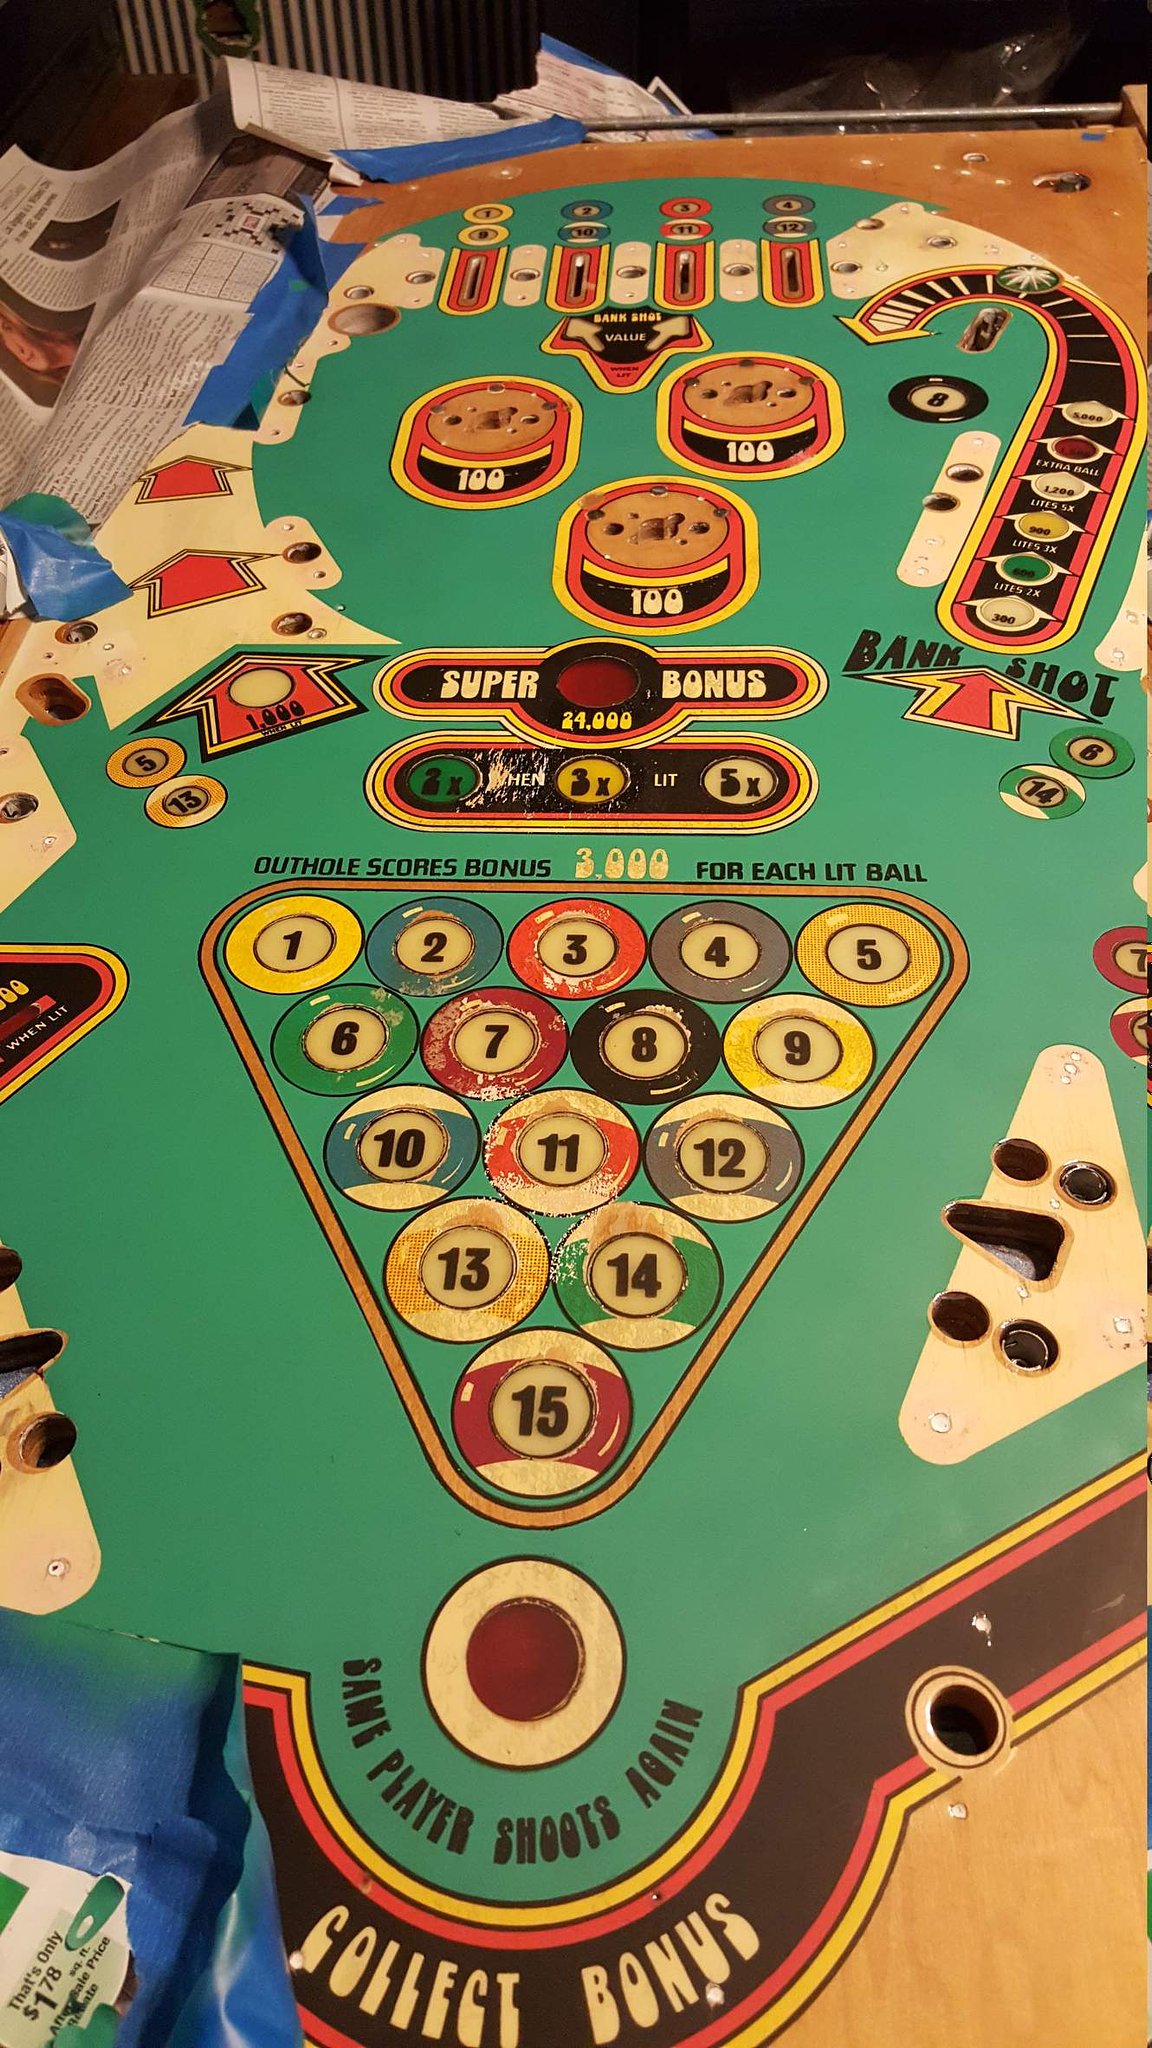
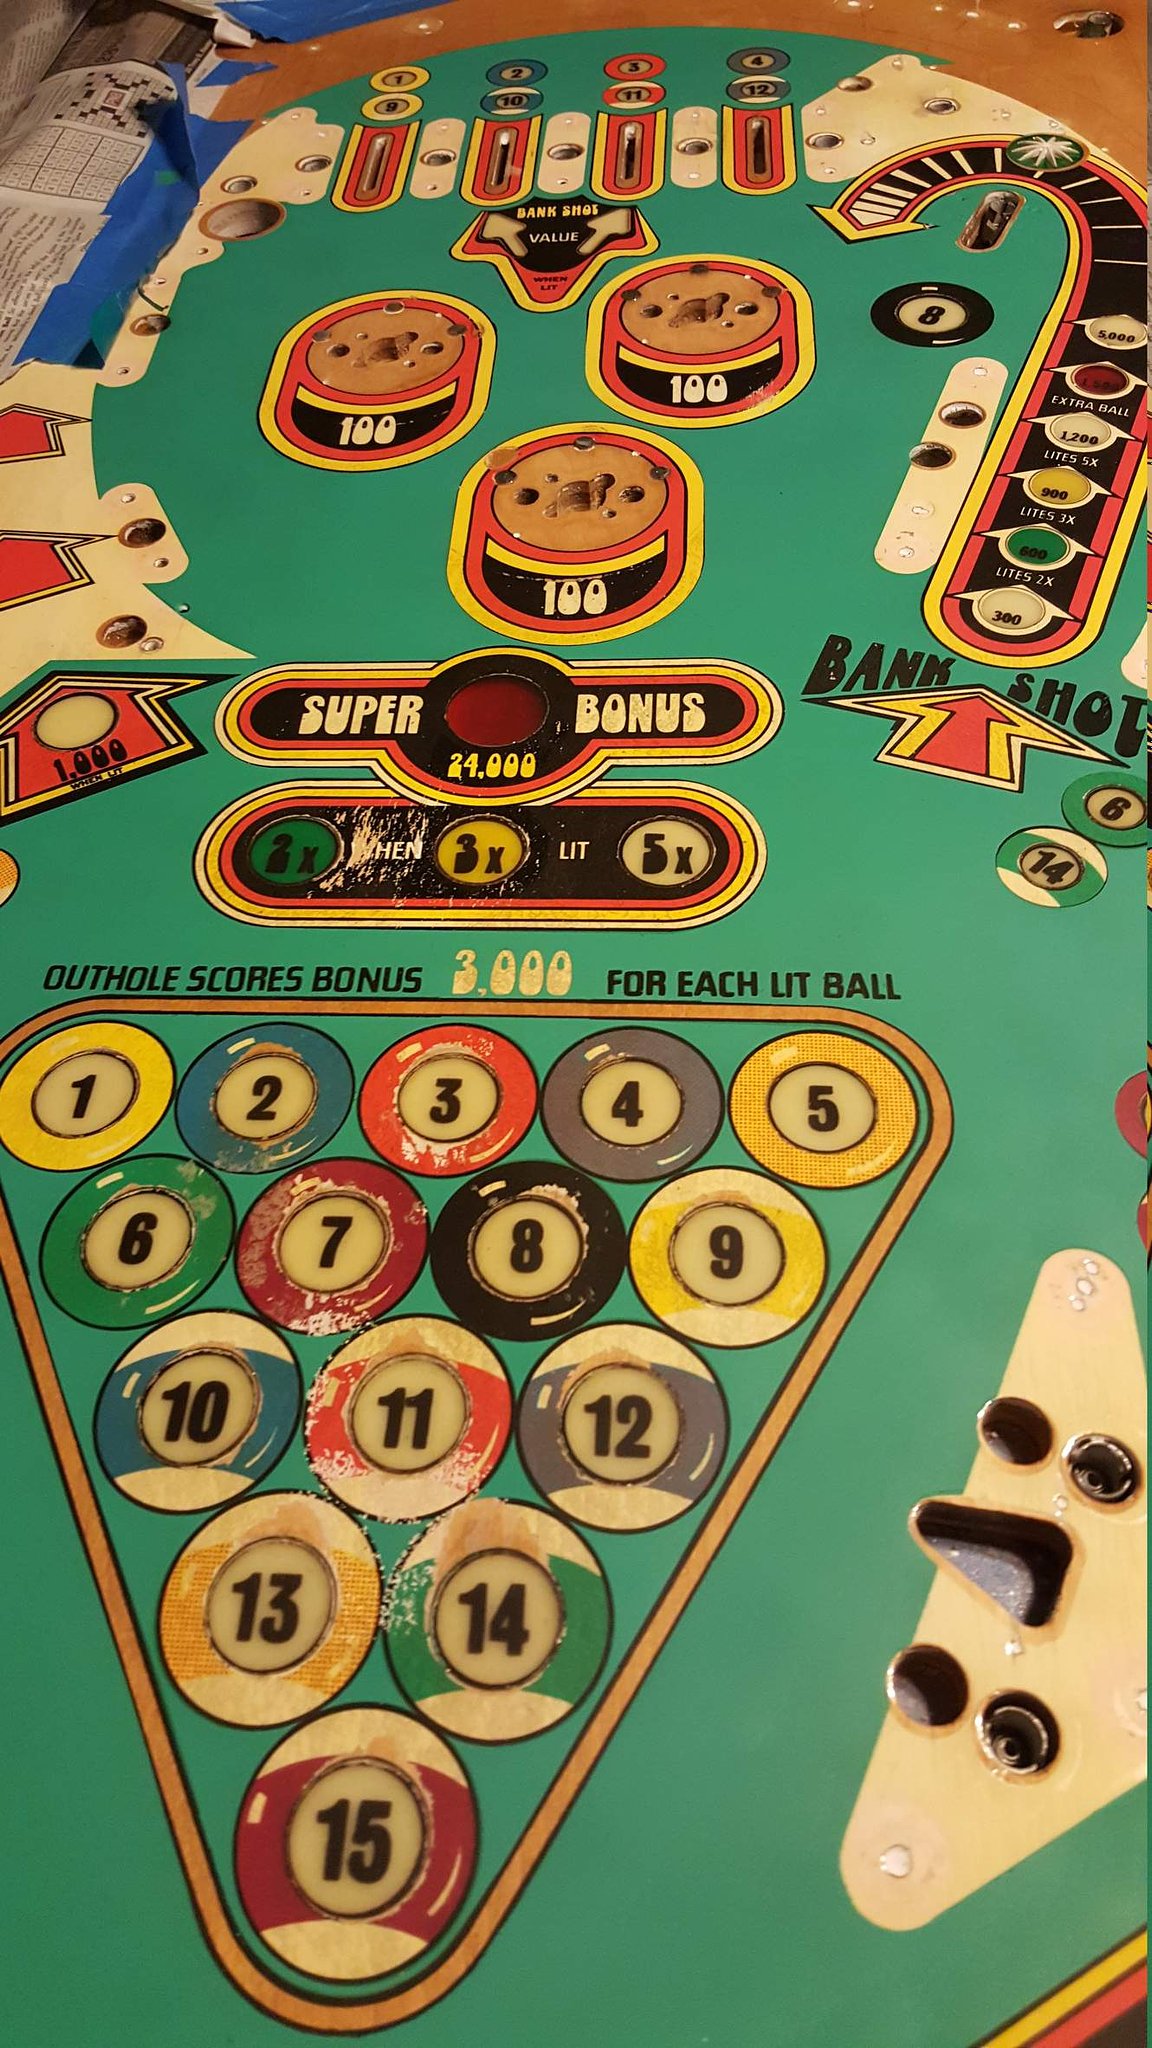
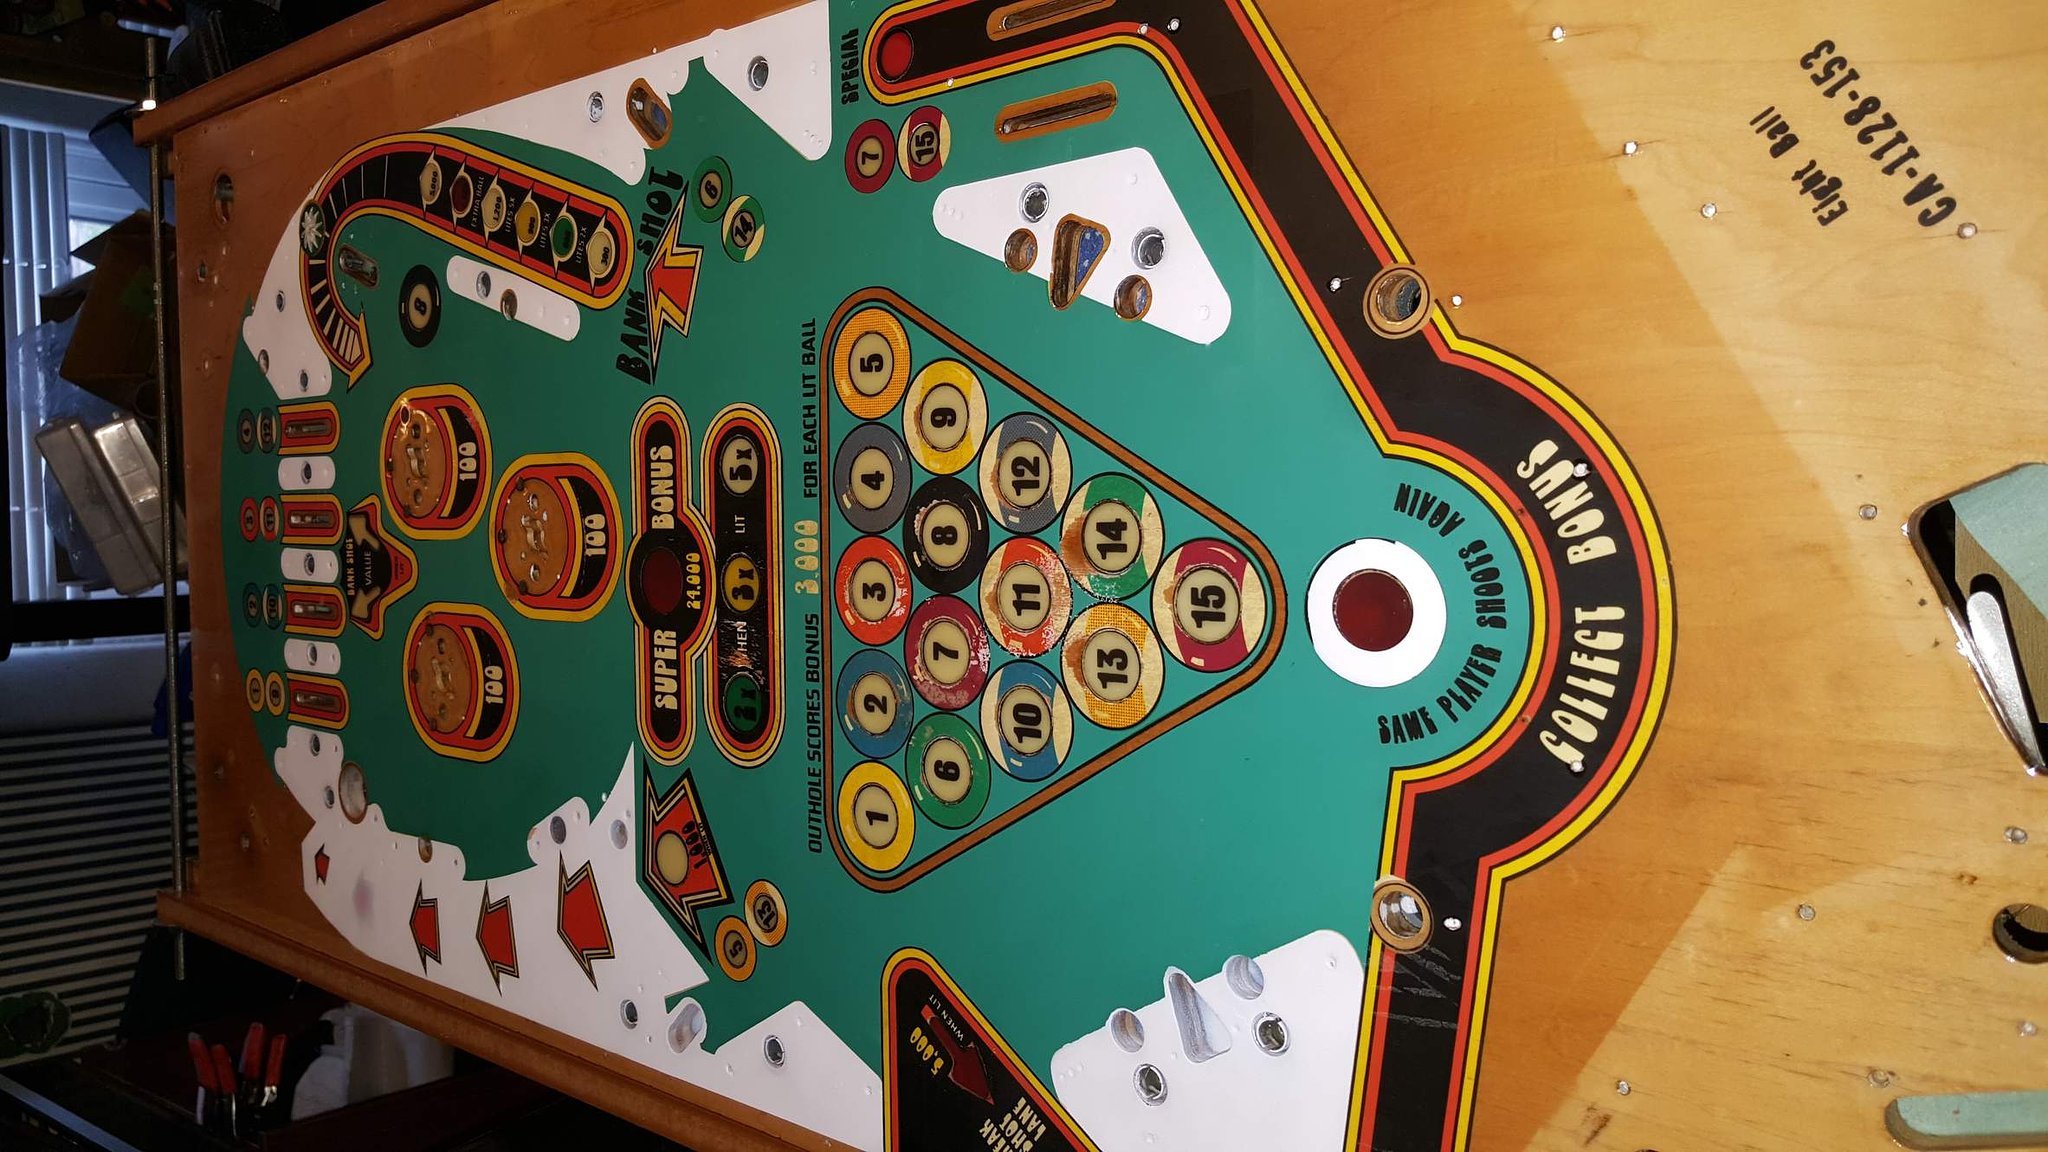
I will be starting a restoration on a 1977 Bally eight Ball.
I have been collecting for a lot of years and recently thanks to sites like this I have been able to bring many of my machines back from the dead and looking better than when I purchased them.
I do not play pinball well, but I enjoy the workings and how all the parts come together and that for me seems to be why I like restoration work the most about the hobby. Because of this, I have restored several of my machines as well as a few for friends.
About 2 years ago, I was approached by our local school district's foundation for a donation to their annual charity auction. At that time, I suggested that I would restore a machine for them to auction off.
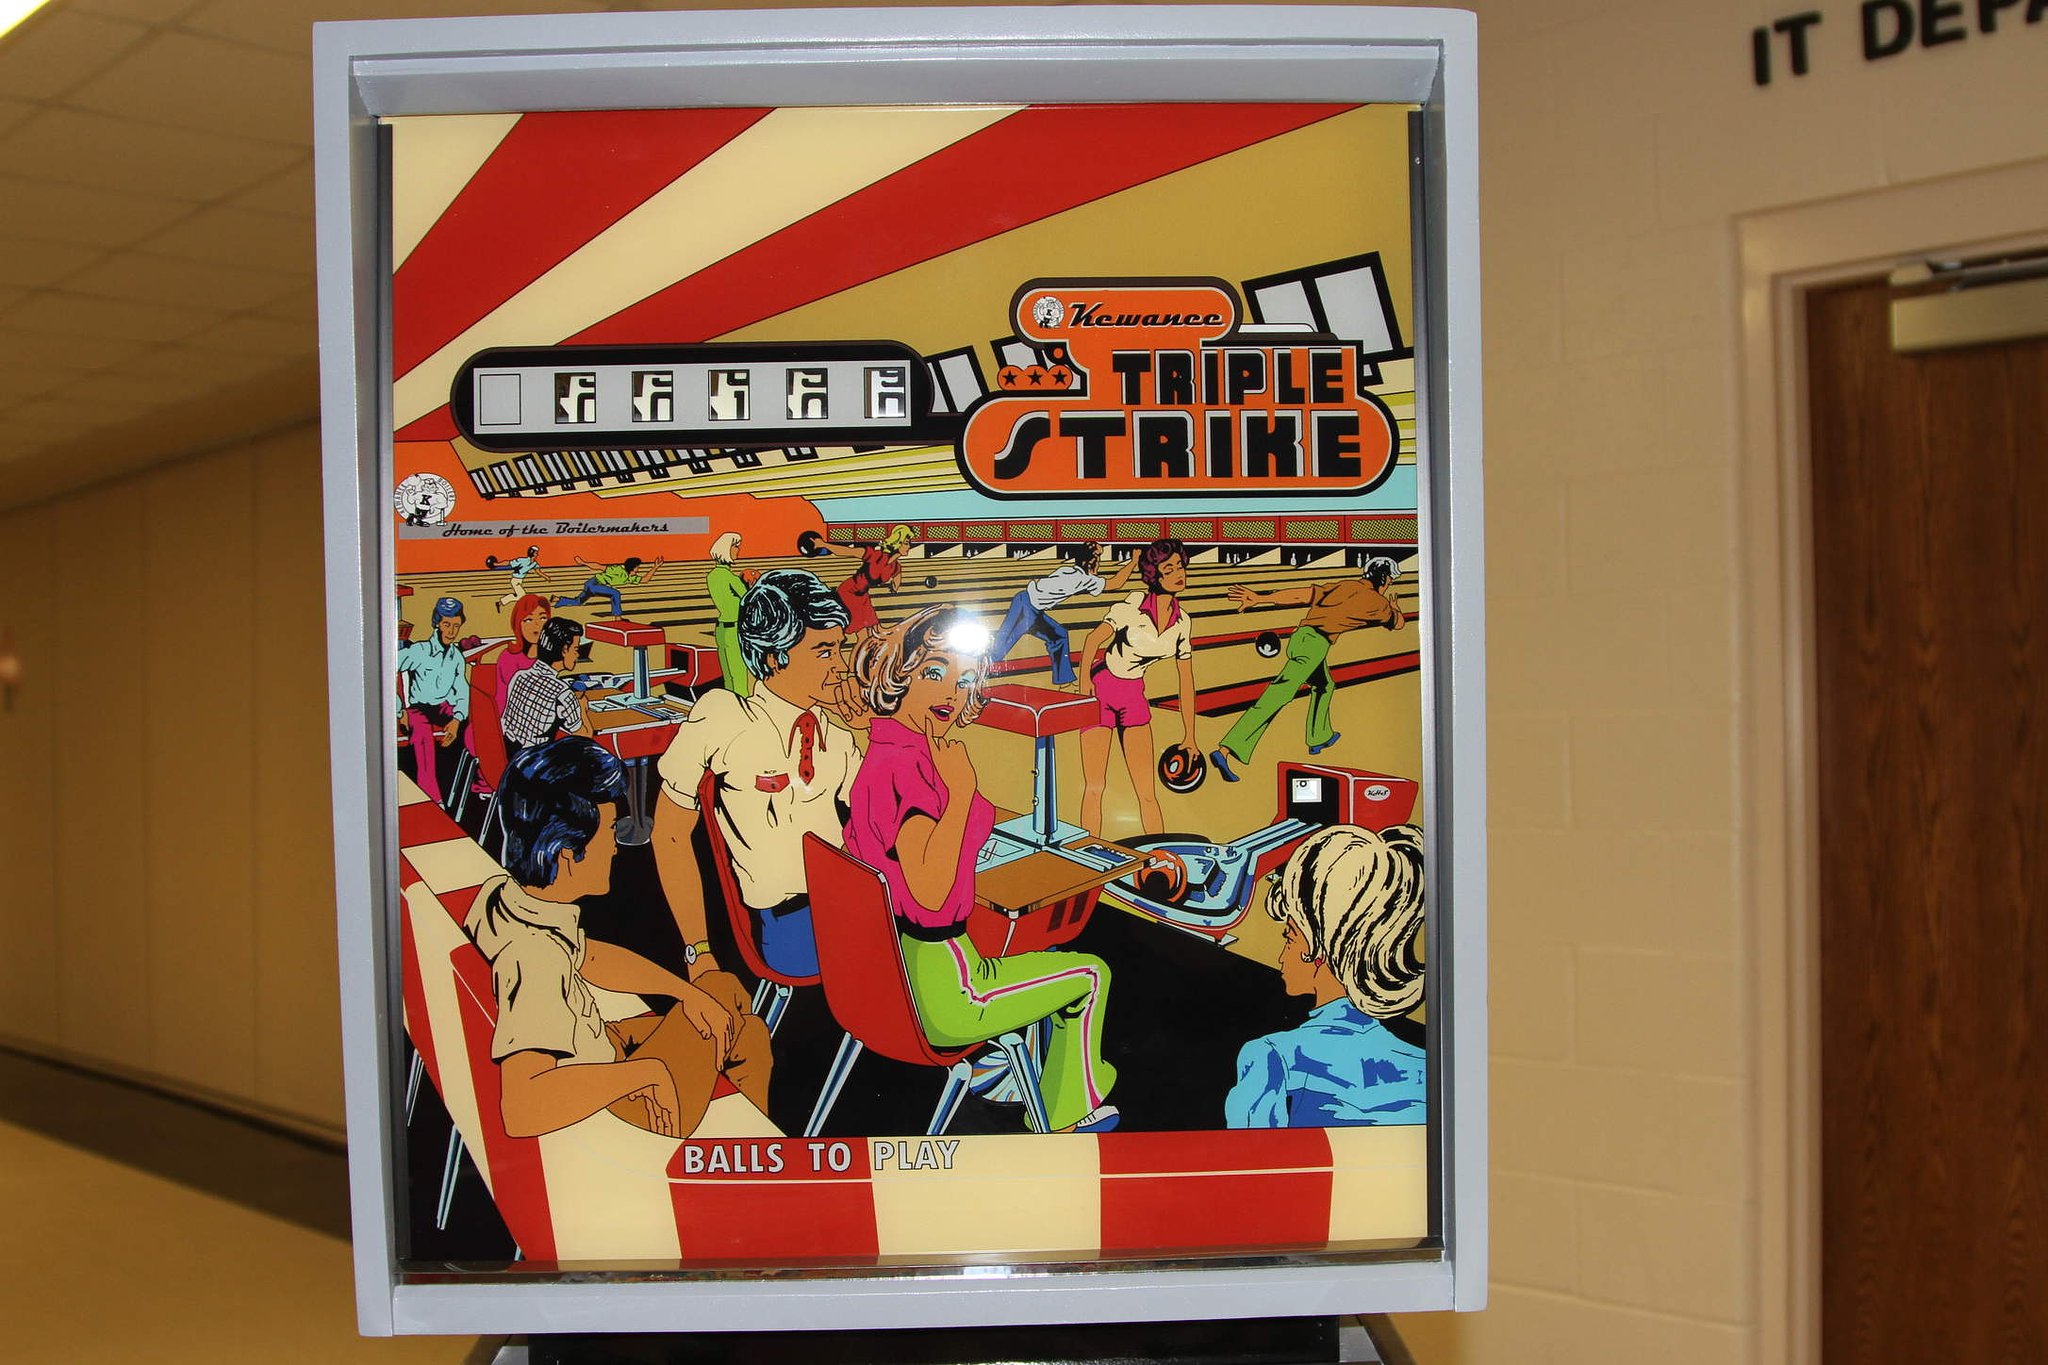
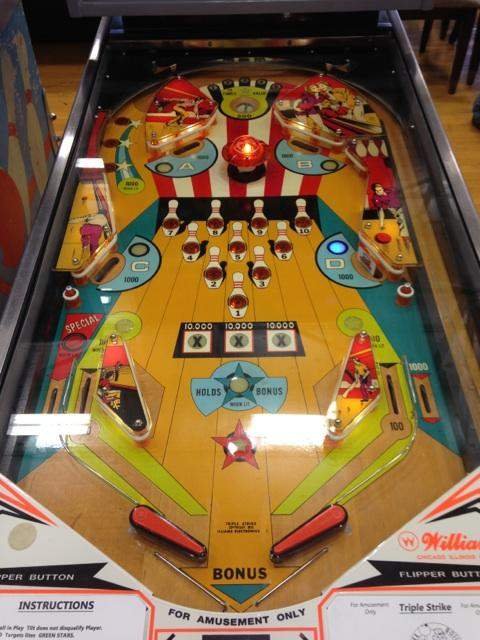
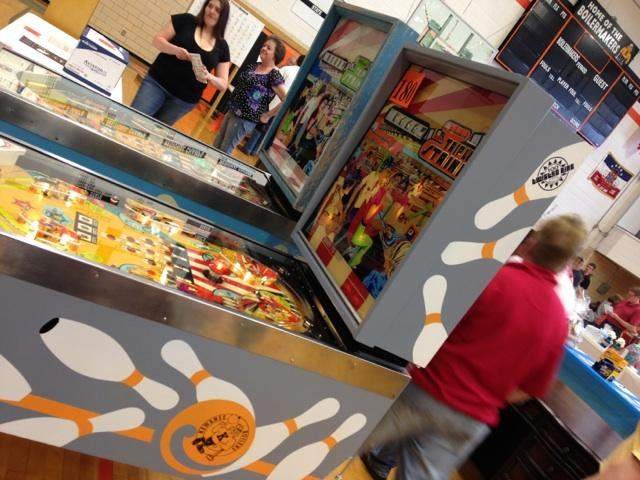
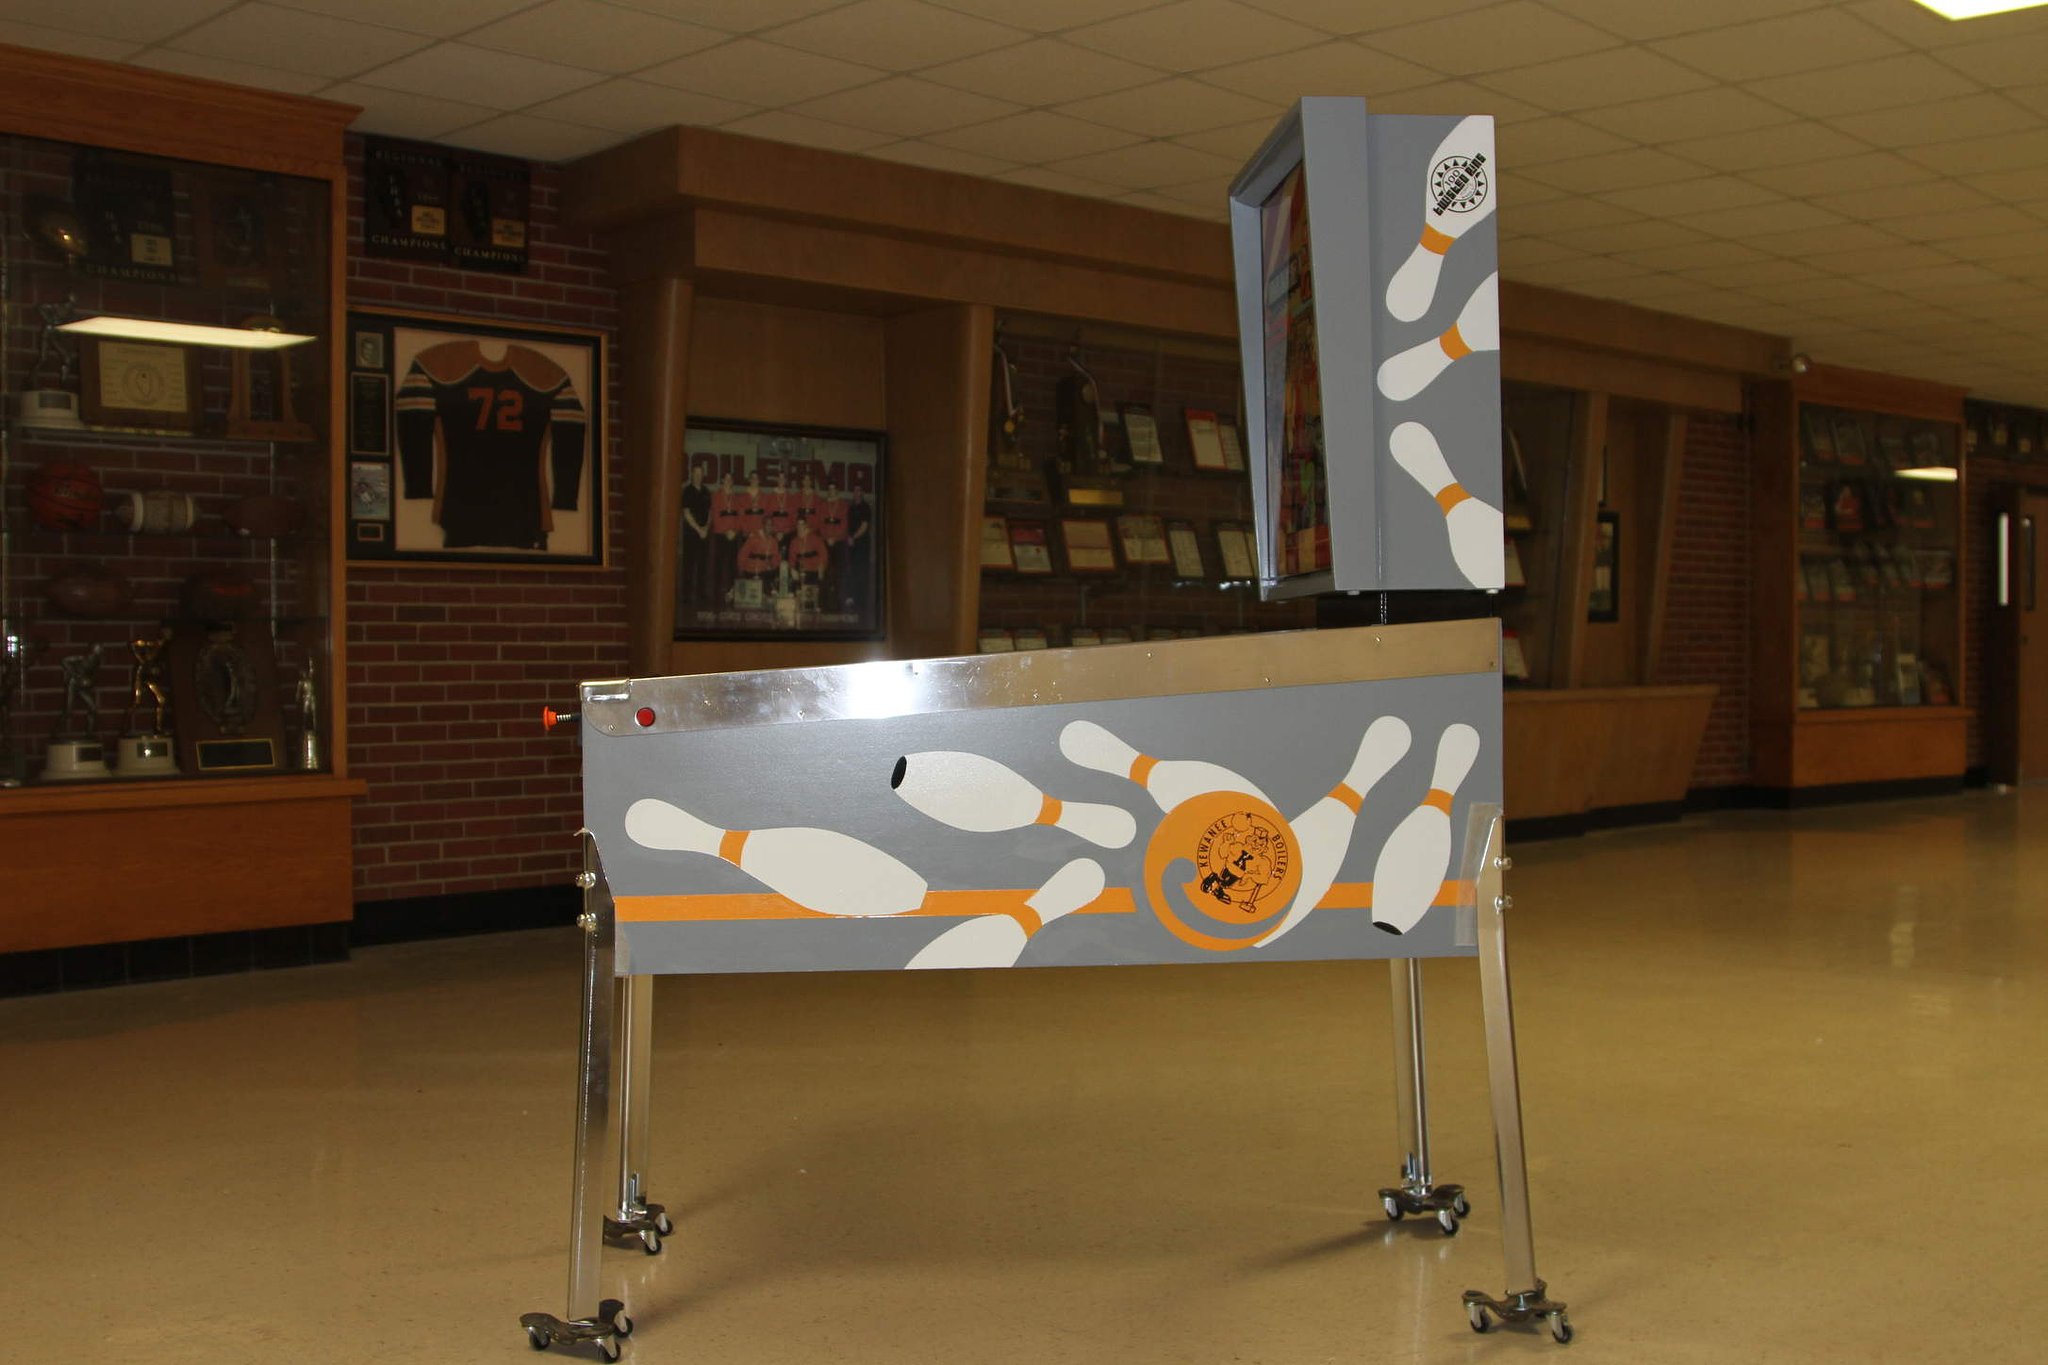
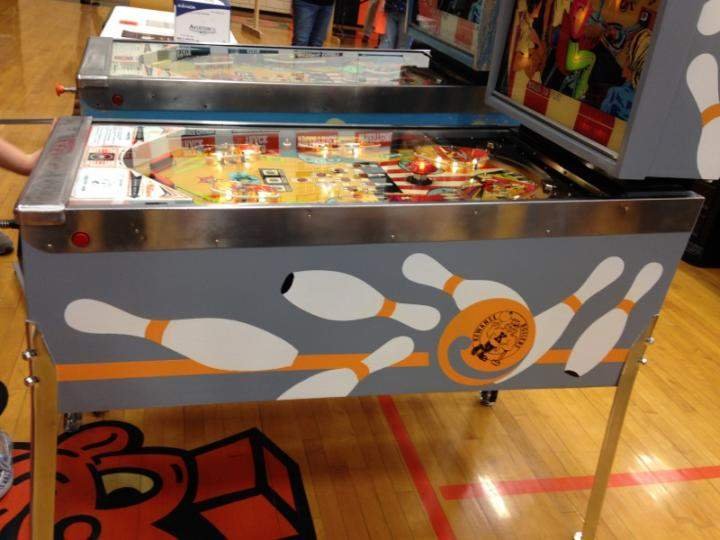
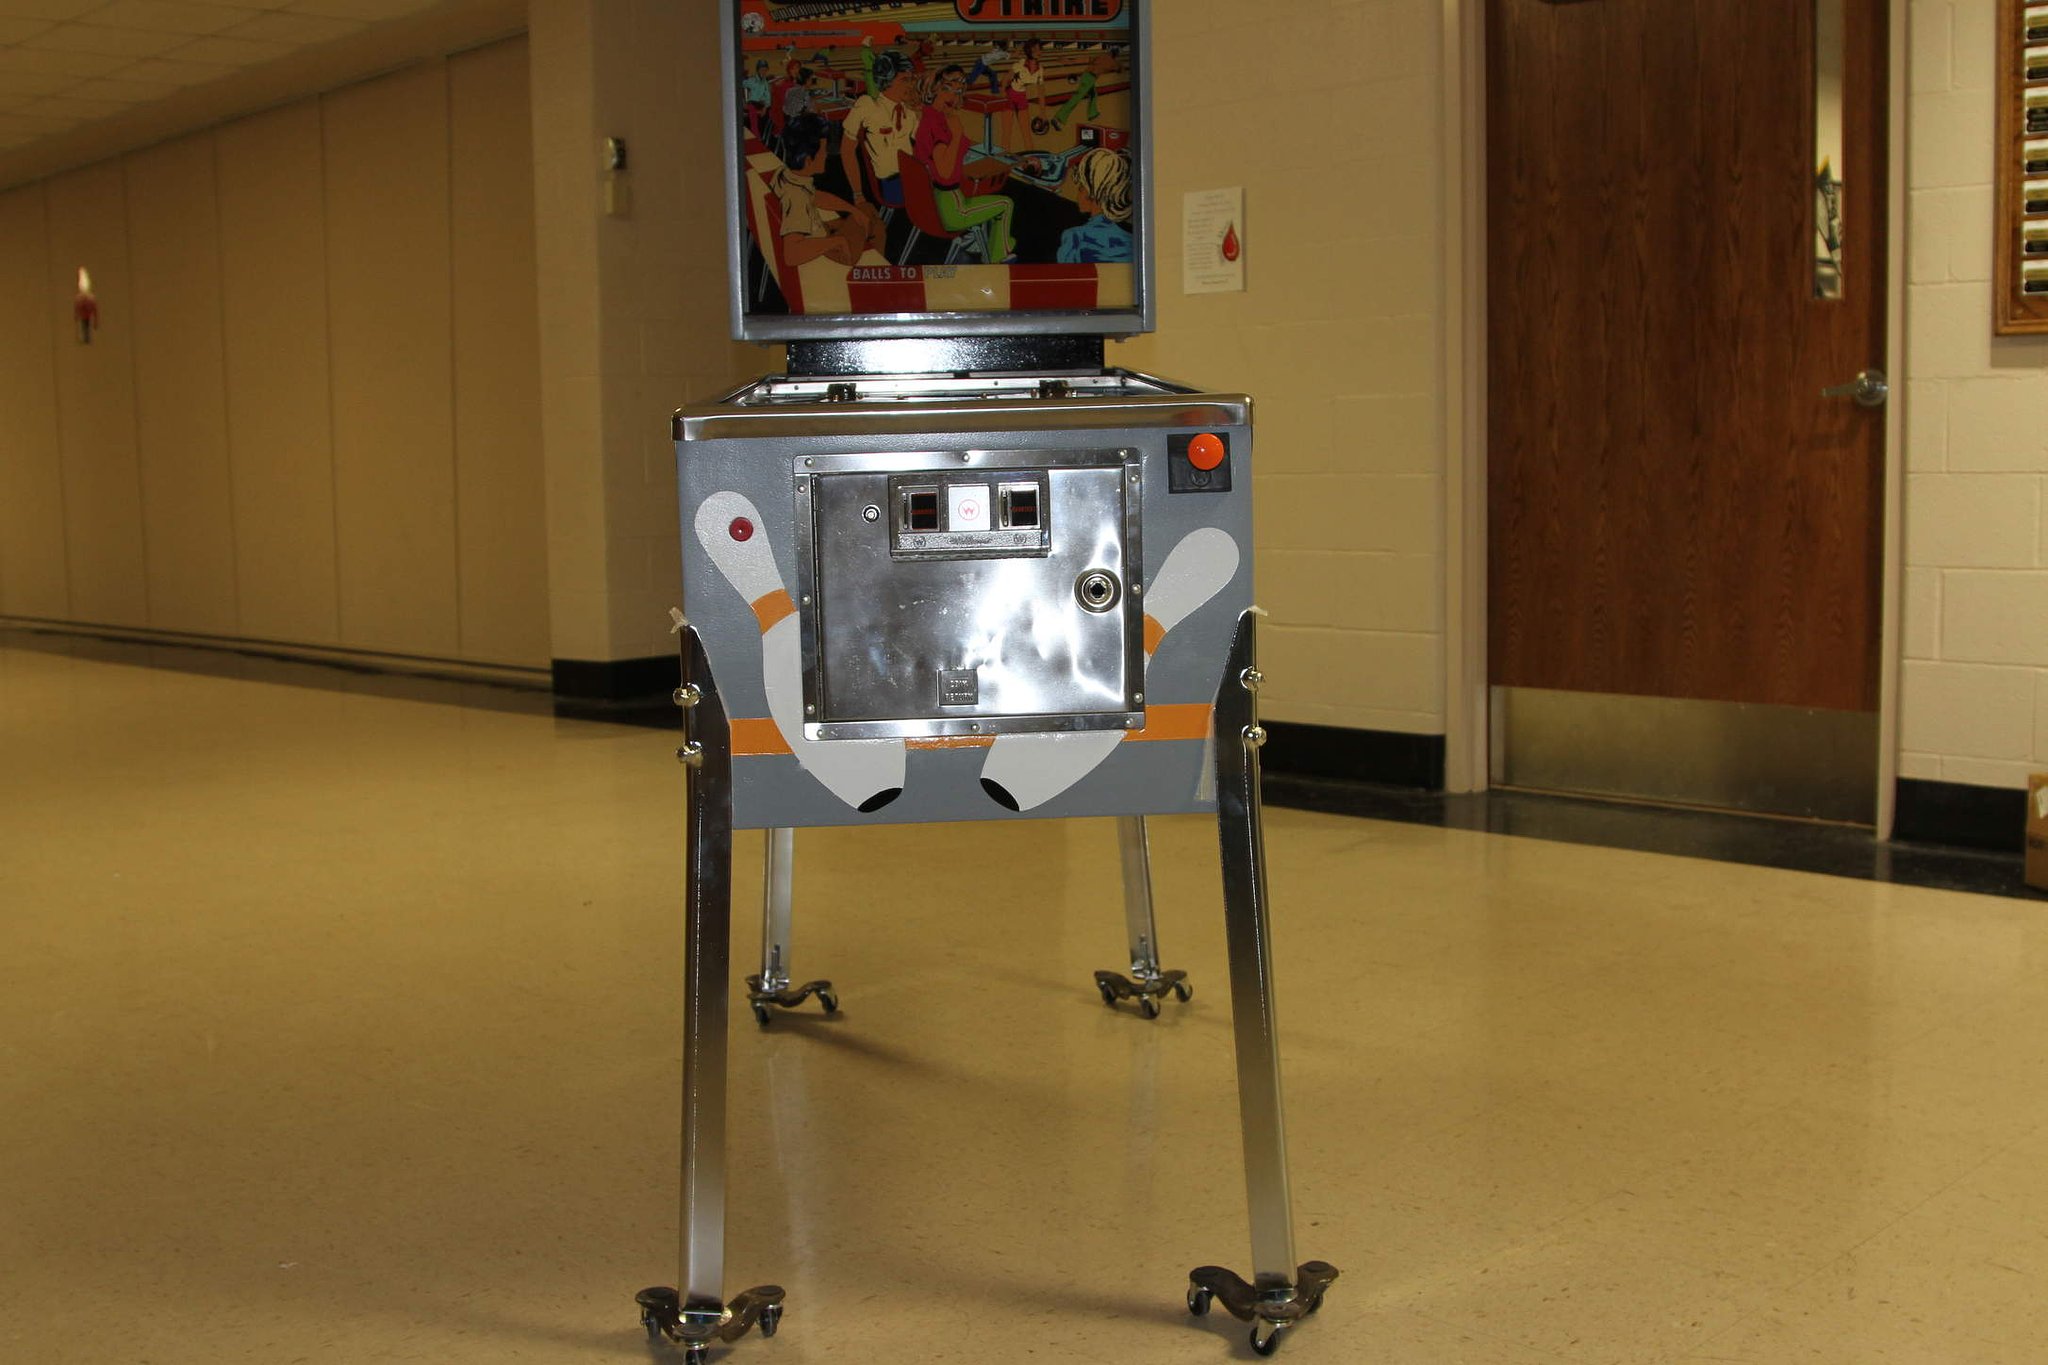
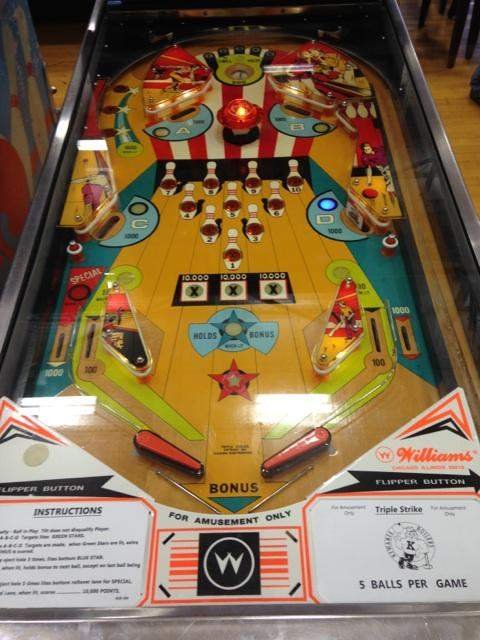
I told the foundation that if they would purchase a machine and pay for some parts, I would do all the work and find folks to help donate additional items to make it a worthwhile item to sell. They agreed and we choose a nice "family" EM machine (Williams Triple Strike) to restore.
Long story short, the machine was a big hit and sold well. I was asked again this year to "do my magic" and give them another machine to sell.
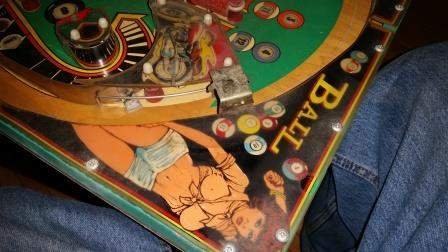
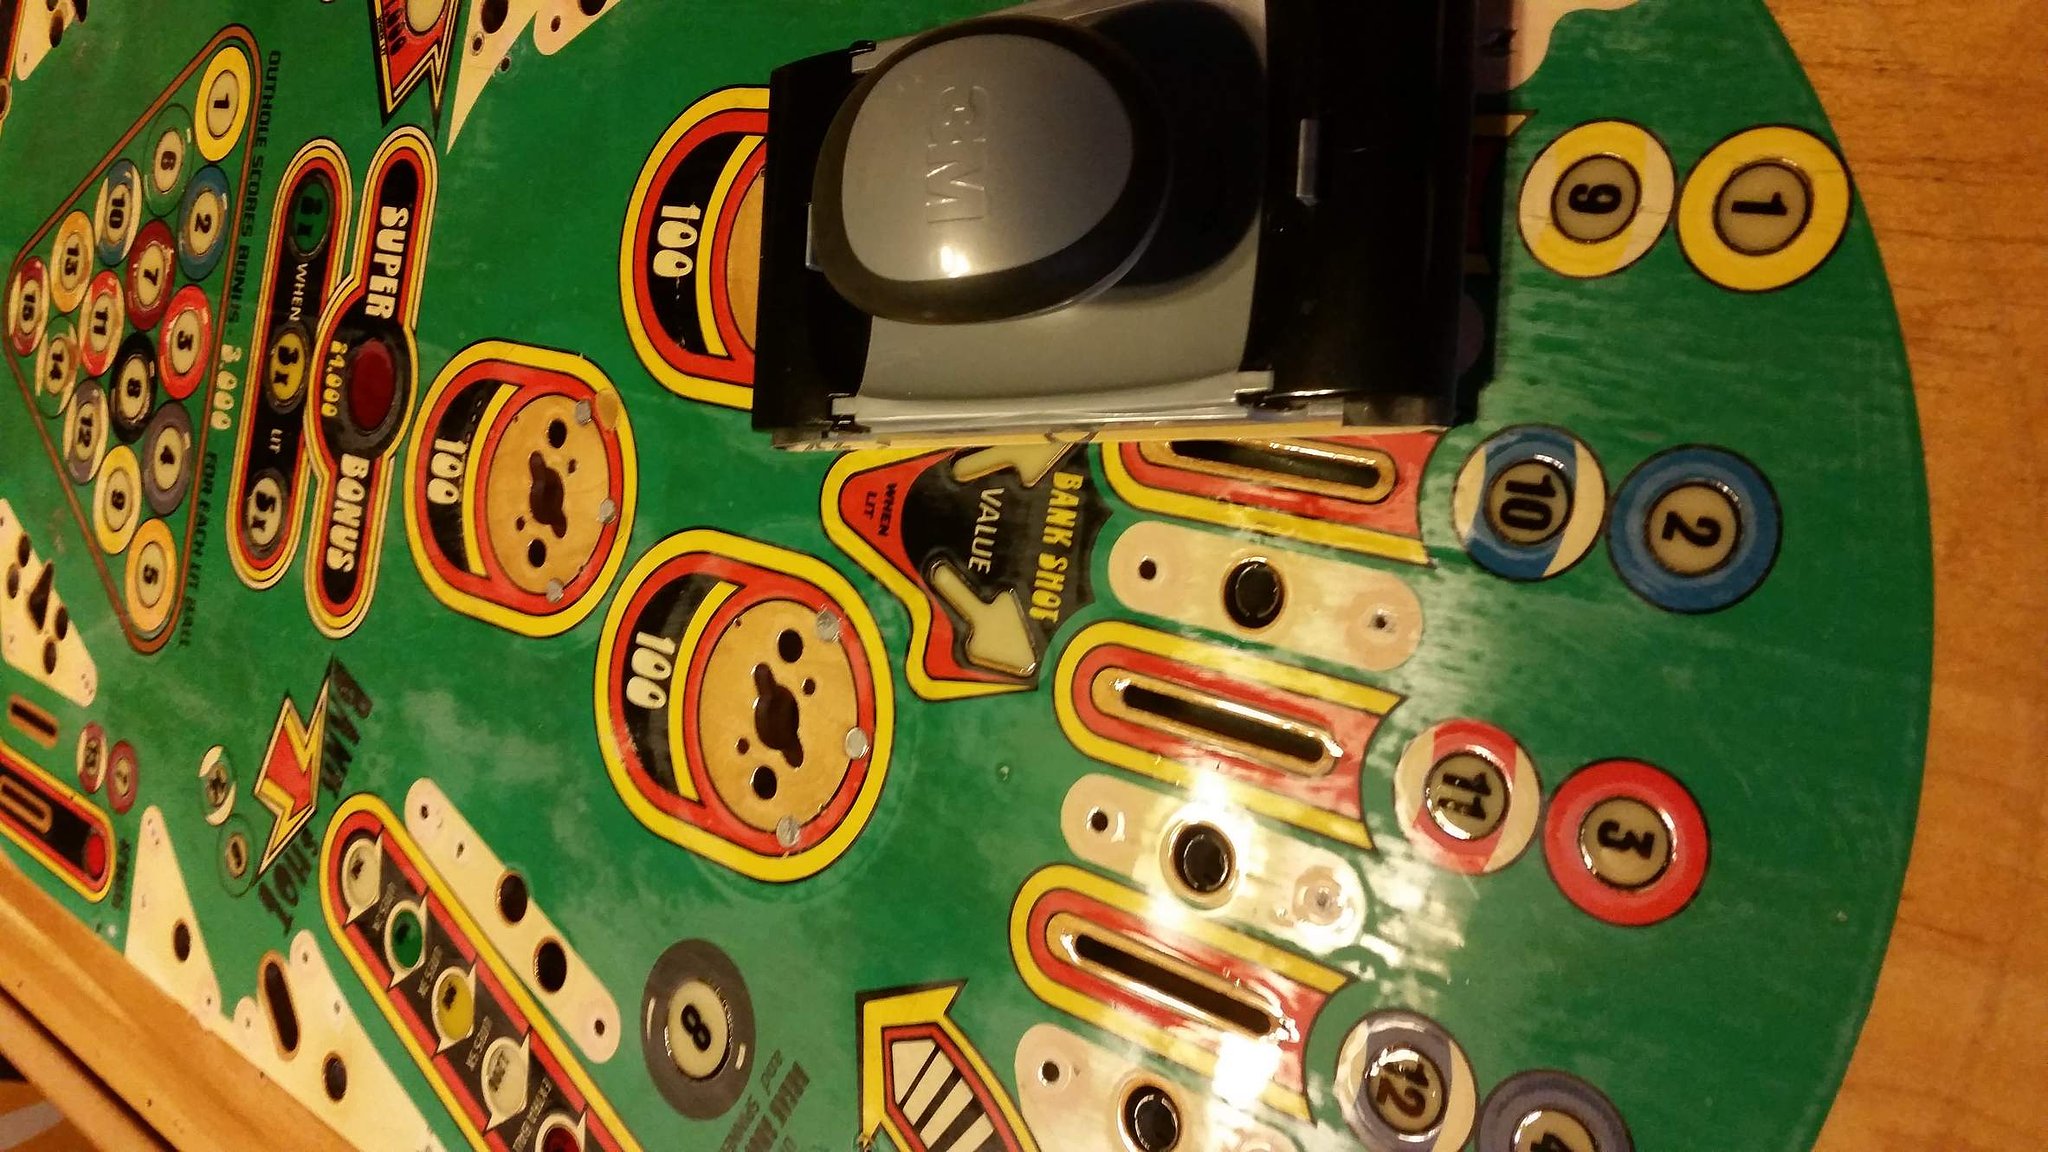
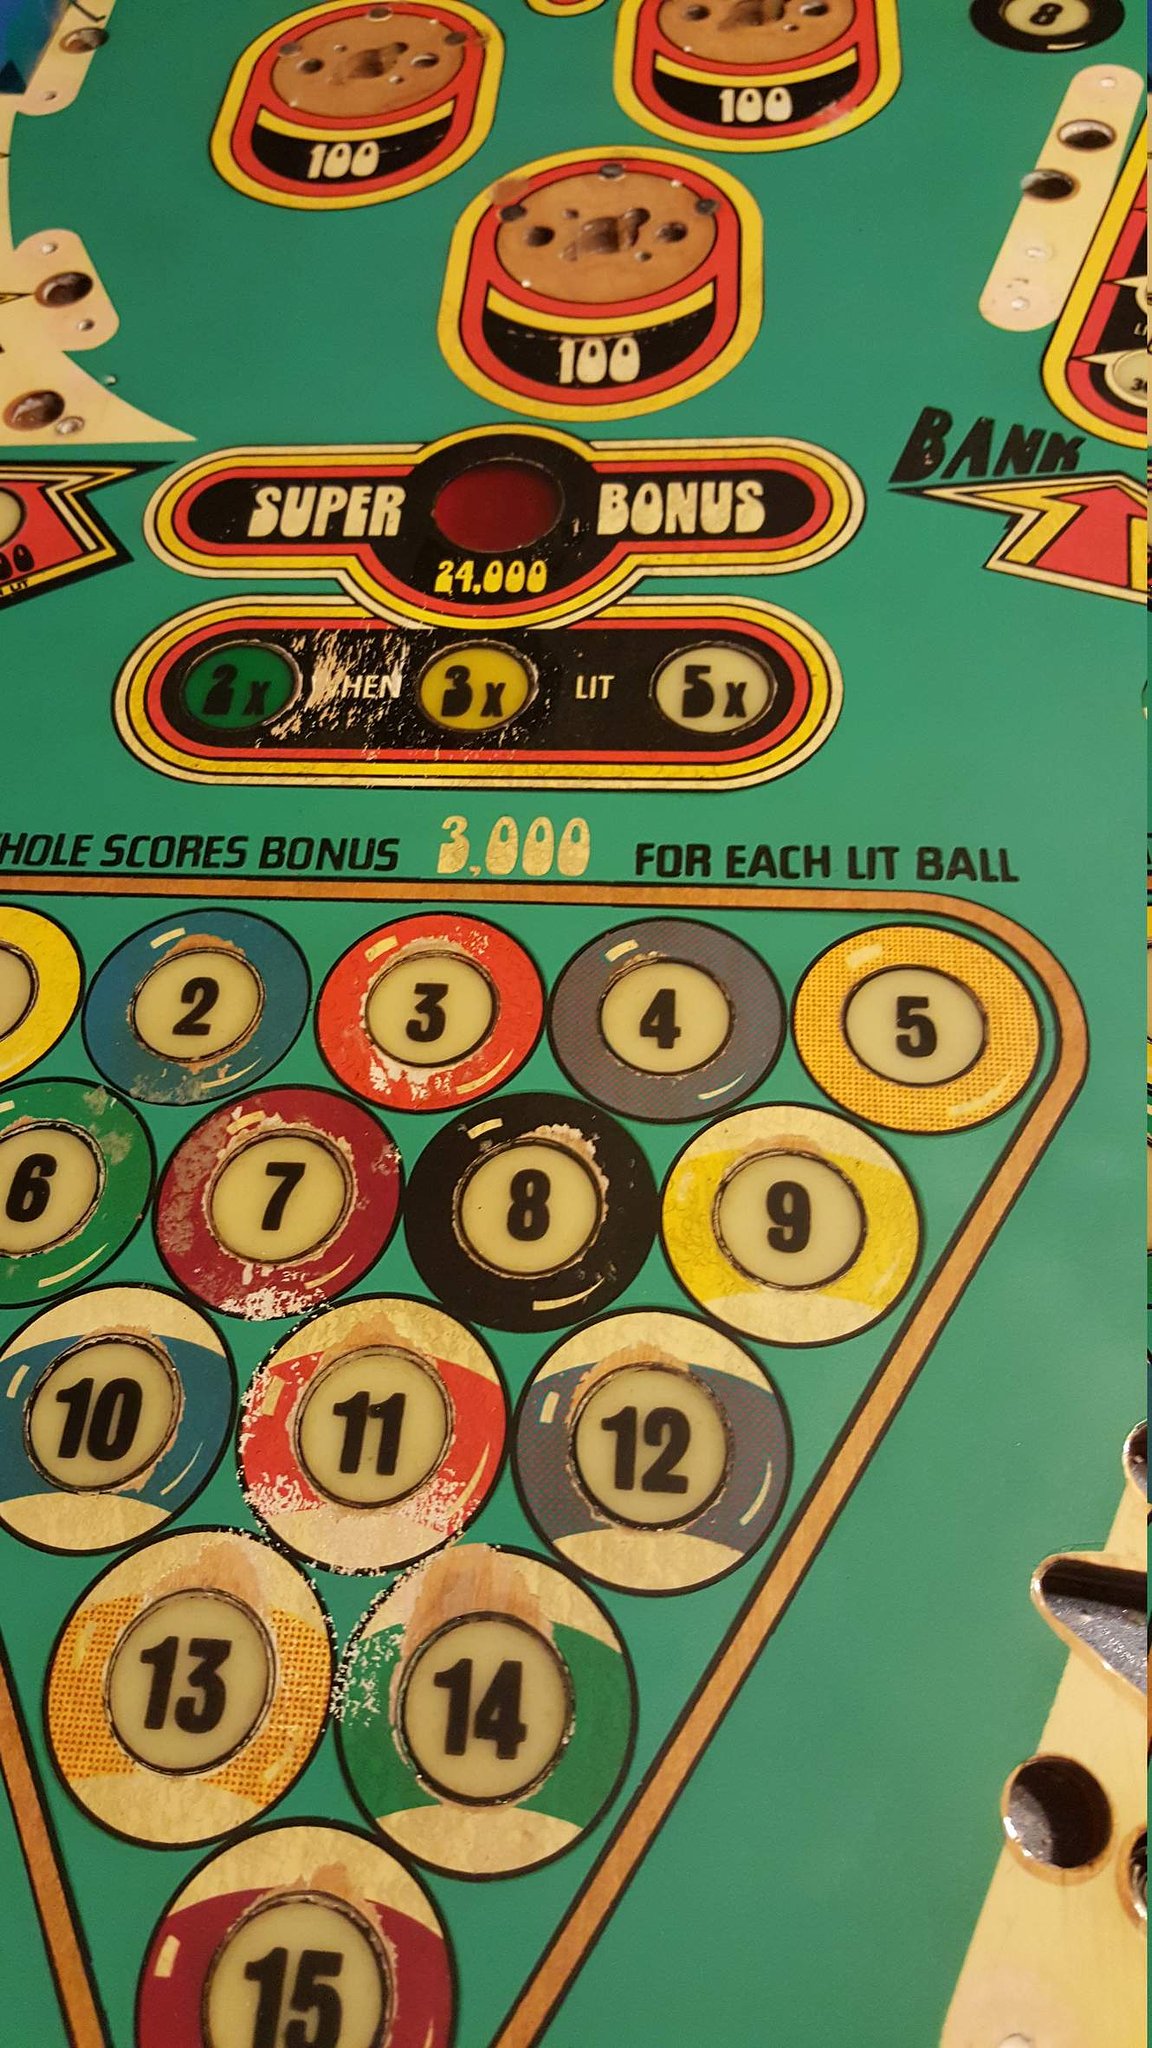
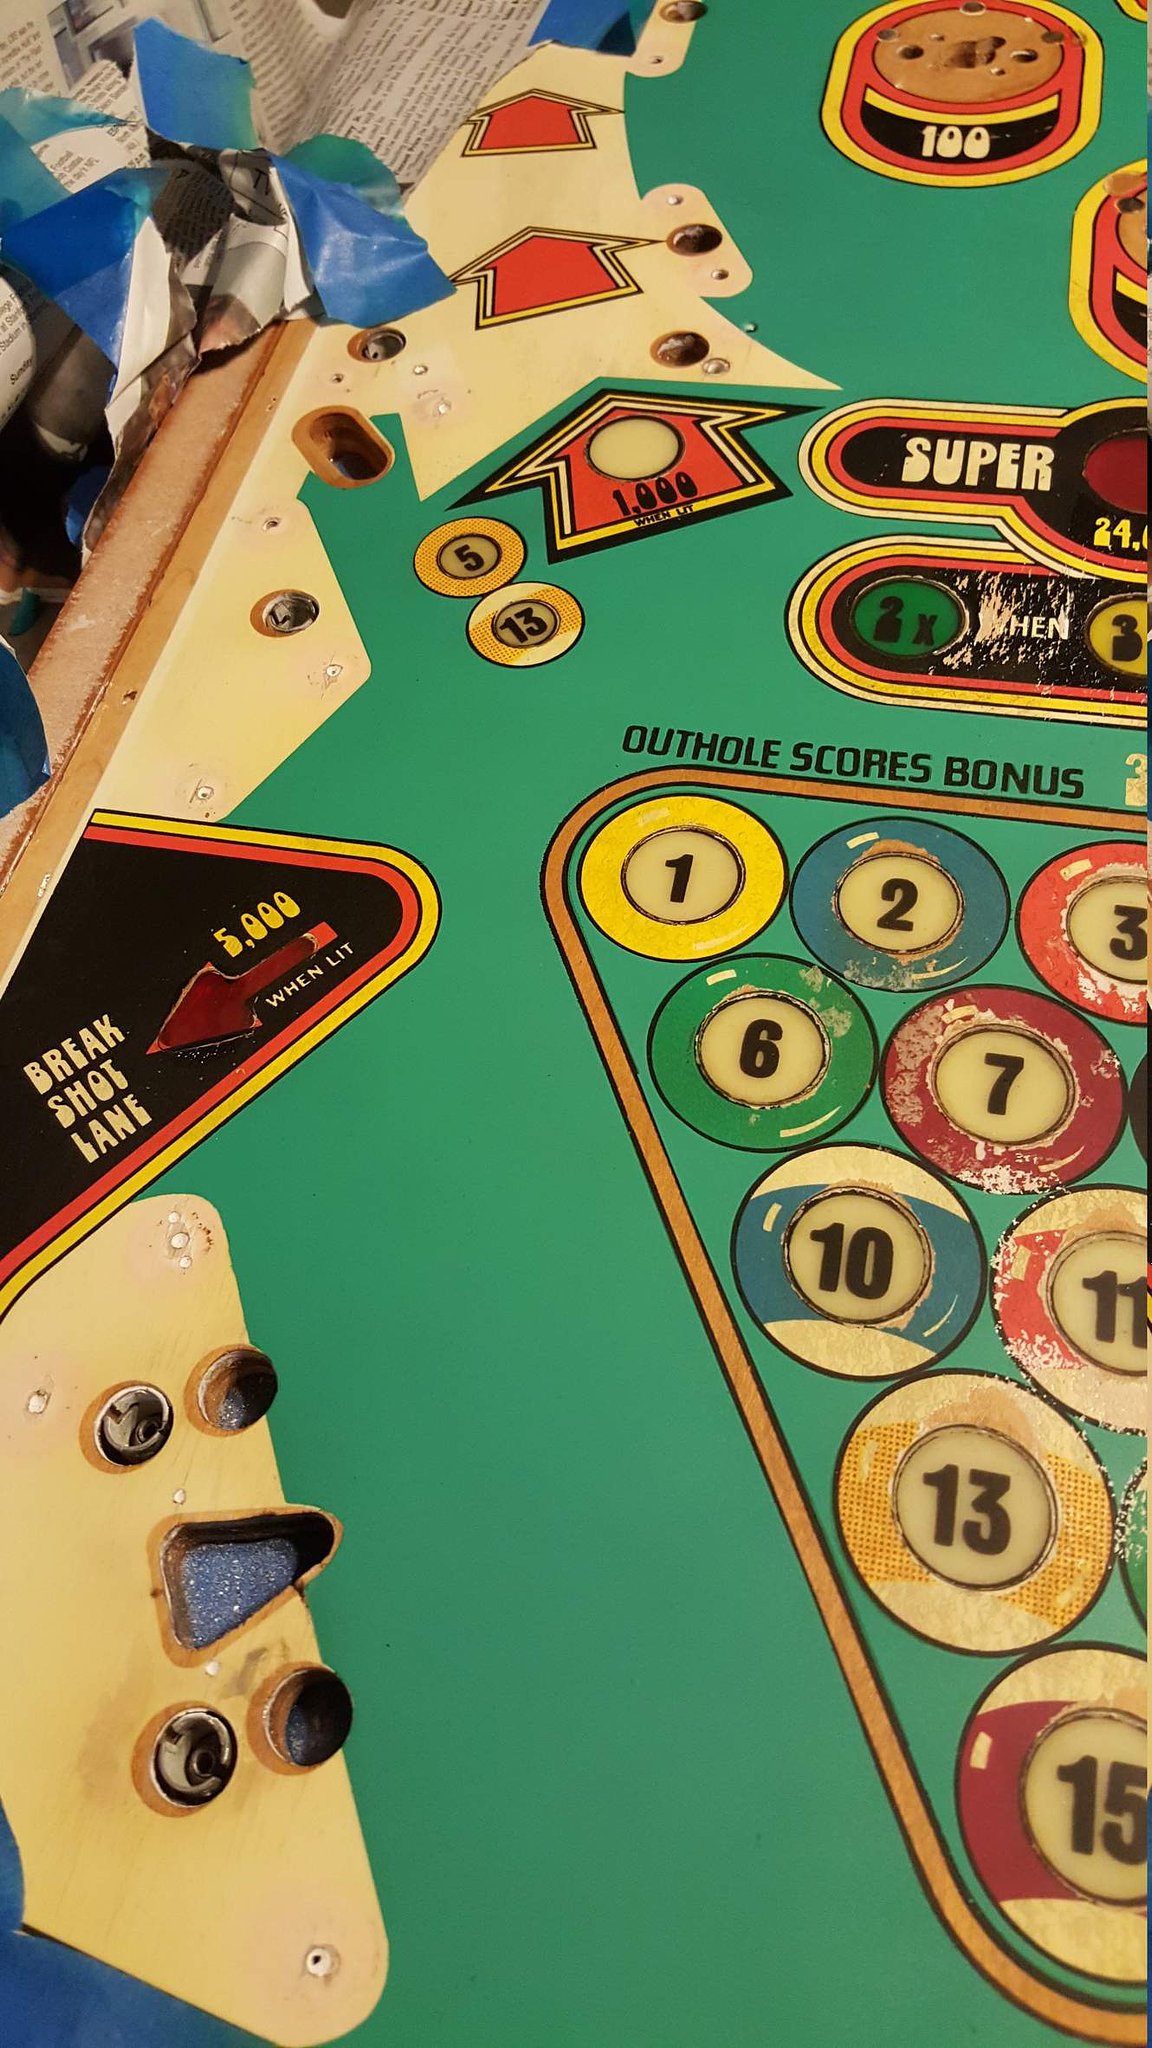
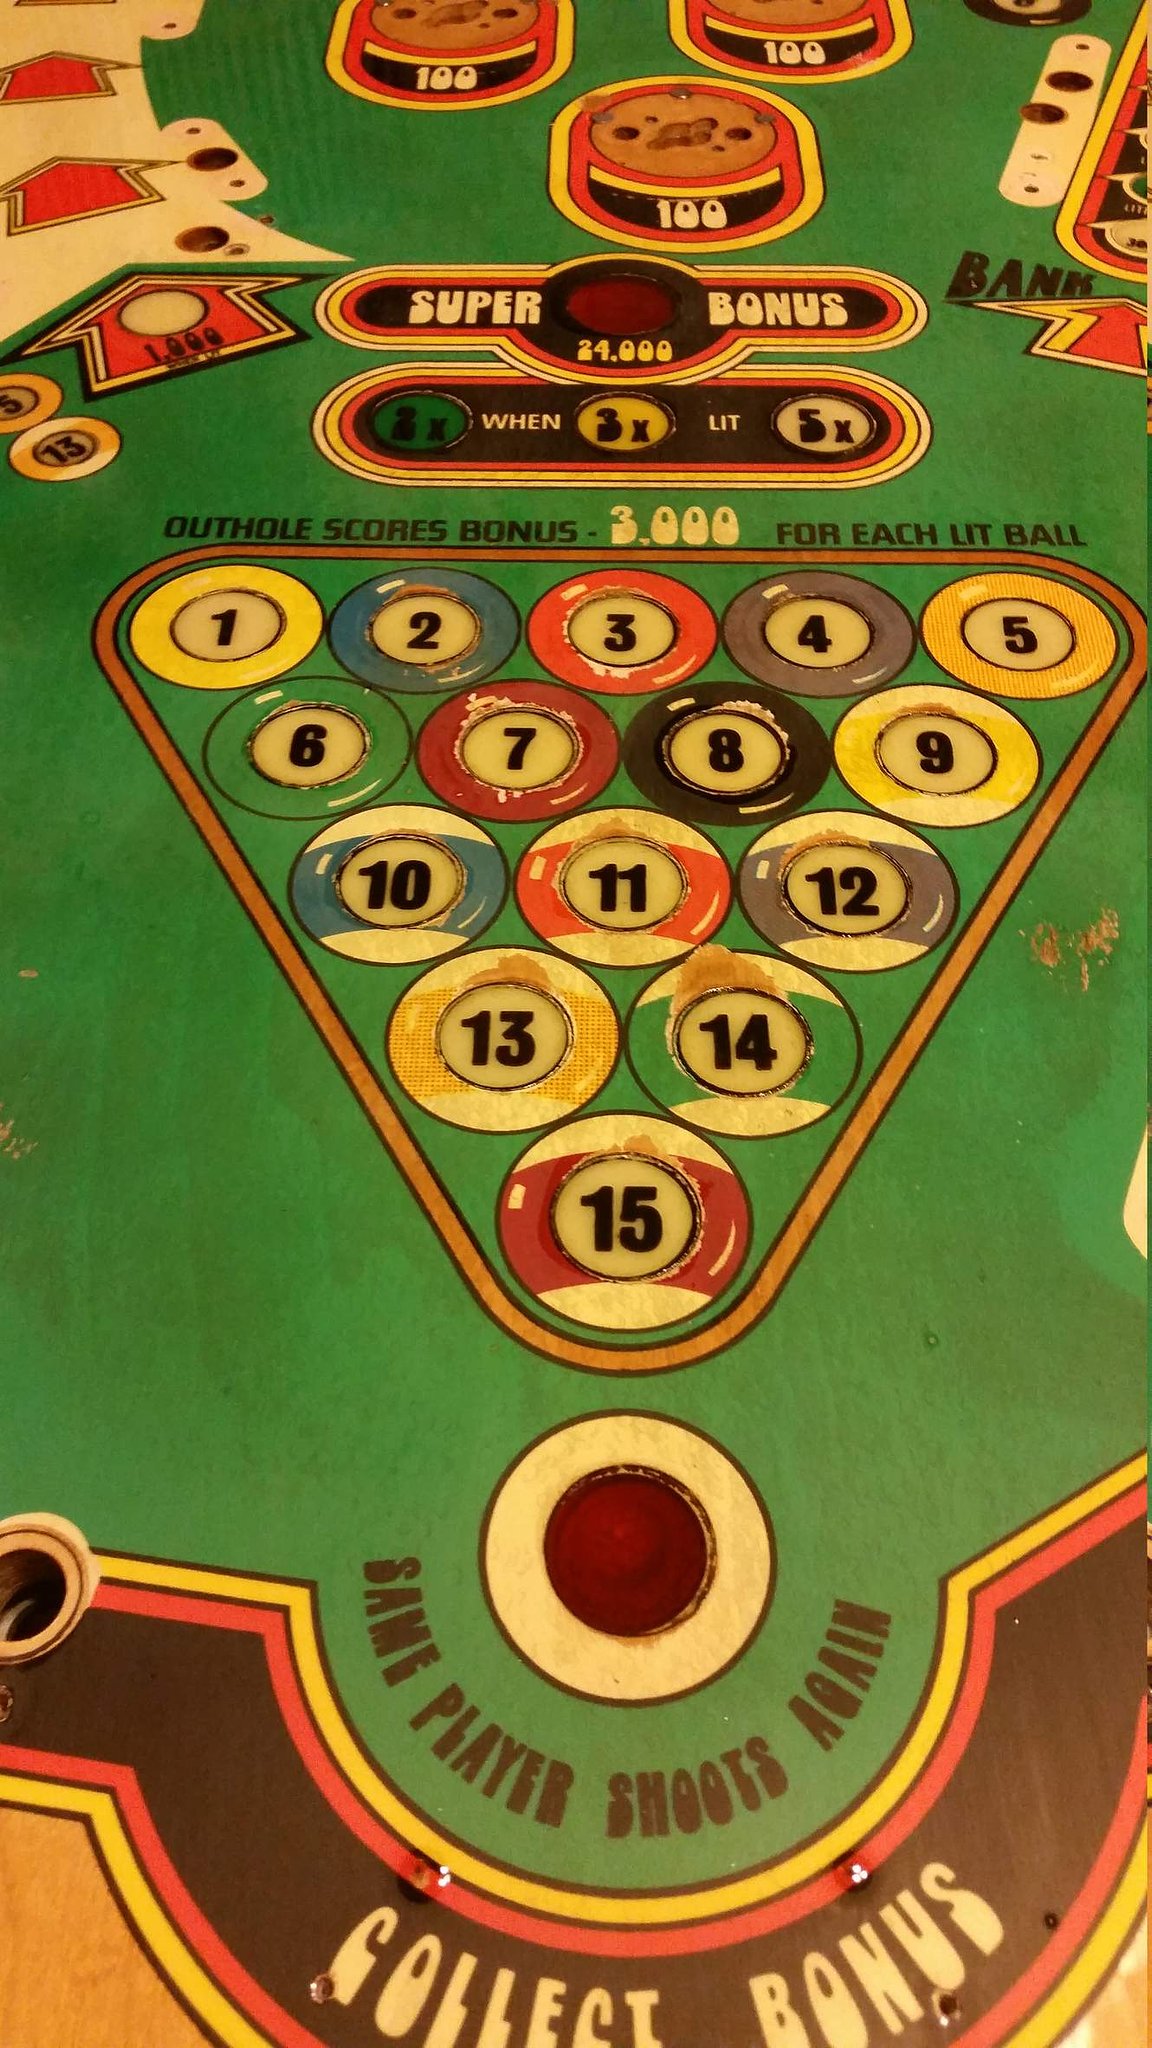
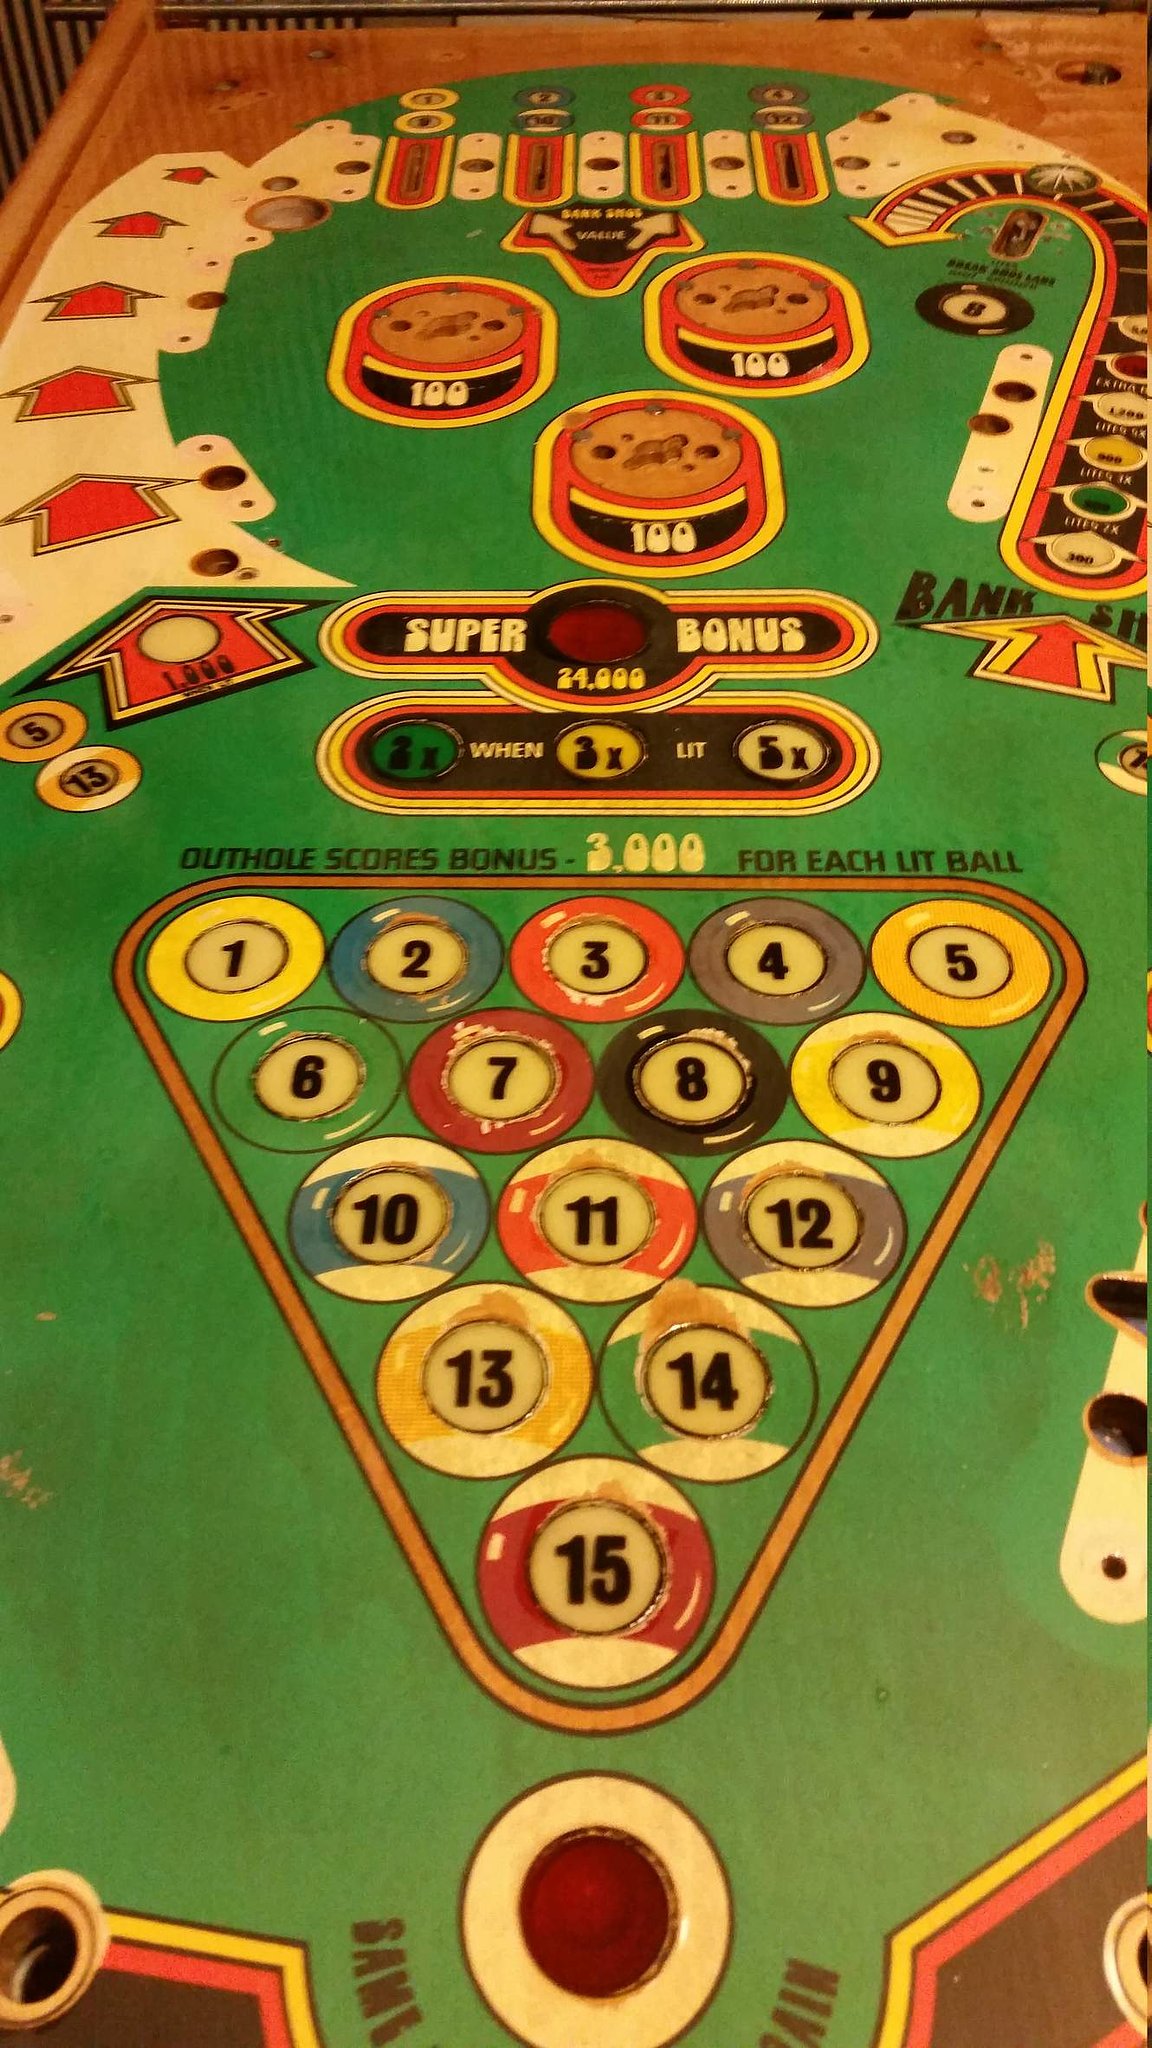
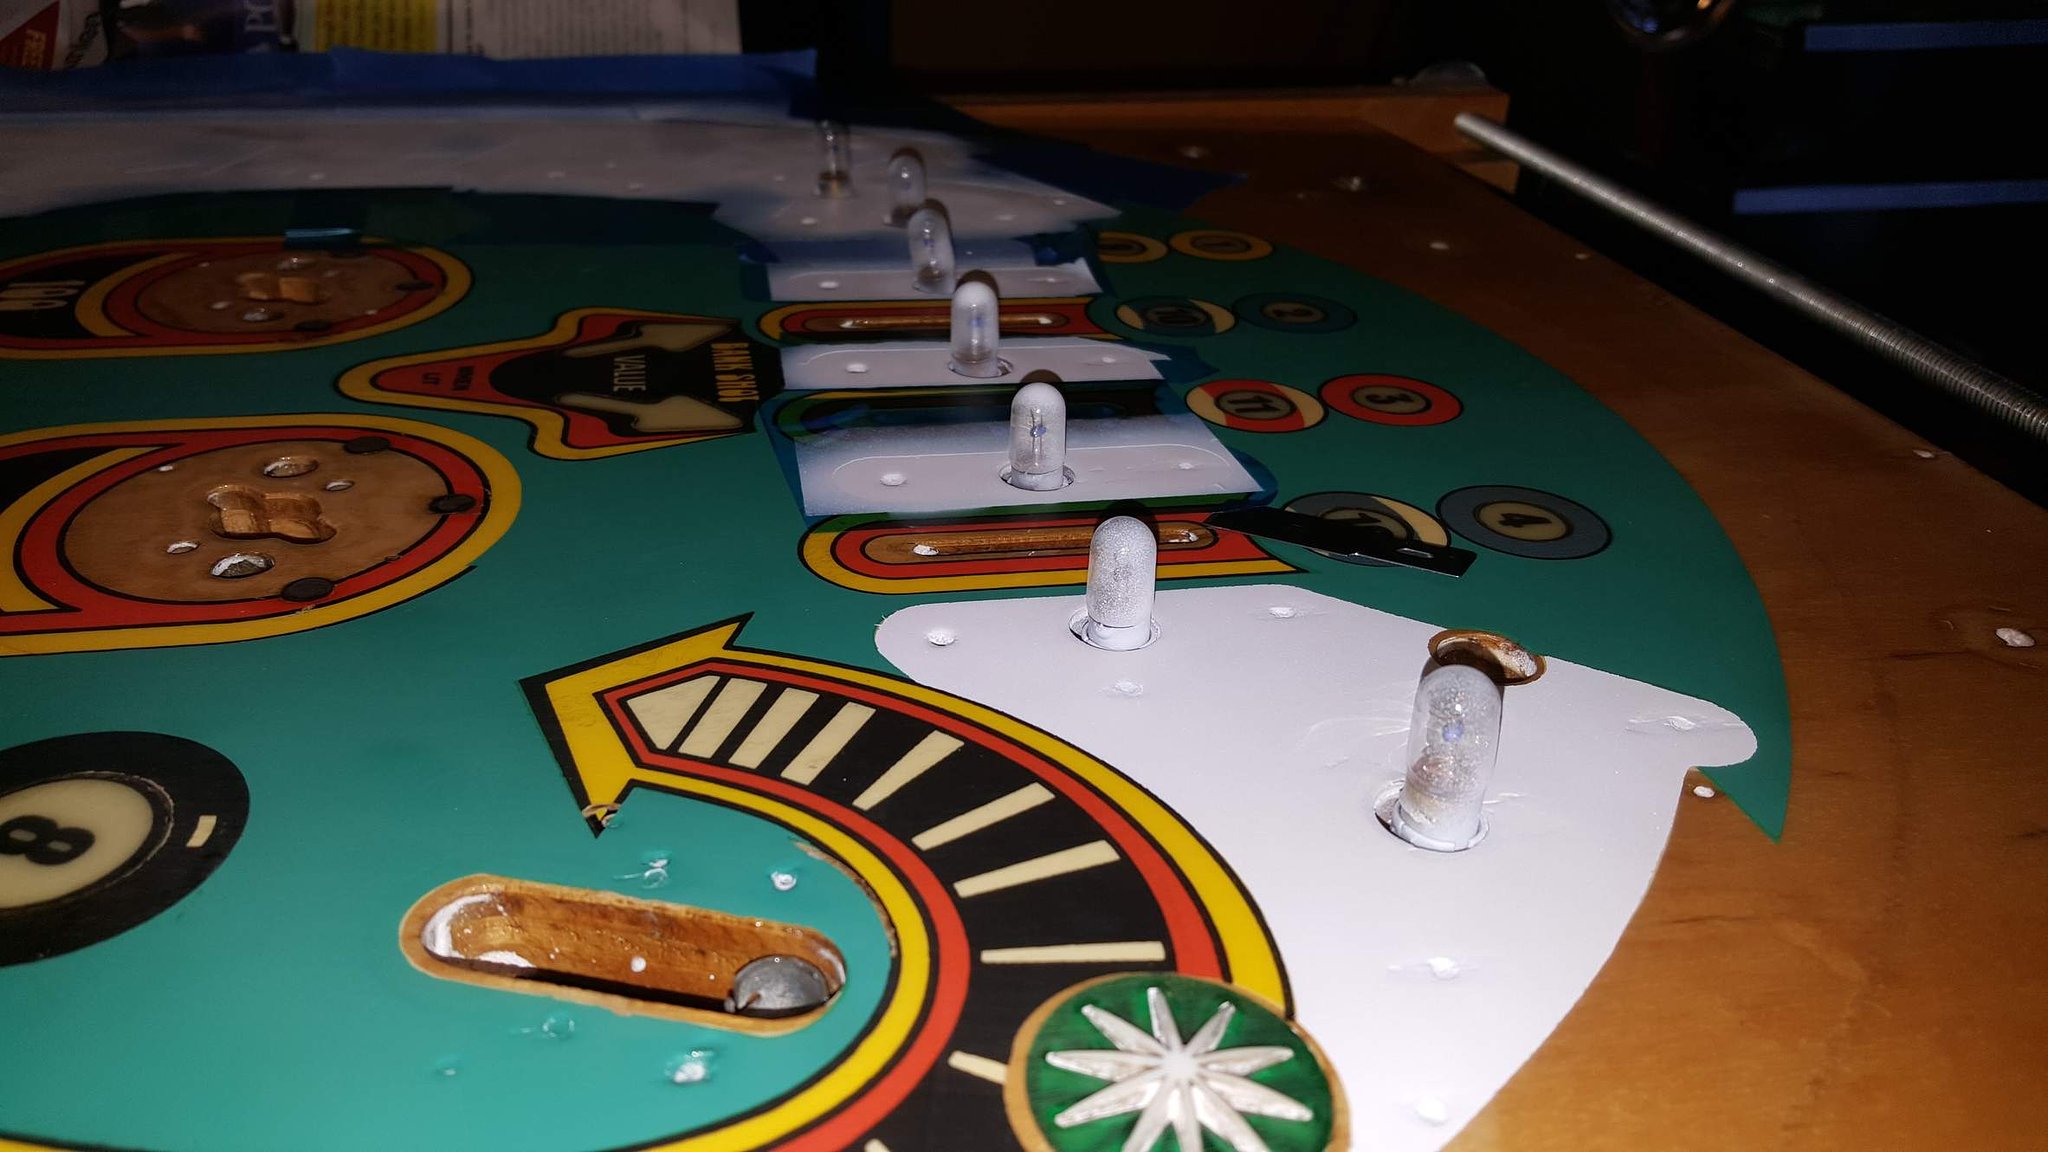
I had just picked up a Bally Eight Ball and asked the foundation if it would be a good candidate. They were excited and so now begins this project.
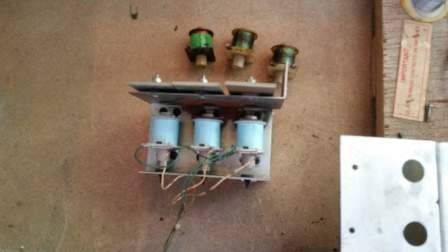
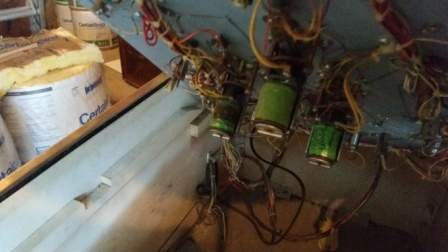
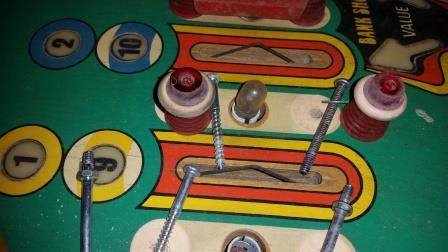
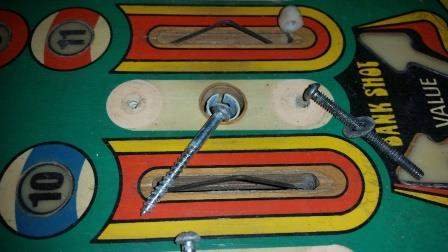
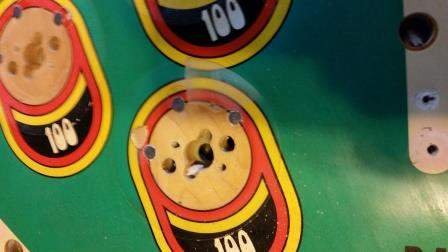
I will try to post as much as I can and remember to take lots of before and after pictures. I tend to take lots of work pics, but forget to do many "as it was" pictures.
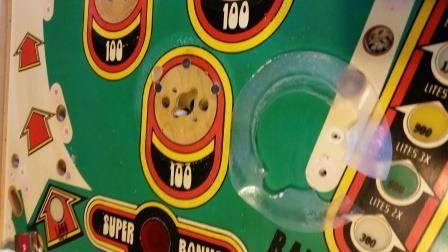
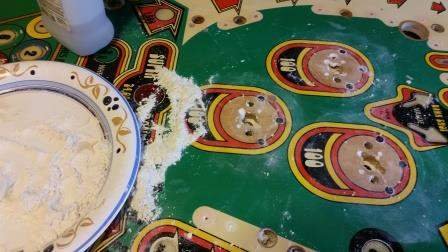
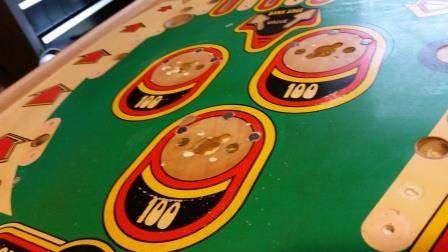
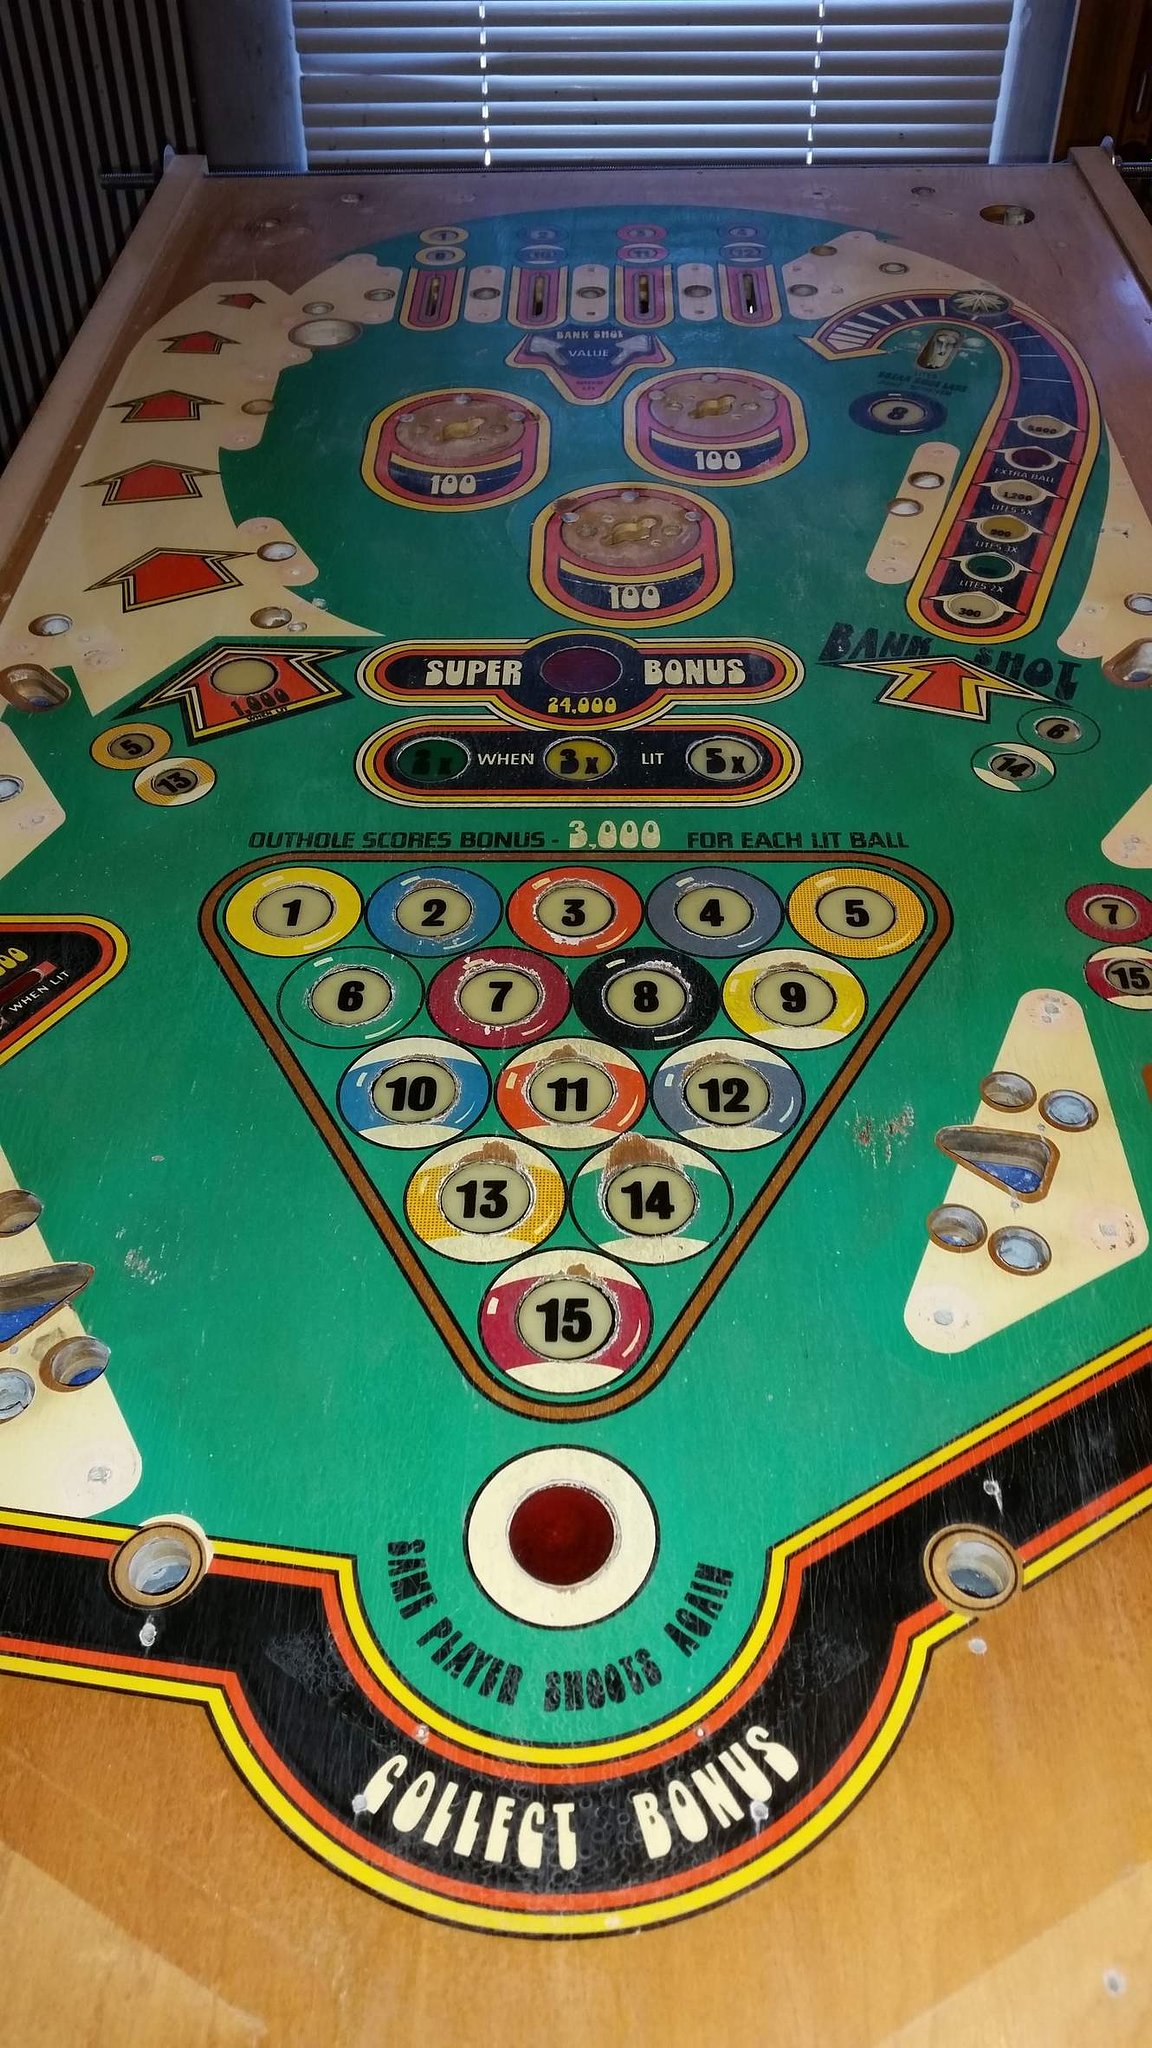
So before I start here are some pictures of the "Triple Strike" that I did 2 years ago. Postings on the "Eight Ball" to follow.


 Slim64 said:


 Ottawa, ON
 BJM-Maxx said:
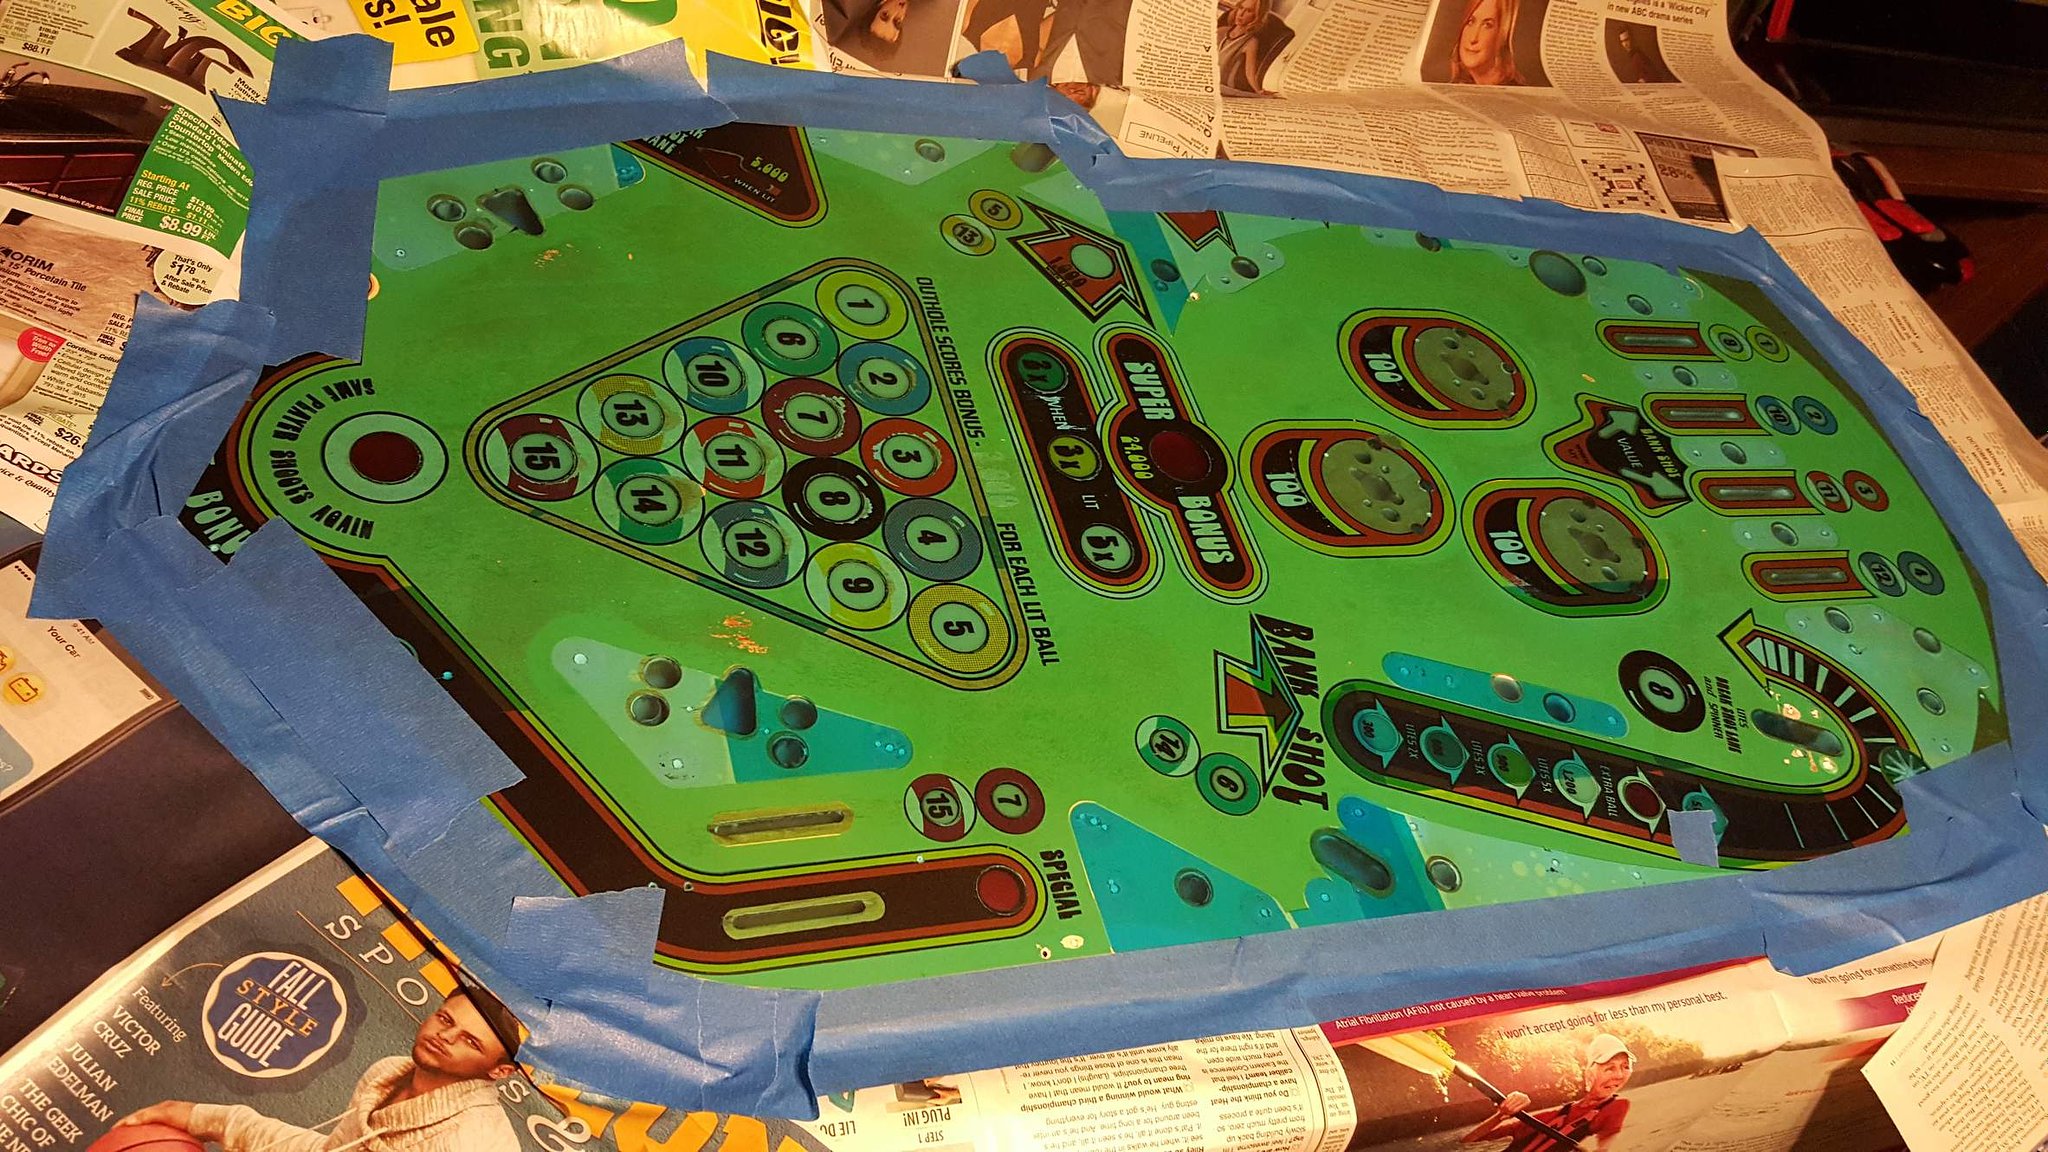
 Zitt said:
 packie1 said: